Introduction

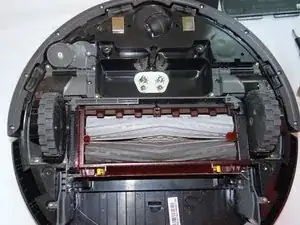
This easy to follow guide will walk you through replacing a defective side brush module on your roomba. This guide requires a propriatery bit screwdriver that is not found in most homes. You will need to purchase one before begining.

  1. twMlPsSWWp5sKmsT
    twMlPsSWWp5sKmsT
    3M3dkSexpfQ5dRWZ
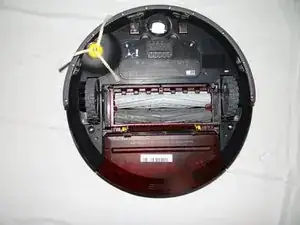
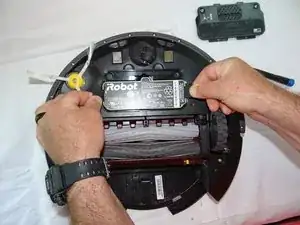
    • Start by flipping your Roomba onto its back on a flat surface.

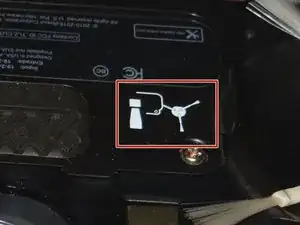
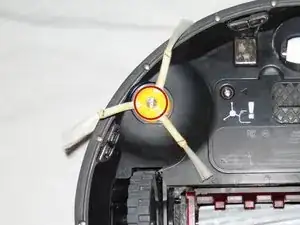
    • Be sure not to close the side brush bristles in the battery door during reassembly as shown by the handy warning in the second photo.

  2. TupBPcXZLM5pVcNp
    • Unscrew both the 11mm Phillips #2 screws from the battery cover and remove cover from the Roomba.

    • These captive screws are not intended to be removed from the cover.

  3. Eb2IQ2jAZxUjxGvA
    Eb2IQ2jAZxUjxGvA
    YQX1RxDDxjEcT4LN
    kJKfEYydRQlUIJ5I
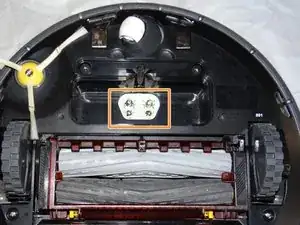
    • Grasp the tabs on either side of the battery.

    • Remove the battery by pulling up on the tabs.

    • While you're here, check the battery contacts for corrosion or debris.

  4. DGrCPvba5yy6leYi
    DGrCPvba5yy6leYi
    4SFwlmoplTogfZLb
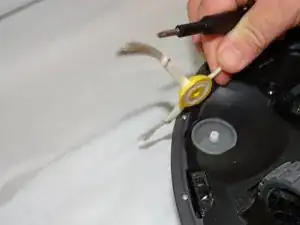
    • Remove the 7.5mm flat head #4 screw from center of the side brush.

  5. ctbgPMYRHudJbEe2
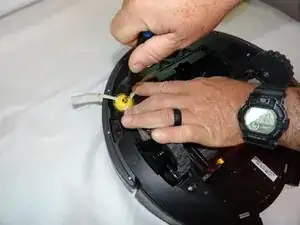
    • Gently pull the side brush off of the motor hub.

  6. DwWnYuvIEYPhDCoa
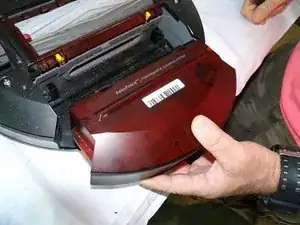
    • Remove dustbin from Roomba.

  7. ZUaAtcZGVQTEmD3A
    ZUaAtcZGVQTEmD3A
    UPnZcYEQ1JLClEKt
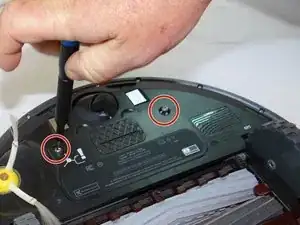
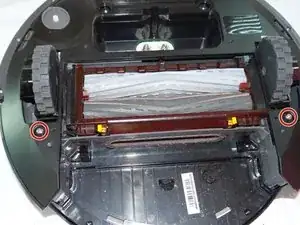
    • Unscrew 2 phillips #2 screws from the bottom cover.

    • Remove the bottom cover.

  8. T4mbXhR1BPyDvNKJ
    T4mbXhR1BPyDvNKJ
    xNwCesHuGk1SQNLD
    I6rDGd3tbvJjPDNV
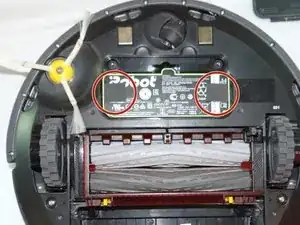
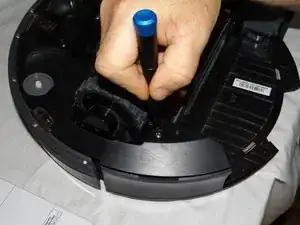
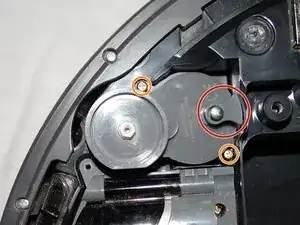
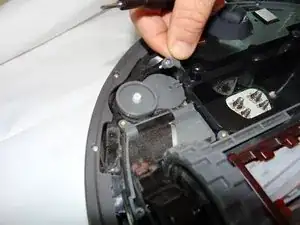
    • Unscrew and remove the single 13mm Tri-point Y1 screw and retaining tab.

    • Loosen two captive Phillips #00 16mm screws.

  9. FjfGNRHHShtmOalD
    FjfGNRHHShtmOalD
    WrZ1OSQXA6ockXAU
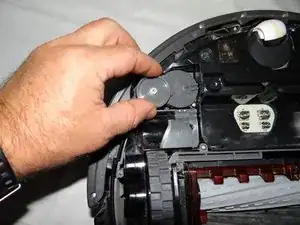
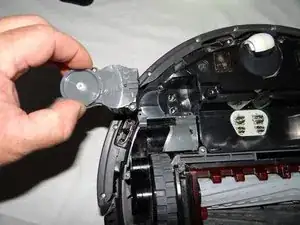
    • Grasp motor module and remove from roomba.

Conclusion

To reassemble your device, follow these instructions in reverse order.

Justin Tolin

Member since: 29/05/19

718 Reputation

One comment

We did this whole process and it still doesn’t turn :0(
jeanne.curnuck -