Introduction

  1. UieNAGDViXOhhCCG
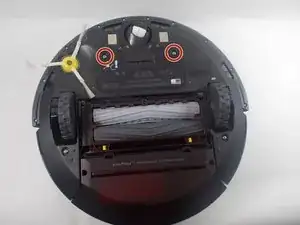
    • Use a Phillips #2 screwdriver to remove the two 11 mm screws.

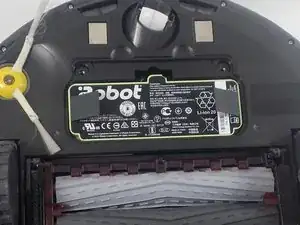
    • Remove the battery cover.

  2. FAF22UxKJwcVMyDQ
    FAF22UxKJwcVMyDQ
    WABkiSaJB3jk3ke2
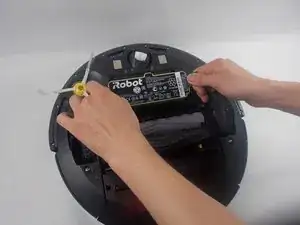
    • Pull directly up on the grey pull-tabs to remove the battery.

  3. y5LdhnVas3WQjRIn
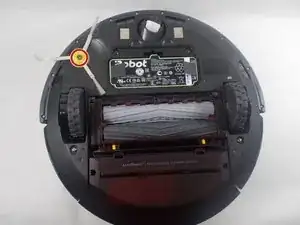
    • Use a Phillips #2 screwdriver to remove the one 7.7 mm screw.

    • Remove the yellow brush head.

  4. PJCMdj2oQwbDDrDS
    PJCMdj2oQwbDDrDS
    4BgSghJRBMSwK6Zv
    1dDGHRJajN12JHXQ
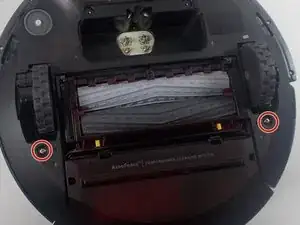
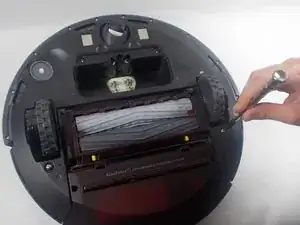
    • Use a Phillips #2 screwdriver to unscrew the two 11 mm screws.

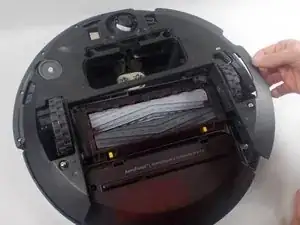
    • Lift the baseplate up and off.

  5. aYO2UyhA1Cq3wmFe
    aYO2UyhA1Cq3wmFe
    vKfaxrpxyt5t1SWe
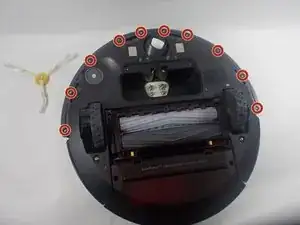
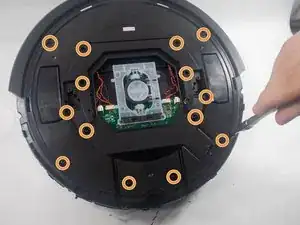
    • Use a Phillips #1 screwdriver to remove the ten 9.3 mm screws.

    • Remove the bumper retainer ring.

  6. xdEaW5jULSsXAsBC
    xdEaW5jULSsXAsBC
    DogjPeCLocHOOitL
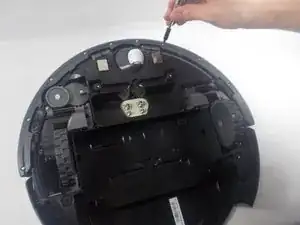
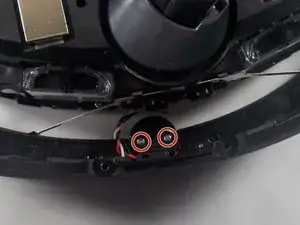
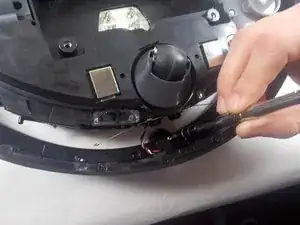
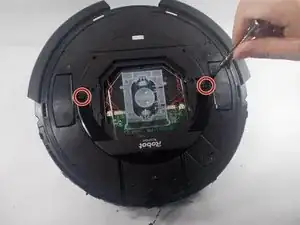
    • Use a Phillips #2 screwdriver to remove the two 7.5 mm screws holding the IR sensor in place.

  7. a6MC5Bhmk4gmALSt
    a6MC5Bhmk4gmALSt
    qKm6OQAw2vglWqaa
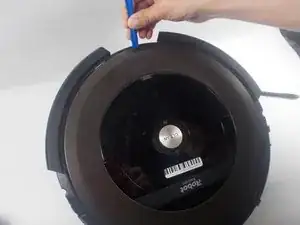
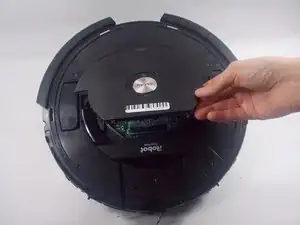
    • Use an iFixit opening tool to remove the outer plastic covering from the top of the Roomba.

  8. FtmQ6HcuElJvI3B6
    FtmQ6HcuElJvI3B6
    RQIckDxEYgLQC1OS
    2PhCsEkPHRPAkgvl
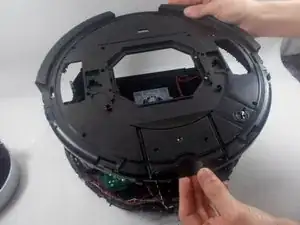
    • Use a Phillips #1 screwdriver to remove the two 9.5 mm handlebar screws; then remove the handle.

    • Use a Phillips #1 screwdriver to remove the fourteen 9.5 mm top plate screws.

    • Lift off the top plate.

  9. GdCgRnHKyltlBycS
    GdCgRnHKyltlBycS
    sGKVPs3GfaMwr6Dc
    mXvlgomfcHcAHFTT
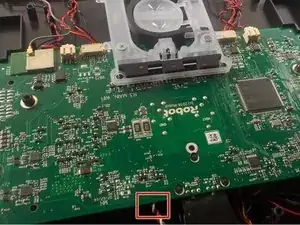
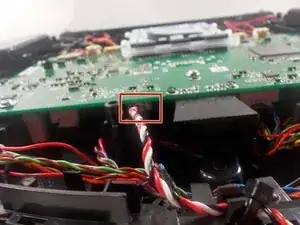
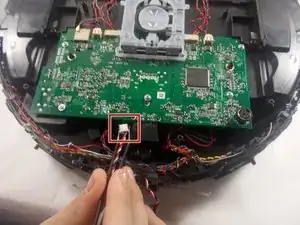
    • Use a pair of angled tweezers to firmly grip the IR sensor plug, and pull it directly backwards to release it from the motherboard.

Conclusion

To reassemble your device, follow these instructions in reverse order.
Caeden Foxhoven

Member since: 28/03/22

313 Reputation

0 comments