Introduction

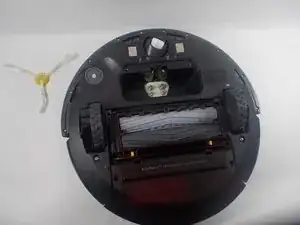
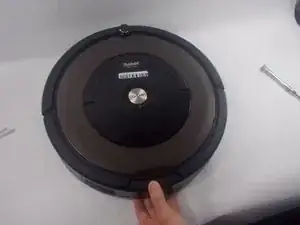
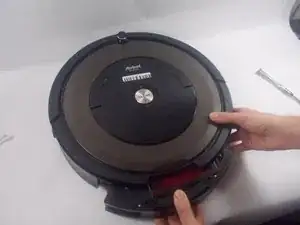
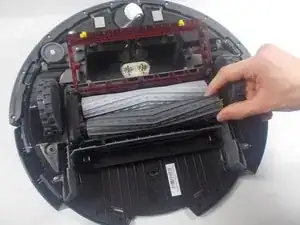
During the natural use of an iRobot Roomba, the cleaning head may become worn, or damaged. This guide details the tools and equipment needed to replace an iRobot Roomba 890 cleaning head, as well as the steps required to complete the replacement. These steps reverse after the replacement head is installed, follow the steps in reverse order to reassemble the device.

  1. VCK5d6IMvLyXUWLn
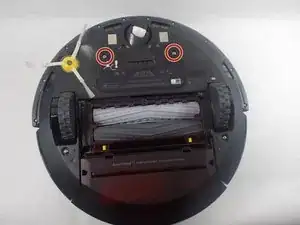
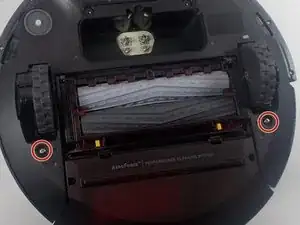
    • Use a Phillips #2 screwdriver to remove the two 11 mm screws.

    • Remove the battery cover.

  2. wsQaB1CMdyVlRHyW
    wsQaB1CMdyVlRHyW
    OVRQZs5NIRP5qTlU
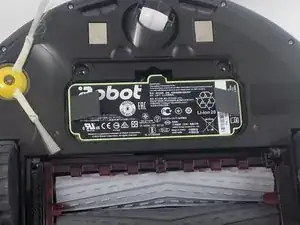
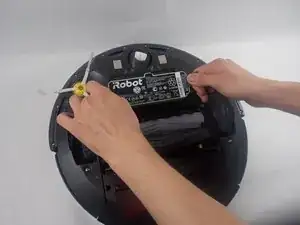
    • Remove the battery by pulling directly up on the grey pull tabs.

  3. OTnFmITWToBvAXCV
    OTnFmITWToBvAXCV
    R2t6TglbK4Q3kWXn
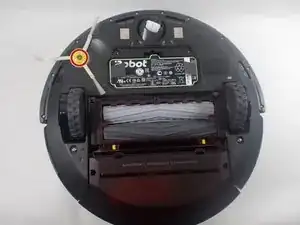
    • Use a Phillips #2 screwdriver to remove the one 7.7 mm screw.

    • Remove the yellow brush head.

  4. yoZwog1W4HKGtxCu
    yoZwog1W4HKGtxCu
    myAHs2gcXjXdEMsr
    RLv1tue4RyVonXDt
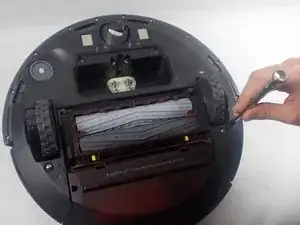
    • Use a Phillips #2 screwdriver to remove the two 11 mm screws.

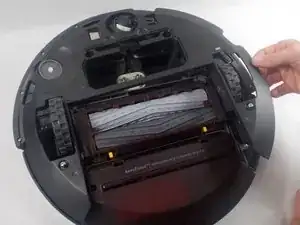
    • Lift the baseplate up and off.

  5. aXANMHevf1iNPILw
    aXANMHevf1iNPILw
    V4rQKrxGgWeKxhW1
    • To remove the dust collection bin, press the release button on the top side of the Roomba and pull it straight out.

  6. eNjElDefHCQWPZui
    eNjElDefHCQWPZui
    gpqpaCxDGtHguJ4w
    AvXxCe2tWLKVUvmm
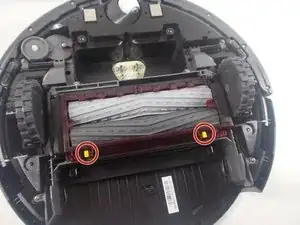
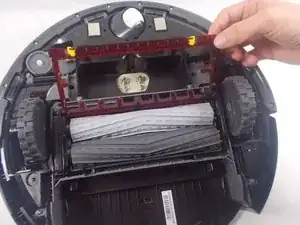
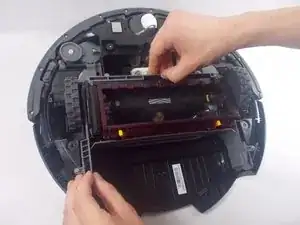
    • Press the bright yellow tabs inwards and lift up at the same time to expose the cleaning head.

    • Remove the main brushes by lifting them up and out of the housing.

  7. rf5MVEaicROgOLkN
    rf5MVEaicROgOLkN
    VpaFXmXv6kkrXgfU
    Ak6NAN4fFmHXlYgX
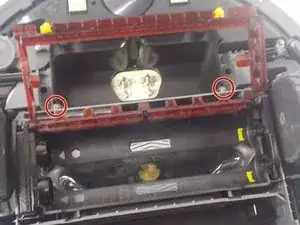
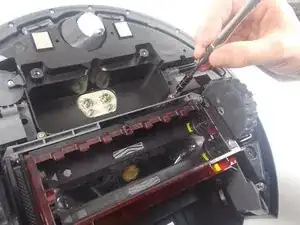
    • Use a Phillips #2 screwdriver to remove the two 11 mm screws.

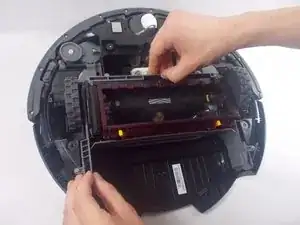
    • Lift the cleaning head out of the Roomba.

Conclusion

To reassemble your device, follow these instructions in reverse order.
Caeden Foxhoven

Member since: 28/03/22

313 Reputation

0 comments