Introduction

  1. 1ZfUjAiLiMPdKgAq
    1ZfUjAiLiMPdKgAq
    3Uvacu4kqdxrIKWl
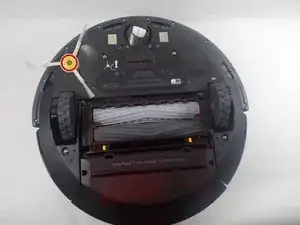
    • Use a Phillips #2 screwdriver to remove the 7.7 mm screw.

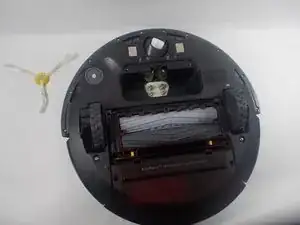
    • Remove the yellow brush head.

  2. NS2ocWPcd2vbk1PP
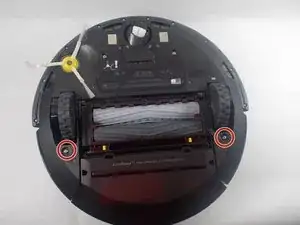
    • Place the Roomba facedown, with its bottom facing you.

    • Use a Phillips #2 screwdriver to remove the two 11 mm screws.

  3. j1hD6cCRsFhtkyrk
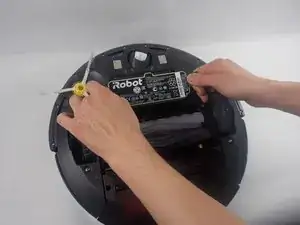
    • Remove the battery plate.

    • Remove the battery by pulling directly up on the grey pull tabs.

  4. xtgNBiYNZJDuKyIv
    xtgNBiYNZJDuKyIv
    id3HoRog1XQlRa2C
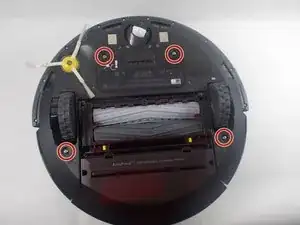
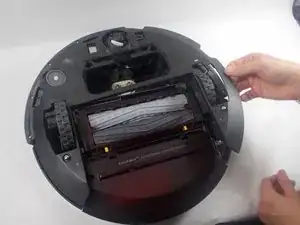
    • Use a Phillips #2 screwdriver to remove the four 11 mm screws.

    • Remove the bottom plate of the Roomba.

  5. A1U3BYSsvCMaRUdt
    A1U3BYSsvCMaRUdt
    f2enMkSRYXdlO6AT
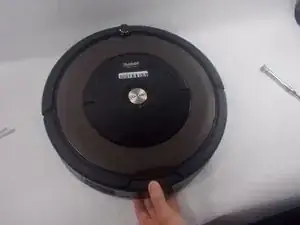
    • Turn Roomba face up.

    • Remove the dustbin by pressing the release button on the top side of the Roomba and pulling it straight out.

  6. 6jmcBW2JySWBVYMR
    6jmcBW2JySWBVYMR
    tCNsufpJD4rhPrLo
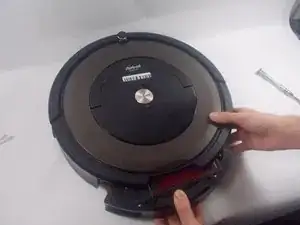
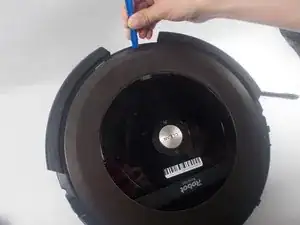
    • Using the opening tool, remove retaining band.

    • Use the removal tool to remove the face plate as well.

    • Pry up slowly around the edges to prevent damage to the plastic components.

  7. 5ypeEPQY5l4oJmsp
    5ypeEPQY5l4oJmsp
    1uAEe2pFdQNqYC6f
    4tATxDJKUSEJrpkm
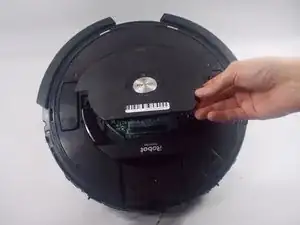
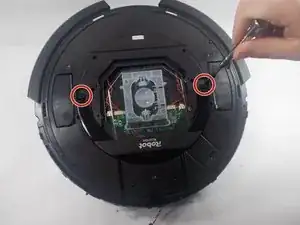
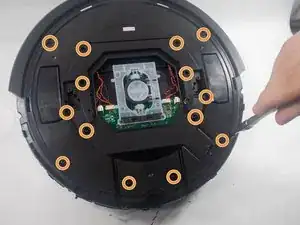
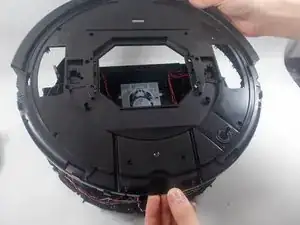
    • Use a Phillips #1 screwdriver to remove the two 9.5 mm handle screws.

    • Use a Phillips #1 screwdriver to remove the fourteen 9.5 mm top plate screws.

    • Lift the top plate off.

  8. SFpEfUuZKXTNqplH
    SFpEfUuZKXTNqplH
    iRPJI2xDooNrDGkA
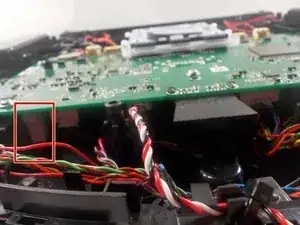
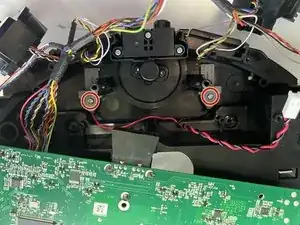
    • Locate the charging contact wire connection to the motherboard.

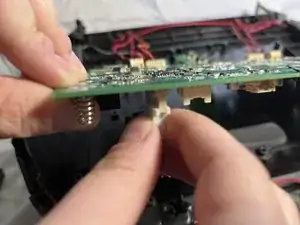
    • Release the connector.

    • Pull gently on the white plug, not the wires themselves.

  9. 2sbHIJByDMSr4D45
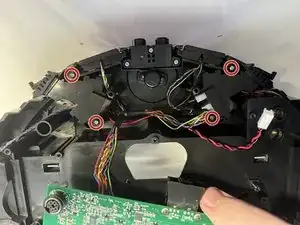
    • Use a Phillips #1 screwdriver to remove the four 9.3 mm bumper sensor screws.

  10. SM1wN1YdSRdRhbkd
    • Use a Phillips #1 screwdriver to remove the two 9.3 mm screws holding the charging contact backings in place.

    • Remove the charging contact backings.

  11. G2JUM3vIvA4j62Lq
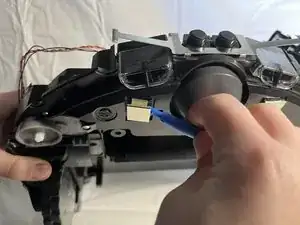
    • Use the iFixit opening tool to gently pry down on the charging contact, on the side closest to the cliff sensor.

    • With the charging contact dislodged, pull it through the Roomba housing.

Conclusion

To reassemble your device, follow these instructions in reverse order.
Devin Steiblin

Member since: 28/03/22

442 Reputation

0 comments