Introduction
Is your Roomba not able to sense surrounding obstacles, preventing it from avoiding such barriers? If so, here is the guide to fix the problem with a simple change of the bumper sensor. All you need are the standard #0 and #1 Phillips Screwdriver heads in order to remove the two types of screws involved with this replacement.
Tools
-
-
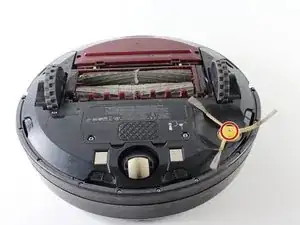
Flip the iRoomba over so that the underside is facing up.
-
Using the Phillips #0 screwdriver, remove the 4.0 mm screw in the center of the yellow side brush.
-
Remove the yellow side brush.
-
-
-
Remove the two 3.5 mm Phillips screws that hold the battery cover onto the Roomba with a Phillips #0 screwdriver.
-
Remove the battery cover.
-
-
-
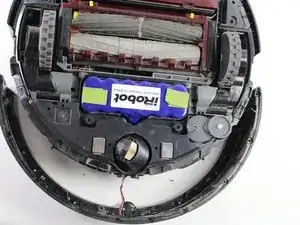
Remove the two remaining 3.5 mm Phillips #0 screws that attach the base-plate to the bottom of the Roomba.
-
Remove the entire base-plate from the bottom of the Roomba.
-
-
-
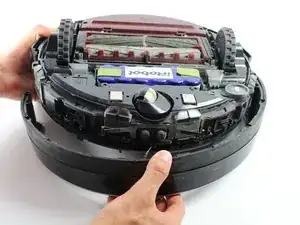
Remove the ten 3 mm screws that attach the bumper guard to the bumper with a Phillips #1 screwdriver.
-
Remove the bumper guard.
-
-
-
Lift up the Roomba so that its bumper is not resting on anything, and slowly separate the bumper from the device.
-
-
-
Remove the two 3 mm screws that attach the sensor connector to the bumper/sensor with a #1 Phillips Screwdriver.
-
Carefully detach the sensor connector from the bumper and the sensor.
-
-
-
Flip the bumper over, ensuring the sensor remains inside the sensor compartment.
-
Gently remove the bumper from the black infrared sensor.
-
To reassemble your device, follow these instructions in reverse order.
3 comments
Can not get to the plug-in area on the board to replace sensor this way. DOES NOT work this way.
man kommt nicht an den Stecker. Die Anleitung bringt überhaupt nichts.
Incomplete. This NEEDs to explain how to access the plug on the board.
Ed T. -


