Introduction
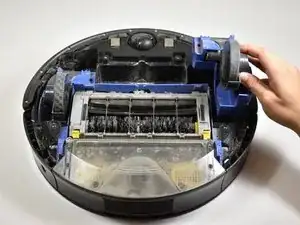
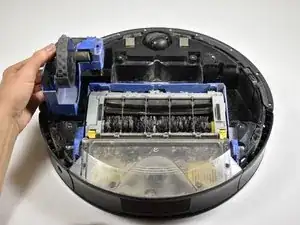
These wheels control the main movement of the device. Since it is one of the main parts used, the tires of the wheel may get worn, debris may get caught inside, or the wheel may just need to be replaced from overuse.
Tools
-
-
Flip the Roomba over so that the wheels are facing up and the dust tray is closest to you.
-
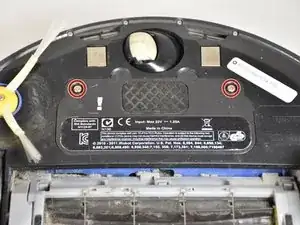
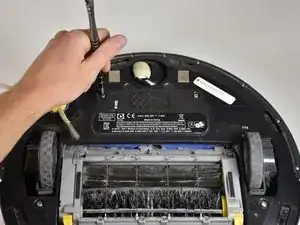
Using the J1 Phillips screwdriver, locate and unscrew the two 11mm phillips screws above the brushes on the battery panel.
-
Remove the plastic plate from the battery box.
-
-
-
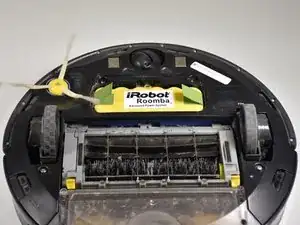
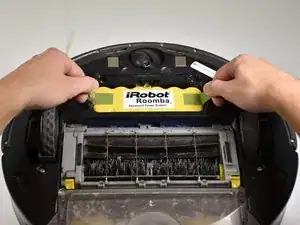
Locate the 2 green tabs on the left and right of the big yellow battery.
-
Grab the tabs with your hands and lift straight upward.
-
-
-
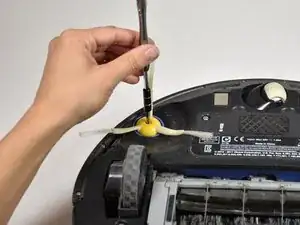
Using the J1 Philips Screwdriver, remove the 15.5 mm screw located in the center of the side brush.
-
Remove the brush by pulling upwards.
-
-
-
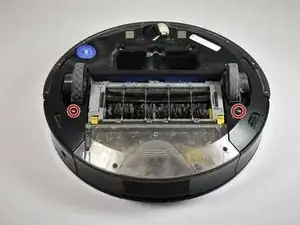
Using the J1 Philips Screwdriver, remove the two 15.5 mm screws located on the bottom of the plate covering the bottom of the roomba.
-
Lift upwards to remove the bottom plate.
-
-
-
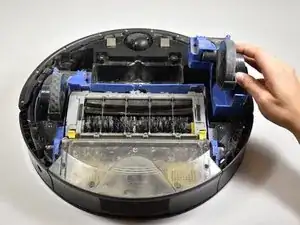
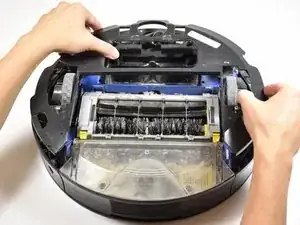
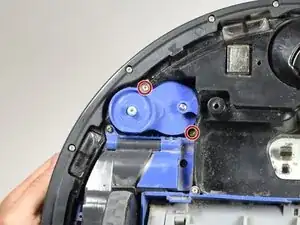
Using the J1 Philips Screwdriver, remove the two gold 15.5 mm screws located on the blue plastic module the side brush had previously been attached too.
-
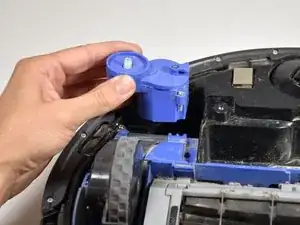
Lift the blue module upwards. The module contains the motor for the side brush.
-
-
-
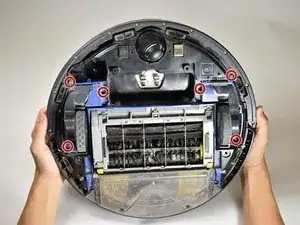
Locate the three 15.5 mm screws surrounding each wheel. Use a J1 Philips screw driver to remove these.
-
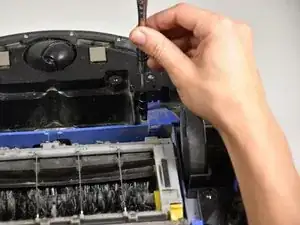
Use your J1 Philips screwdriver to remove these screws.
-
To reassemble your device, follow these instructions in reverse order.
