Introduction
This is when things start to get a little more tricky. Start to be more careful because everything you are dealing with is attached to your motherboard from here on out.
Tools
-
-
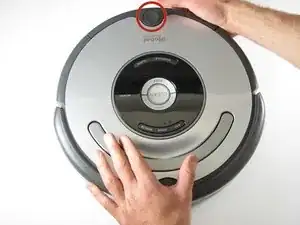
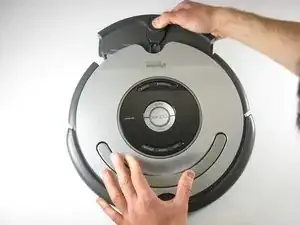
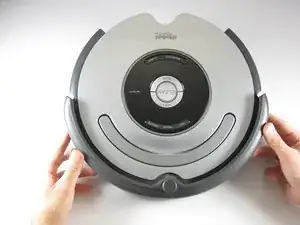
Pull up on the silver handle to release the top protectant plastic
-
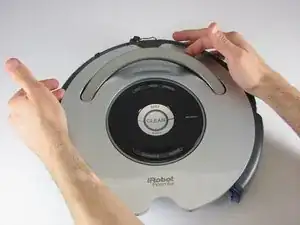
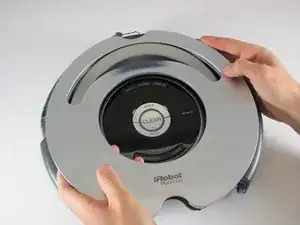
Remove the top plastic carefully
-
-
-
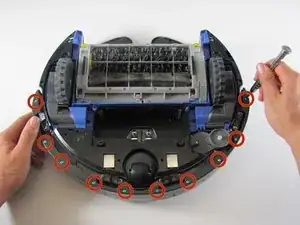
Remove the ten 11mm screws that hold the front bumper to the plastic bumper protector with your Phillips #1 screwdriver.
-
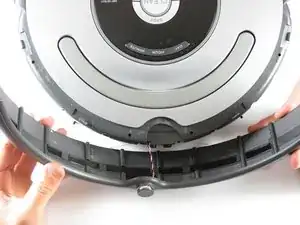
Pull the plastic bumper protector up and off of the bumper.
-
-
-
Flip the Roomba back over, so you are viewing the top.
-
Pull up on the front bumper to remove it.
-
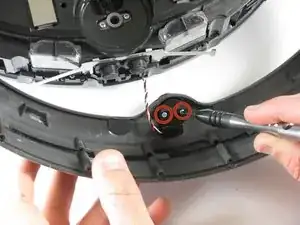
Remove the two 7mm screws with your Phillips #1 screwdriver, holding the wire sensors in place to the front bumper.
-
-
-
The outside six - 10mm screws and the inside set of four - 10mm screws are the same here, use your Phillips head #2 to remove them
-
Use your Phillips head #0 to remove the one - 7mm bottom center screw
-
Use your Phillips head #2 to remove the two - 8mm screws by the handle
-
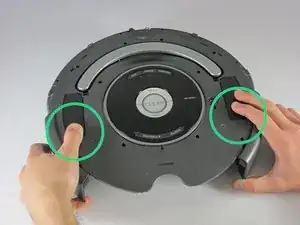
Push down the two release points to pull the plastic piece up
-
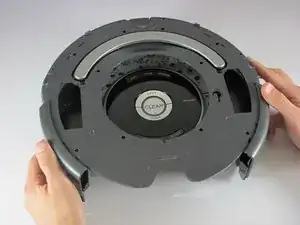
Pull the plastic piece up
-
-
-
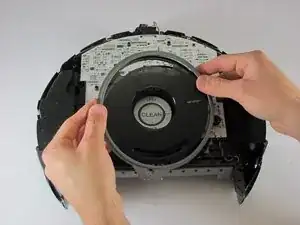
Pull the silver tab, and clear tinted display off
-
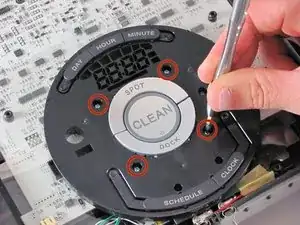
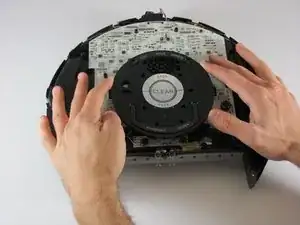
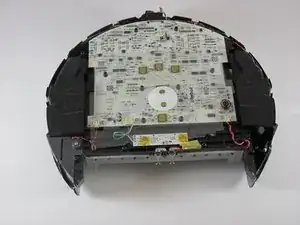
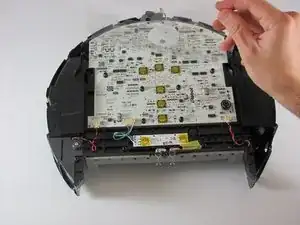
Remove the 4 - 9mm screws holding the display with your Phillips head #0
-
To reassemble your device, follow these instructions in reverse order.

