
Introduction
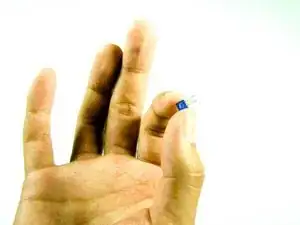
This will involve getting deep into Roomba's inner core and removing the motherboard. The IR transmitter is a small blue device housed in a black plastic casing towards the front of the Roomba. This infrared sensor helps the Roomba to locate itself and detect its surroundings.
-
-
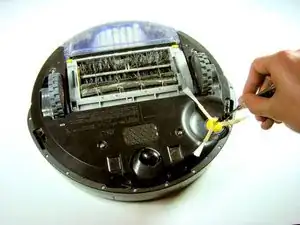
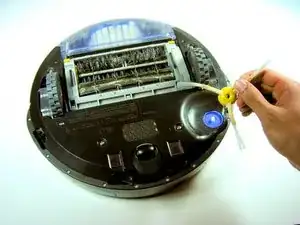
With the Roomba upside down and turned off, use the Phillip's 02 screwdriver to remove the one 3.5 mm screw from the center of the side-brush.
-
Set the screw aside and pull the brush out.
-
-
-
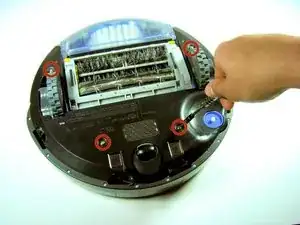
Unscrew the four screws that hold the bottom panel using the Phillips 02 screwdriver.
-
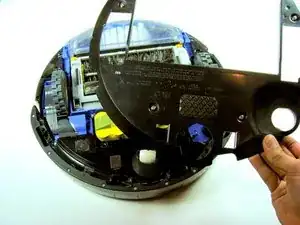
Once you are sure that all the screws have been loosened as much as possible, then lift the bottom panel up off the Roomba.
-
-
-
Once the side brush and bottom panel are out of the way, simply grasp the battery by the two green flaps and pull it out.
-
-
-
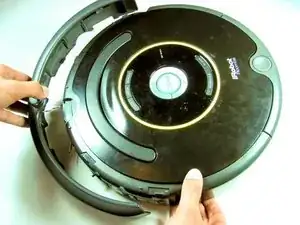
Remove the front bumper. You may remove it with your hands or a tool. It should snap off with some effort. It will still be attached to the Roomba by a couple of wires.
-
-
-
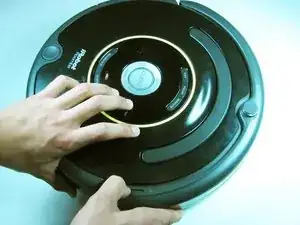
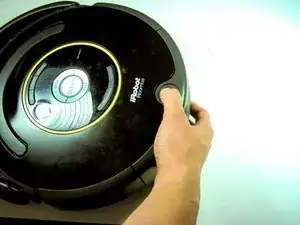
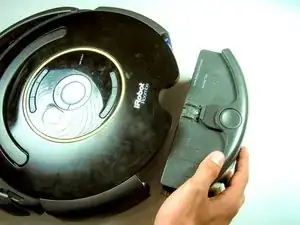
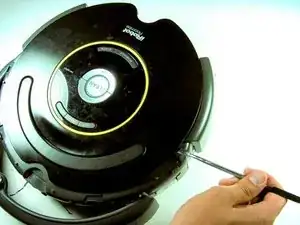
Remove the top plastic cover by first using a plastic opening tool or metal spudger around the edges. Then, carefully lift up from the back.
-
-
-
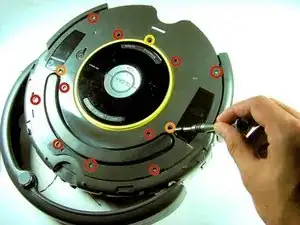
Use the Phillip's Head #1 Screwdriver to take out the 10 5 mm screws.
-
Continue to take out the two 5.5 mm screws with the Phillip's Head #2 Screwdriver.
-
Finally, remove the last 7.5 mm screw with the Phillip's Head #1 Screwdriver.
-
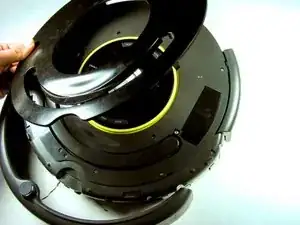
Lift the panel off and set aside.
-
-
-
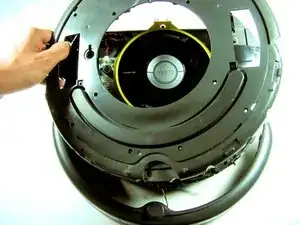
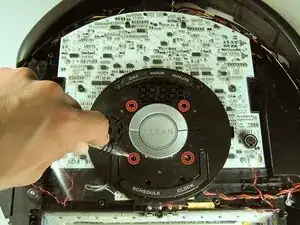
Use the Phillip's #1 Screwdriver to remove the four 7.5 mm screws that hold the control panel to the motherboard.
-
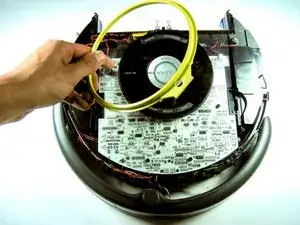
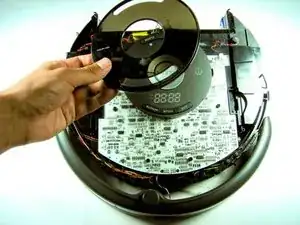
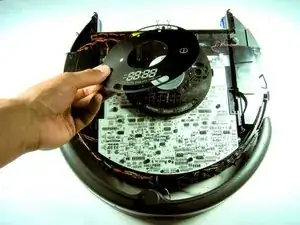
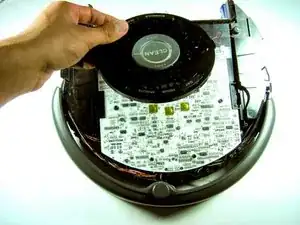
Lift the control panel off, then lift the clear plastic motherboard protecting sheet and set both aside.
-
-
-
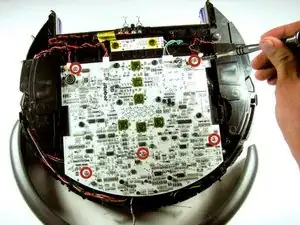
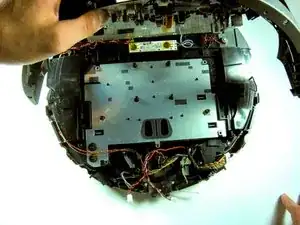
Use the Phillip's Head #1 Screwdriver to remove the five 5.5 mm motherboard screws.
-
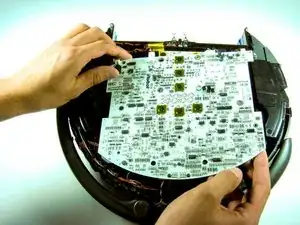
Gently lift the motherboard up off the Roomba about half an inch.
-
-
-
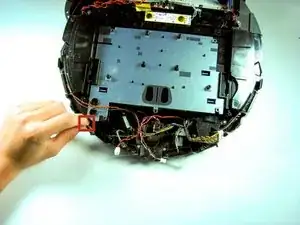
Disconnect the three cables that attach the motherboard to the front of the Roomba.
-
Lift up the motherboard, cliff sensor belt, and front bumper up and out of the way.
-
-
-
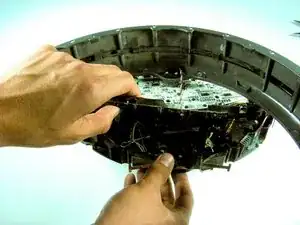
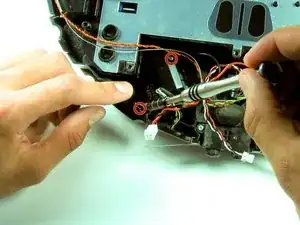
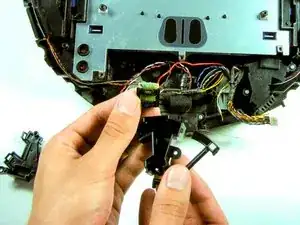
Use the Phillip's #1 screwdriver to remove the two 7.5 mm screws from the bumper sensor module.
-
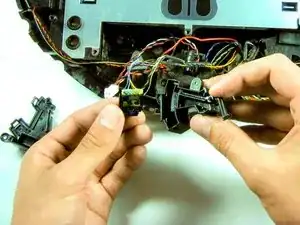
Pry the module clips open with a spudger or your finger.
-
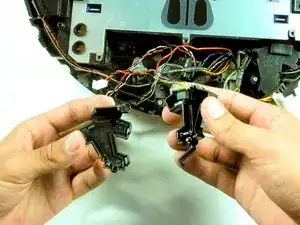
Open the sensor module.
-
-
-
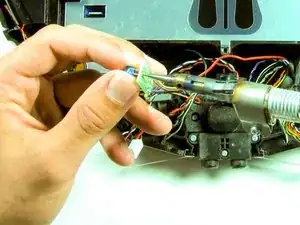
Once the bumper sensor module is open, remove the small IR chip.
-
Pull off the black protector surrounding the chip.
-
-
-
Use a soldering iron to desolder pins on the blue IR receiver. Try repeatedly warming each pin up and giving a tug on the receiver. It should eventually slide out.
-
You will need to then solder in a new receiver in the exact same place you took the old one out.
-


To reassemble your device, follow these instructions in reverse order.
One comment
Hi, I am curious about this given what my 650 is doing... It turns on and runs for 2 minutes before I get the error about cleaning the wheels. Basically, the Roomba goes in a circle to the left and that's it. Occasionally, it will back up to the right, and then go in a faster circle to the left. If I hit the bumper it will go back to the right and then forward again to the left. I replaced the left wheel and it had no impact. Do you think it's the sensor? Thanks