Introduction

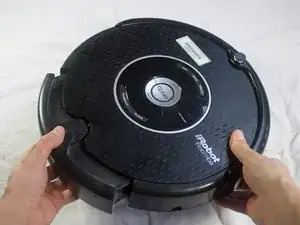
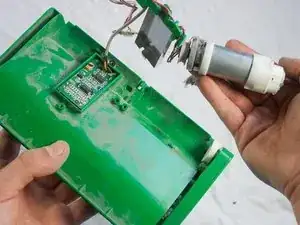
This guide explains how to remove the main brush motor from your Roomba.

  1. xww6MpGjt2iPLipf
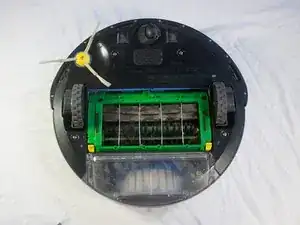
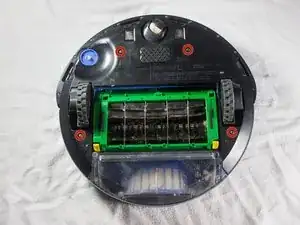
    • Place your Roomba upside-down on a hard surface.

    If all you need off is the faceplate, skip all of the screwdriver-based steps, and just remove the dirt bin(step 7) and start from step 11 at the rear.

    David Forrest -

  2. k15AoIubeqL2P3At
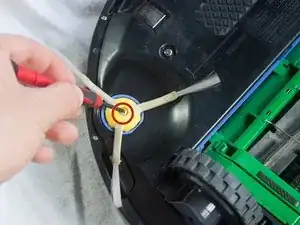
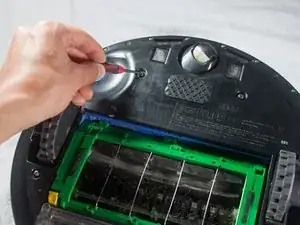
    • While holding the side brush in place, use a Phillips #1 screwdriver to remove the 4.5mm screw from the center of the brush.

  3. sgQM6NRgIJjTtLE1
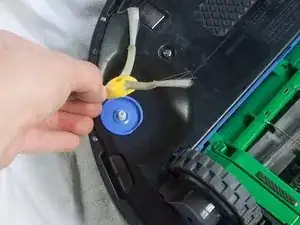
    • Gently pull upwards on the brush to remove it.

  4. XcOFuZuNQIdooCCR
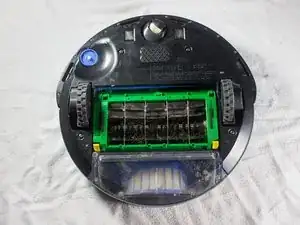
    • Rotate the Roomba upside-down so the bottom is facing towards you.

  5. sBQCXt1RpxprHZ63
    sBQCXt1RpxprHZ63
    QPXMF5sXklLPKvww
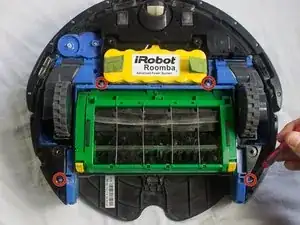
    • Using a Phillips #2 screwdriver, remove the captive screws that hold the bottom plate in place.

  6. rPV6MXjUdsrF2NlA
    • Carefully lift the bottom plate.

    • The battery is only secured in place by the bottom plate, and may fall out once the bottom plate is removed.

  7. 2mPohbNFMmweJOUP
    • Push on the dirt bin release button, and pull gently.

    Might as well do this first, so you don’t dump dirt everywhere when flipping Roomba over.

    maccentric -

  8. AAqyHCgBFqcVsmbG
    • Use a Phillips #1 screwdriver to loosen the 4 captive screws around the case .

  9. DENUZk5AYLRfpTHD
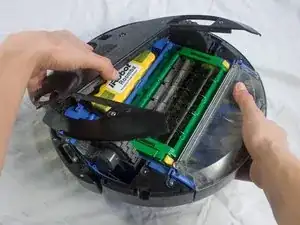
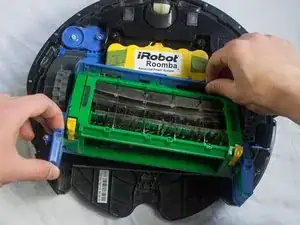
    • Grab the brush case and pull upwards to remove.

  10. PjVuiTV1mMoboeYL
    PjVuiTV1mMoboeYL
    boL4GJnlNINlUUEI
    YPCUDWPlMHAjgDPN
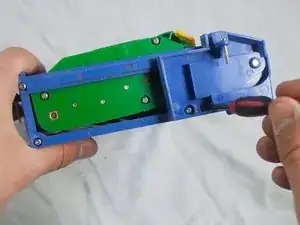
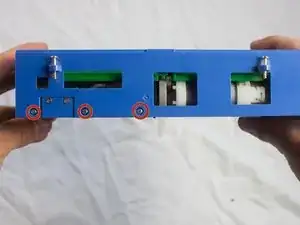
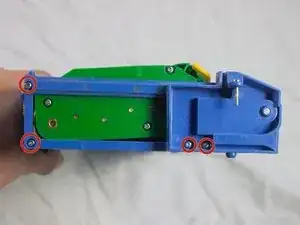
    • Use a Phillips #1 screwdriver to remove the 9.5mm screws from the side of the brush case, and pull to detach.

    • Repeat for the opposite side of the brush case.

  11. cUNifDPGdAxs4iuY
    cUNifDPGdAxs4iuY
    2RlDZZNLplNyoamD
    gZFB5gZVybPToFfQ
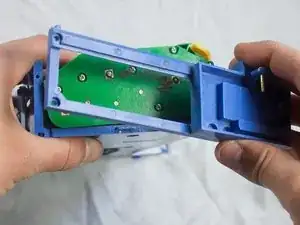
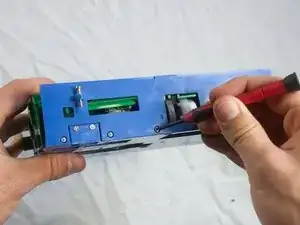
    • Use a Phillips #1 screwdriver to remove the three 5.0mm screws from the back of the brush case.

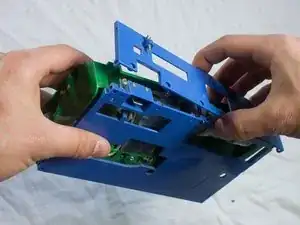
    • Pull off the back of the brush case.

  12. cpEhoAbQvOjQSjaa
    cpEhoAbQvOjQSjaa
    nBKpsc2rSx2eKmTO
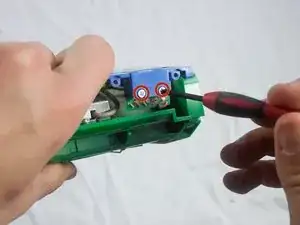
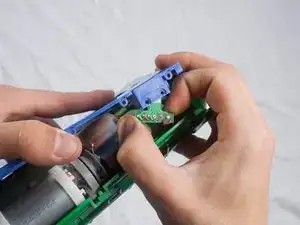
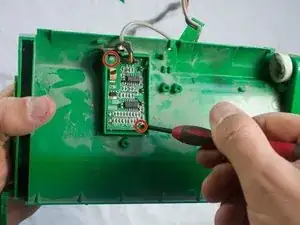
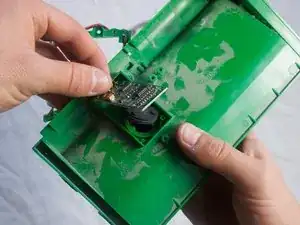
    • Use a Phillips #1 screwdriver to remove the two 1.5mm screws securing the chip in place.

    • Remove the chip from its housing in the blue brush case.

  13. WNWkIpKaHNXr3KZT
    WNWkIpKaHNXr3KZT
    RHBdiCKdrswXLG1q
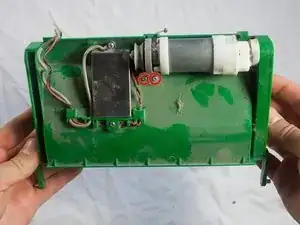
    • Use a Phillips #1 screwdriver to remove the two 5.5mm screws securing the motor in place.

  14. YeNPLEmLPrcYGgmW
    YeNPLEmLPrcYGgmW
    ZHU4yPFkwsN3Cvm4
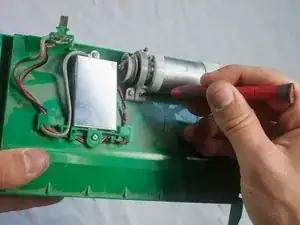
    • Use a Phillips #1 screwdriver to remove the two 4.5mm screws on the top and bottom of the metal plate.

    • Pull out the motor and metal covering.

  15. HaXLJeBc6ZrjOH6q
    HaXLJeBc6ZrjOH6q
    4ilvqWUaMQHwwoMV
    CSCBtONfMwRS6GUC
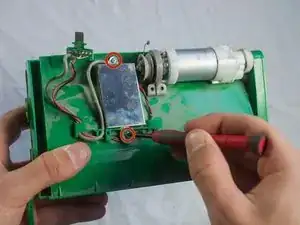
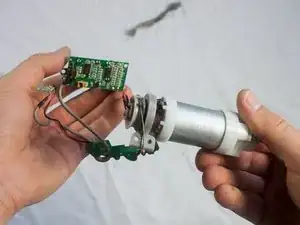
    • Use a Phillips #1 screwdriver to remove the two 3.5mm screws on the corners of the circuit board.

    • Gently pull out the circuit board.

Conclusion

To reassemble your device, follow these instructions in reverse order.
John McTigue

Member since: 31/01/14

331 Reputation

0 comments