Introduction
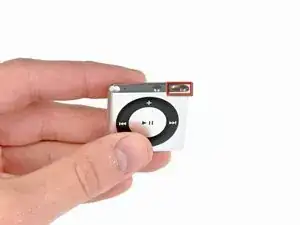
Replace a damaged rubber control button cover.
-
-
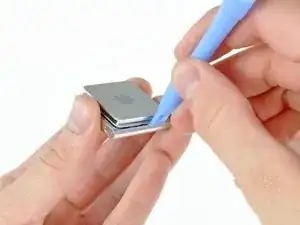
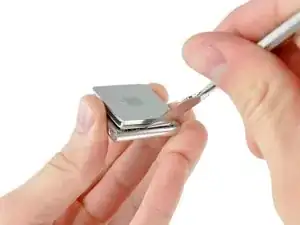
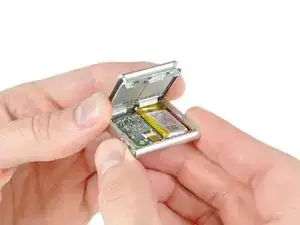
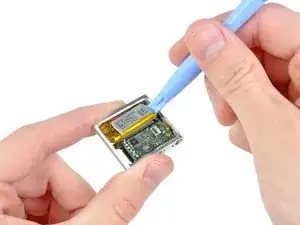
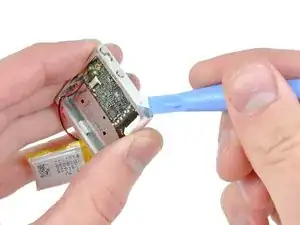
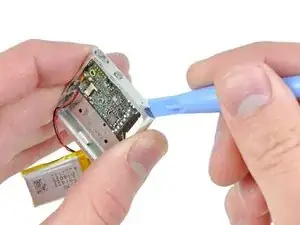
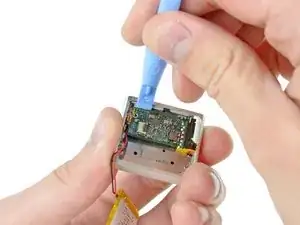
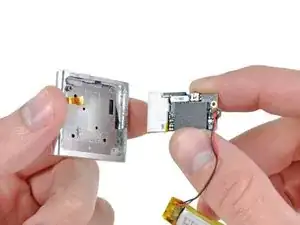
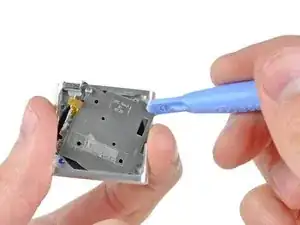
Use a combination of iPod opening tools and metal spudgers to pry the rear panel away from the Shuffle by the seam nearest the ON/OFF switch.
-
-
-
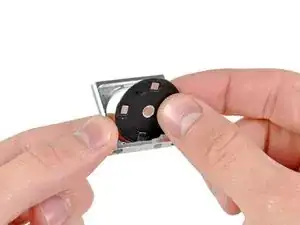
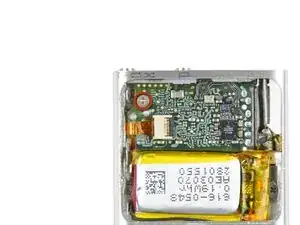
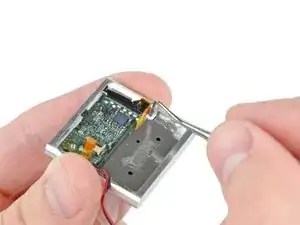
Use the edge of an iPod opening tool to flip up the retaining flap on the control button cable ZIF socket.
-
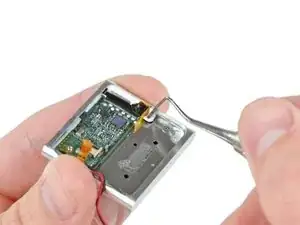
Use a pair of tweezers to gently pull the control button ribbon cable out of its socket.
-
-
-
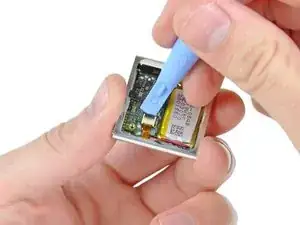
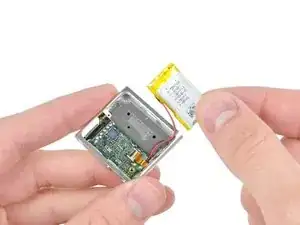
Use an iPod opening tool to gently pry the battery off the adhesive securing it to the front case.
-
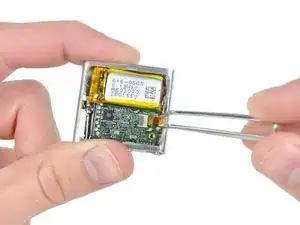
Lift the battery out of the front case, being sure not to strain its delicate leads.
-
-
-
Insert the tip of a metal probe into the hole molded into the logic board retainer nearest the logic board.
-
Pry the retainer first away from the front of the front case, then pull it away from the side of the front case.
-
Remove the logic board retainer from the Shuffle.
-
-
-
Use the edge of an iPod opening tool to push the headphone jack down toward the center of the Shuffle.
-
-
-
Continue pushing the logic board down away from the top edge of the Shuffle.
-
Pull the logic board out of the front case by the side nearest the ON/OFF button and gently maneuver the headphone jack out of its recess in the front case.
-
Remove the logic board assembly from the Shuffle.
-
-
-
Remove the following four screws:
-
Two 1.2 mm Phillips screws with large heads.
-
Two 1.6 mm Phillips screws with small heads.
-
-
-
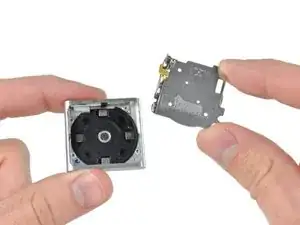
Use an iPod opening tool to pull the control button plate out of the front case.
-
Remove the control buttons from the Shuffle.
-

To reassemble your device, follow these instructions in reverse order.

2 comments
Great job my friend
Hola, quisiera saber donde poder localizar las piezas de repuesto de la botonera play/pause tanto la pieza electrónica como la botonera. Gracias
Verónica -
I managed to open mine using no tools at all so without damage. Maybe the glue also weakened over time so might need to use some heat. I didn’t but then again it’s a second hand, old device in my case.
I used the clip on the back as a leverage to (ever so slightly) bend the back piece in the center. Having that bend is enough for the very small clips on the power switch side to detach. Once that side is removed you can slide the complete back out towards the direction of the power switch. I checked on a flat surface and the piece isn’t damaged, still straight. Just don’t keep it bend too long and don’t over bend it. It really shouldn’t take much since those notches are really small.
To close it again just slide the back side in again and then snap the power switch side back in place by lightly pressing it on top. Since the clips aren’t damaged this way it will close up nicely. If the notches got damaged you’ll have to use glue instead (hot glue will do and is easily removable again).
Ha ns -
what do you mean by bend the back piece in the center?! How do you do that exactly? Did you stick something in between the back piece and the clip and press in?
Jackson Chan -
I completely agree with Ha ns' comment. I really cannot understand how the author managed to open this device as described. There must be something like a 0.1mm gap between the housing and the cover, impossible to enter a spudger or pry tool. Use a lever on the hinged side of the clip to lift the cover, insert a 0.2mm plastic film or a thin plectrum or spudger on the bent center of the cover. Avoid to push the spudger down, as there are electronic components underneath, only lift the cover, without overbending. Move over to the side of the on/off switch, and release the 3 clips. On the other end an 8mm long nose will avoid lifting off the cover. You will have to slide it out horizontally. Clearly: you have to be very very careful and gifted...
cloclolulu -