
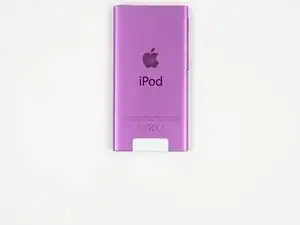
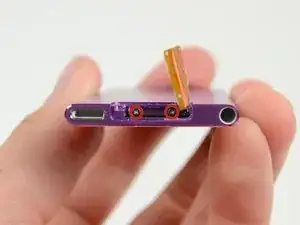
Introduction
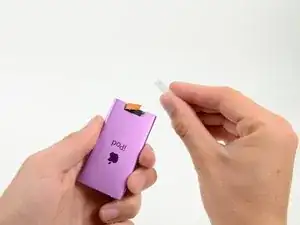
Use this guide to replace a faulty home button in your 7th Generation iPod Nano.
-
-
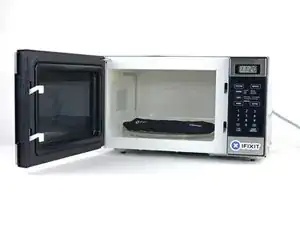
Heat the iOpener for thirty seconds.
-
Throughout the repair procedure, as the iOpener cools, reheat it in the microwave for an additional thirty seconds at a time.
-
-
-
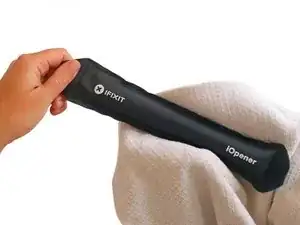
Remove the iOpener from the microwave, holding it by one of the two flat ends to avoid the hot center.
-
-
-
Fill a pot or pan with enough water to fully submerge an iOpener.
-
Heat the water to a boil. Turn off the heat.
-
Place an iOpener into the hot water for 2-3 minutes. Make sure the iOpener is fully submerged in the water.
-
Use tongs to extract the heated iOpener from the hot water.
-
Thoroughly dry the iOpener with a towel.
-
Your iOpener is ready for use! If you need to reheat the iOpener, heat the water to a boil, turn off the heat, and place the iOpener in the water for 2-3 minutes.
-
-
-
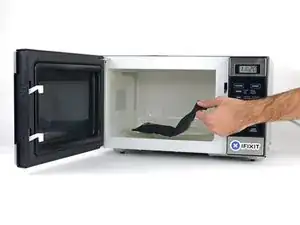
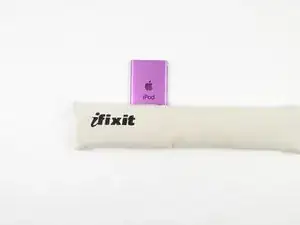
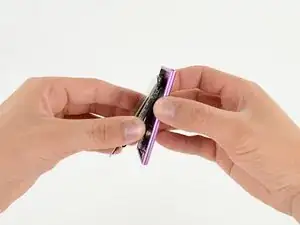
Lay the iOpener over the plastic tab to loosen the adhesive. Let the bag sit on the device for approximately 90 seconds before attempting to open the panel.
-
-
-
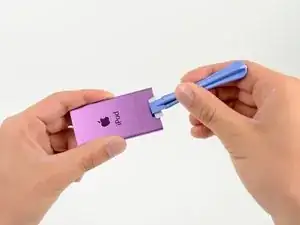
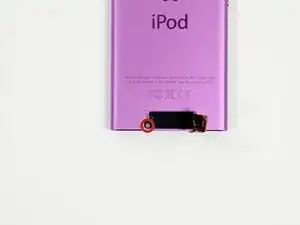
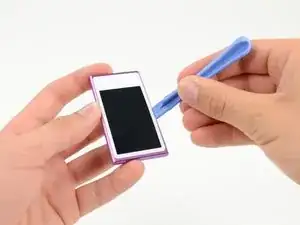
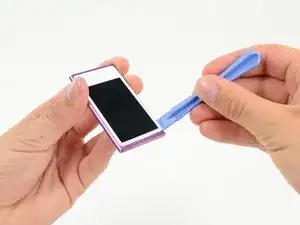
Use a plastic opening tool to pull the rear plastic cover away from the device until there is enough room to insert a spudger.
-
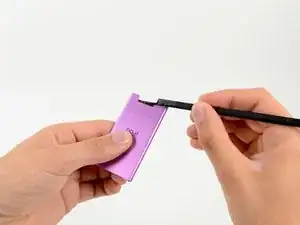
Insert a spudger under the cover, then pry it up and away from the device.
-
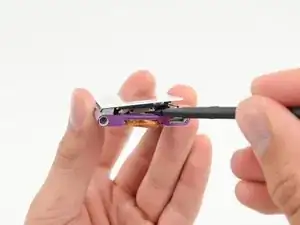
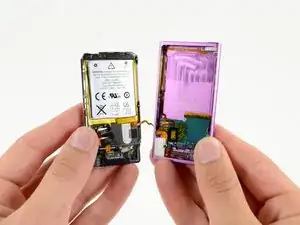
Remove the rear plastic cover from the iPod.
-
-
-
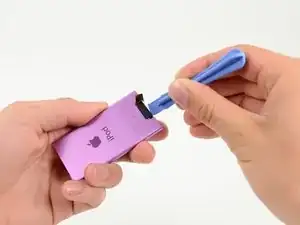
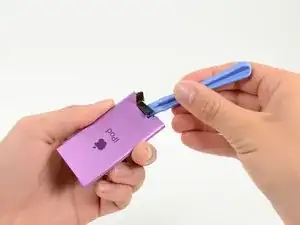
Insert a plastic opening tool into the seam between the white plastic front panel and the rear case.
-
Slide the opening tool along the edge of the front panel to free it from clips and adhesive.
-
-
-
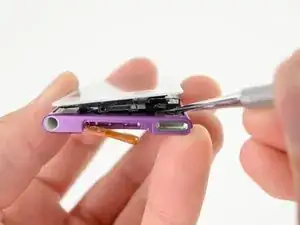
Use a metal spudger to carefully pry near the Lightning connector and under all parts of the front panel assembly: the front glass/digitizer, the LCD display and the metal midframe.
-
-
-
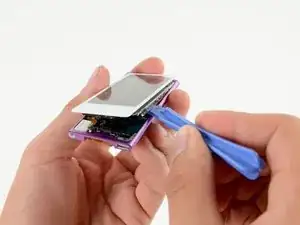
Continue prying along the edges under the front panel assembly, releasing the clips and adhesive along the sides of the device.
-
-
-
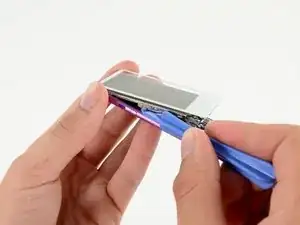
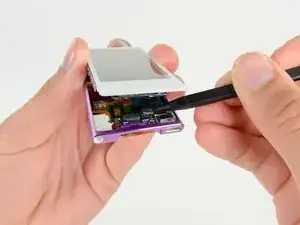
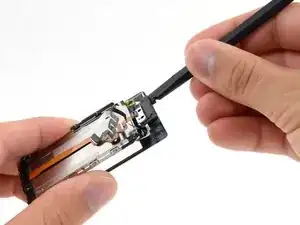
Insert a spudger under the metal midframe and display on the left side of the home button.
-
Rotate the spudger around the home button and across the front panel, releasing the adhesive holding the display in place.
-
-
-
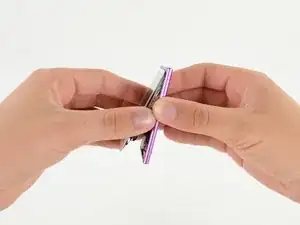
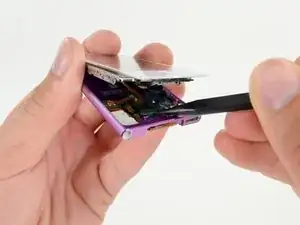
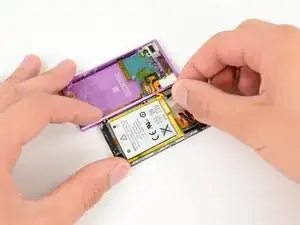
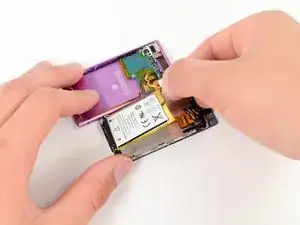
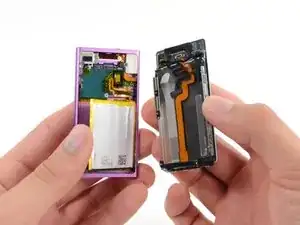
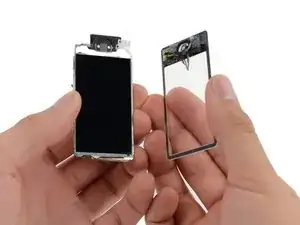
Once all of the adhesive has been released, gently separate the display assembly from the front glass/digitizer.
-
-
-
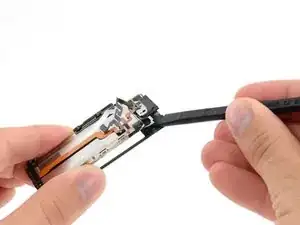
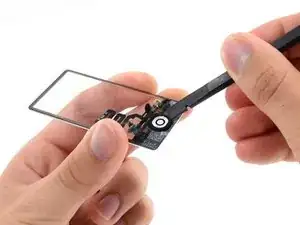
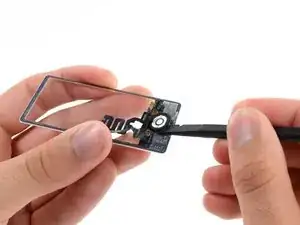
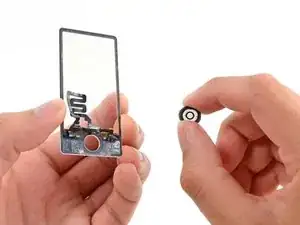
Use the flat end of a spudger to push the home button gasket toward the center of the button to release the light adhesive.
-
Work your way around the home button in this manner until you can easily remove the button from the front glass.
-


To reassemble your device, follow these instructions in reverse order.

I didn't find this to be as hard as I had built it up in my mind to be; HOWEVER, saying that I need to say years ago I was the local Nokia service center in my town. But many years ago right after they got rid of analog times. Yeah. A classic installer/repairer mistake when starting something they haven't fixed or installed before is picking up the instructions, flipping through them; maybe even reading a section that is new-then tossing the instructions over the shoulder. "I got this." This usually comes right before something major gets broke. And I can tell you when you try to do it yourself and then mess it up horribly then take it to the repair shop. Well we called that "I can do it myself" syndrome and charged extra to put back together what they brought in in the box. Now knowing all this - I can't stress this enough because I am stupid, stupid, stupid. COVER YOUR SCREEN IN CLEAR BOXING TAPE AND READ ALL THE INSTRUCTION BELOW THROUGH TO THE END BEFORE EVEN ATTEMPTING THIS FIX. Take my advise.
windizy -