Introduction
A prerequisite for removing the logic board assembly.
-
-
Use a heat gun to soften the adhesive underneath the plastic bezel at the bottom of the iPod.
-
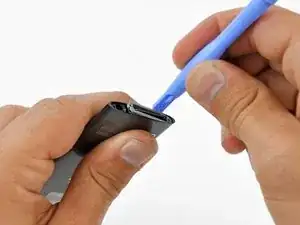
Use a plastic opening tool to pry the bezel from the case of the iPod and remove it.
-
-
-
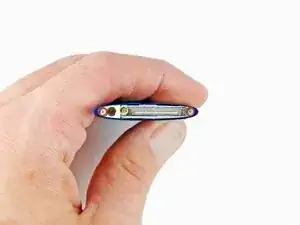
Unscrew three screws from the bottom of the iPod:
-
Two 4.4 mm angled Phillips screws
-
One 5.4 mm Phillips screw.
-
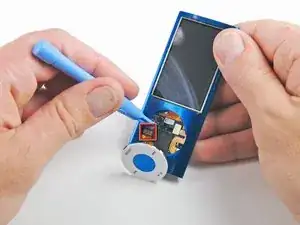
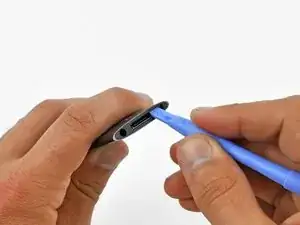
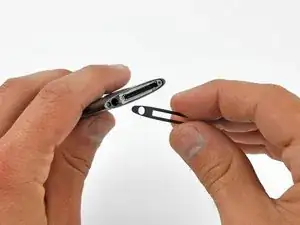
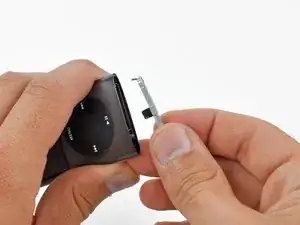
Use a plastic opening tool to pry the metal retainer out from the bottom of the iPod and remove it.
-
-
-
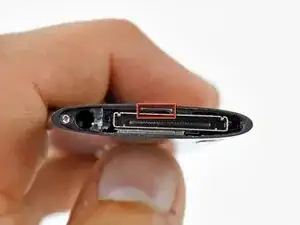
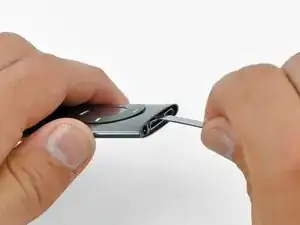
Insert a metal spudger into the slot at the bottom of the iPod just above the dock connector.
-
Use the metal spudger to pry up the bottom edge of the click wheel.
-
-
-
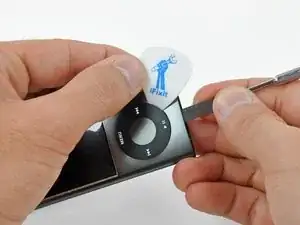
Place a guitar pick between the click wheel and the case of the Nano and remove the metal spudger.
-
Pry up the edges of the click wheel with the guitar pick until the click wheel comes free from the case.
-
-
-
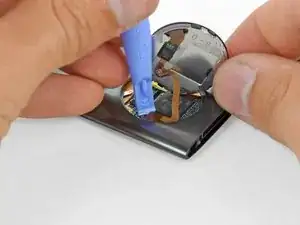
Lift the click wheel out of the way with one hand and use a plastic opening tool to pry the click wheel ribbon cable connector off its socket on the logic board.
-
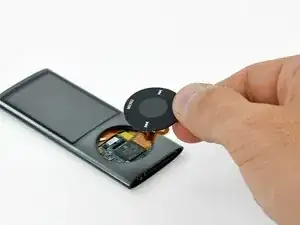
Remove the click wheel.
-

To reassemble your device, follow these instructions in reverse order.

On the Nano I worked on I had to do steps 12-14 before step 10 because the metal plate on the bottom is one of the two things holding the click wheel in place.
ethan -
You MUST remove the bottom plate BEFORE forcing of the wheel or you WILL tare it apart as there is a lug on the bottom plate that holds the wheel in place ( wish I had known this before I damaged mine)
also do not lose the very small spring that is under the wheel (I DID )
Keith -
+1. There is a tiny piece of plastic containing a little spring just under the wheel. Remove thoses parts before extracting the main board or you will probably loose them.
jonathanct -