Introduction
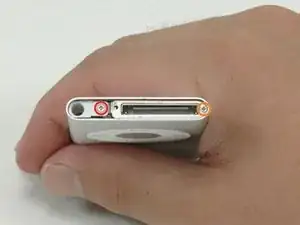
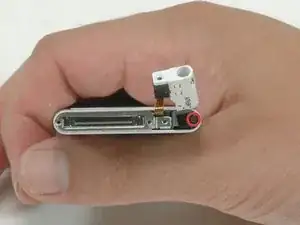
The metal bracket within your iPod.
-
-
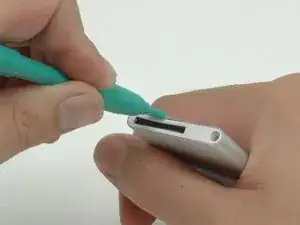
Carefully insert an iPod opening tool in the seam between the metal casing and white plastic bezel
-
Lift the bottom bezel off the iPod. It's glued on using a mild adhesive, so some force may be required.
-
-
-
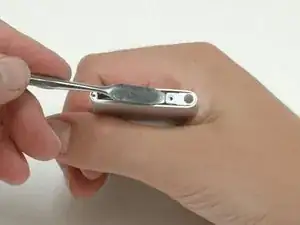
Remove the following two screws:
-
One #00 Phillips screw with a large head near the headphone jack.
-
One #00 Phillips screw with a smaller head near the side of the iPod. This screw strips easily, so be sure to press down firmly on the screwdriver.
-
-
-
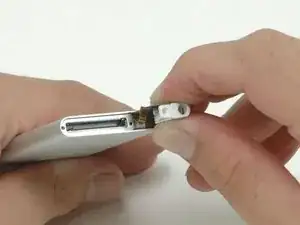
Use a metal spudger to carefully pry the headphone jack out of the casing. DO NOT remove the headphone jack from the iPod entirely, as it is connected via a fragile ribbon connector to the click wheel.
-
-
-
Slide the headphone jack out until the white plastic housing is no longer held in place by the metal casing.
-

To reassemble your device, follow these instructions in reverse order.