-
-
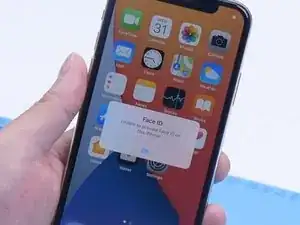
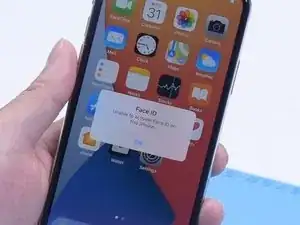
The phone used to keep restarting. After testing, it was found that the earpiece flex cable was faulty. We replaced it with a new earpiece flex cable. The restarting problem was fixed but Face ID was not working and True Tone disappeared.
-
-
-
If the Face ID is not working because the earpiece flex cable has been replaced or damaged, there is no way to repair it. But recently this type of problem has a solution and the original flex cable is no longer needed.
-
In the first place, we need to jailbreak the iPhone. Connect the phone with the computer. Open the software and click “Start”. The phone is in recovery mode automatically. Put the phone into DFU mode manually. The jailbreaking has succeeded.
-
-
-
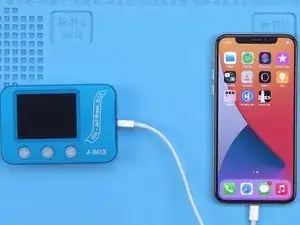
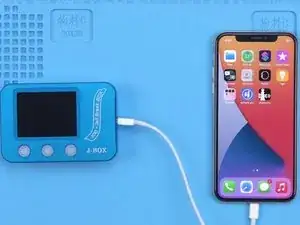
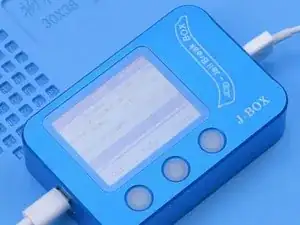
Then connect the phone to J-BOX. Connect the J-BOX to the computer. Select “Face”. Begin reading data.
-
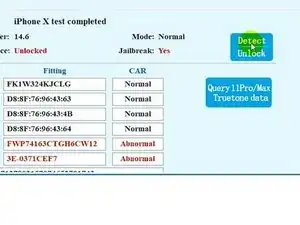
We can see that the data of the distance sensor and ambient light sensor don’t match the data on the motherboard. It can be confirmed that the earpiece flex cable has been replaced, which resulted in the Face ID not working.
-
-
-
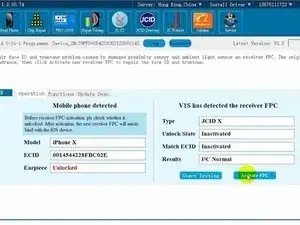
Open the JCID Repair Assistant. Click “Detect” and unlock automatically.
-
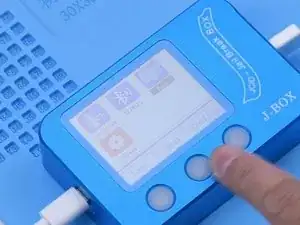
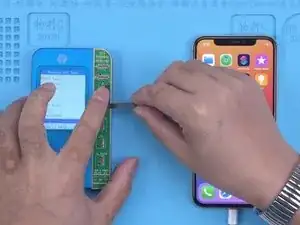
Then we use V1S to write the data. Connect V1S and phone to the computer. Get a new JC earpiece flex cable. Attach the earpiece flex cable to V1S.
-
-
-
Open the JCID Repair Assistant again. Click “Connect” and start testing.
-
Click “Activate FPC”. Bind the flex cable to the phone.
-
-
-
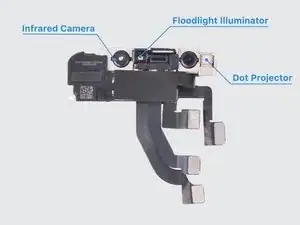
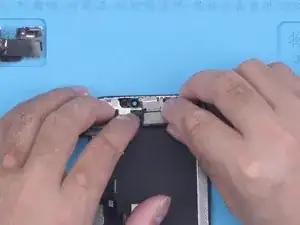
Next, we only need to install the new flex cable with written data. Disassemble the phone and disconnect the flex cables. Remove the display assembly and detach the earpiece flex cable. Install the new earpiece flex cable.
-
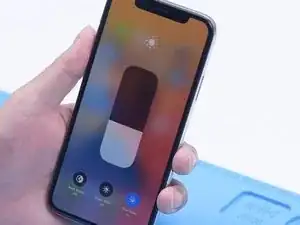
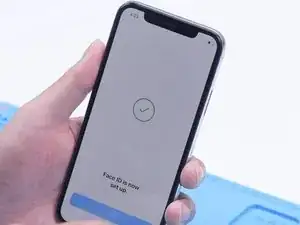
Connect the display assembly. Assemble the phone. Turn on the phone to test. True Tone has been restored. Face ID can be set up and is working normally.
-


To reassemble your device, follow these instructions in reverse order.