Introduction

Prereq only, battery removed.

  1. mivJodAJvp3NQeYW
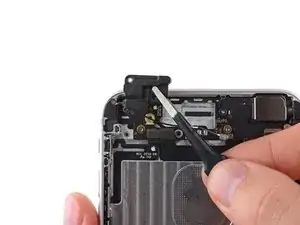
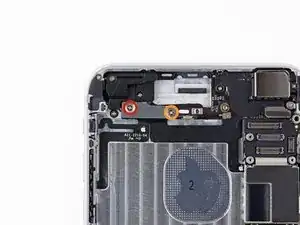
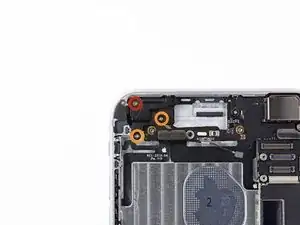
    • Remove the following screws securing the antenna bracket to the rear case:

    • One 1.5 mm Phillips #00 screw

    • One 2.8 mm Phillips #00 screw

  2. 4jIaICSpQl1t5LTs
    • Grasp the antenna bracket with a pair of tweezers and lift it off the iPhone.

  3. e6Cj2yVlGHflOFfa
    • Carefully pry the antenna connector up off the logic board with a plastic opening tool.

  4. x5THx4ixbypHg4KJ
    x5THx4ixbypHg4KJ
    hQqBrh3FE3iFdpAT
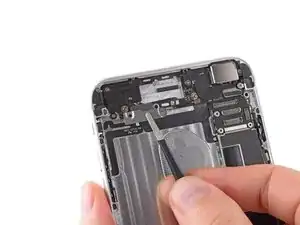
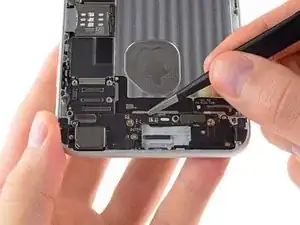
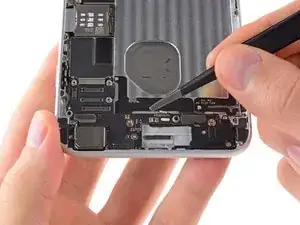
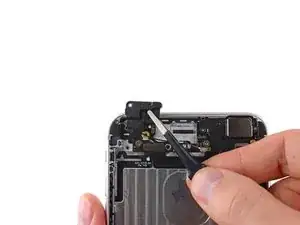
    • Grasp the antenna connector with a pair of tweezers and gently lift it from its retaining clip on the logic board.

  5. jLPj1V5wIuarmMbm
    jLPj1V5wIuarmMbm
    oE6H1mmSLPjOITLU
    • The two connectors may be coupled by a single adhesive tab. If this is the case, then they may detach as a pair.

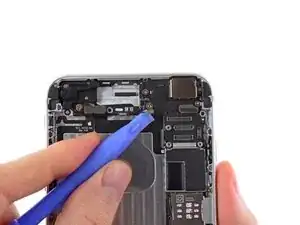
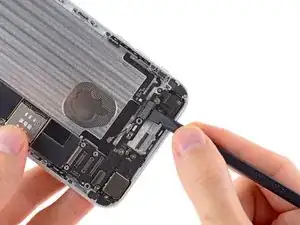
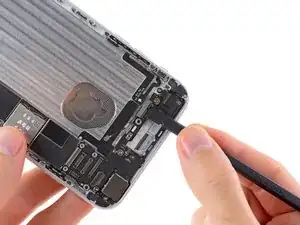
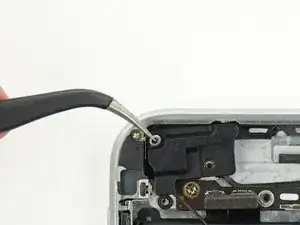
    • Disconnect the power button cable and audio control cable connectors from their respective sockets on the logic board.

  6. va31VCGQEow3OneE
    • Remove the following screws securing the top cellular antenna to the rear case:

    • One 2.8 mm Phillips #00 screw

    • Two 1.6 mm Phillips #00 screws

  7. iSqQyNZbjgxWCcx1
    iSqQyNZbjgxWCcx1
    UIxNw3rHhQRITTCg
    • Use a pair of tweezers to grasp and remove the top cellular antenna out of the iPhone.

    • During reassembly, make sure to place the small washer in the top left corner of the antenna assembly.

Conclusion

To reassemble your device, follow these instructions in reverse order.

Walter Galan

694047 Reputation

0 comments