Introduction
Prereq for display assembly.
Tools
-
-
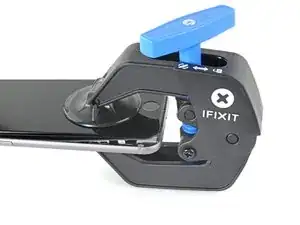
Pull the blue handle backwards to unlock the Anti-Clamp's arms.
-
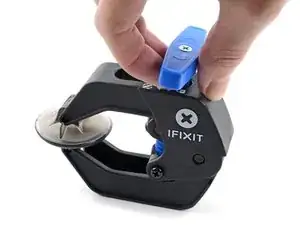
Slide the arms over either the left or right edge of your iPhone.
-
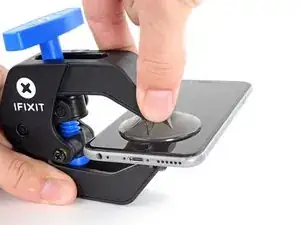
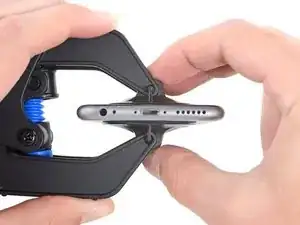
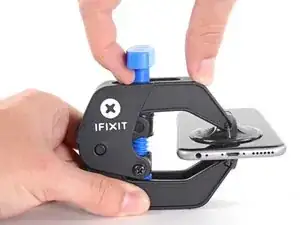
Position the suction cups near the bottom edge of the iPhone just above the home button—one on the front, and one on the back.
-
Squeeze the cups together to apply suction to the desired area.
-
-
-
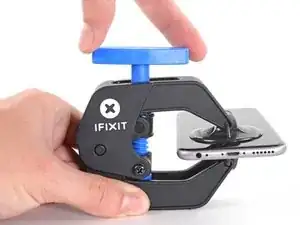
Pull the blue handle forwards to lock the arms.
-
Turn the handle clockwise 360 degrees or until the cups start to stretch.
-
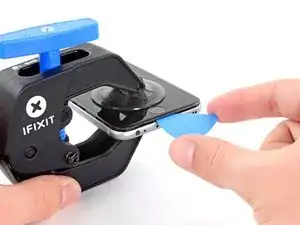
Insert an opening pick under the screen when the Anti-Clamp creates a large enough gap.
-
Skip the next three steps.
-
Conclusion
To reassemble your device, follow these instructions in reverse order.

I found that the single suction cup from the kit worked very well. It didn’t take that much force to separate the front panel from the phone. I think any suction cup that you are able to get a firm grip on will probably work as well. There isn’t any adhesive holding the front panel in. It just snaps in and out. If you have a cracked screen and no screen protector, it may be hard to get a good suction seal. If that’s the case, someone else here suggested applying clear tape to the front glass to get a good surface for applying the suction cup. In my case, I already had a screen protector that was still intact so the suction cup sealed easily.
fiftysomething -
WORKED PERFECTLY… easy, no harm at all…. thanks a lot
carlos restrepo -