Introduction
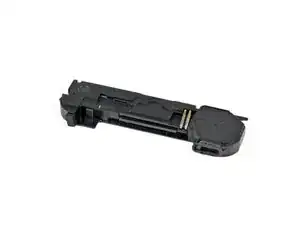
Use this guide to replace a blown speaker enclosure closest to the bottom edge of the iPhone 4.
Tools
Parts
-
-
Power off your iPhone before beginning disassembly.
-
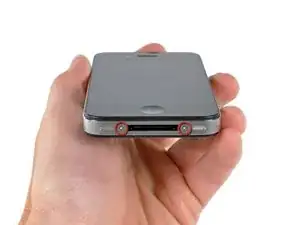
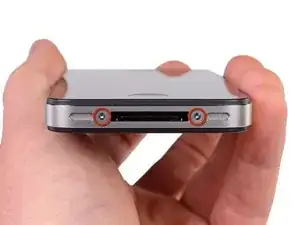
Your iPhone 4 rear cover may have either two #000 Phillips screws or Apple's 5-Point "Pentalobe" screws (second image). Check which screws you have, and ensure you also have the correct screwdriver in order to remove them.
-
Remove the two 3.6 mm Pentalobe or Phillips #000 screws next to the dock connector.
-
-
-
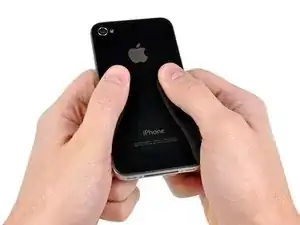
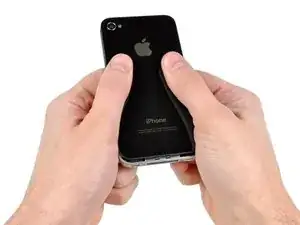
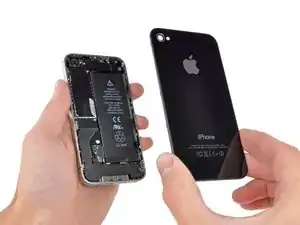
Pinch the rear panel with your fingers and lift it away from the iPhone. Alternatively, use a Small Suction Cup .
-
-
-
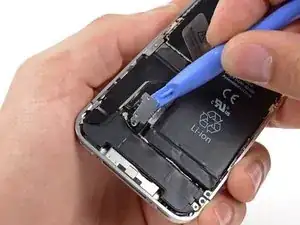
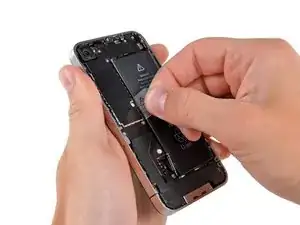
Use a plastic opening tool to gently pry the battery connector up from its socket on the logic board.
-
Remove the metal clip covering the antenna connector.
-
-
-
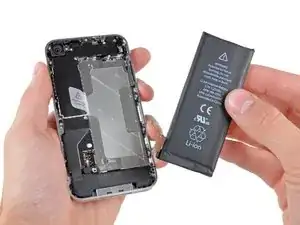
Use the clear plastic pull tab to gently lift the battery out of the iPhone.
-
If there's any alcohol solution remaining in the phone, carefully wipe it off or allow it to air dry before installing your new battery.
-
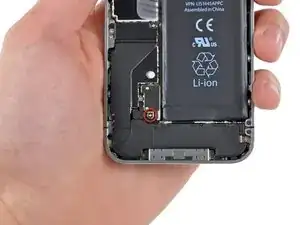
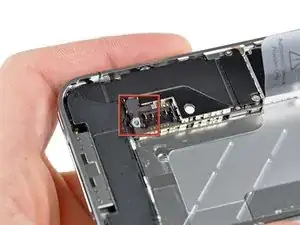
Before reconnecting the battery connector, be sure the contact clip (shown in red) is properly positioned next to the battery connector.
-
-
-
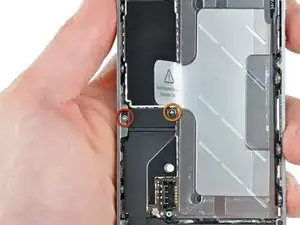
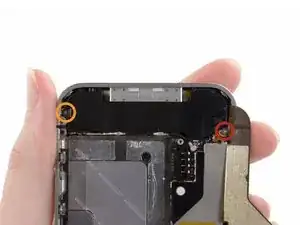
Remove the following two screws:
-
One 1.2 mm Phillips
-
One 1.6 mm Phillips
-
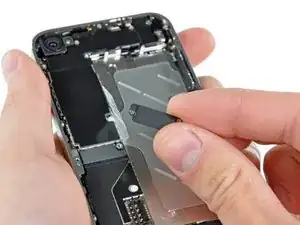
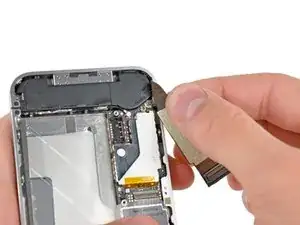
Remove the thin steel dock connector cable cover from the iPhone.
-
-
-
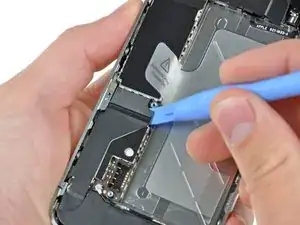
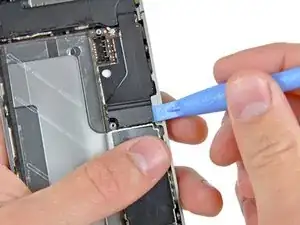
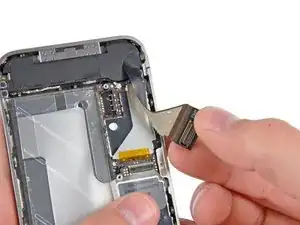
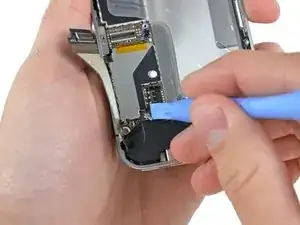
Use a plastic opening tool to gently pry the dock cable connector up off the logic board from both short ends of the connector.
-
-
-
Use a plastic opening tool to pry the lower antenna connector up off its socket on the logic board.
-
-
-
Remove the following screws securing the speaker enclosure assembly to the outer case:
-
One 1.9 mm Phillips screw
-
One 2.4 mm Phillips screw
-
-
-
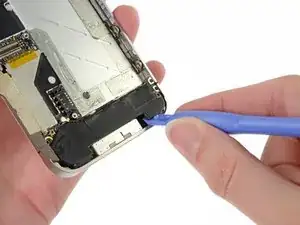
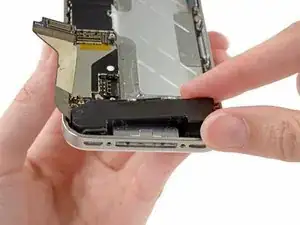
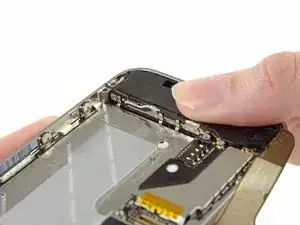
Use a plastic opening tool to lift the speaker enclosure assembly out of the case, being sure not to damage the EMI fingers on the attached Wi-Fi antenna.
-
Remove the speaker enclosure assembly.
-
-
-
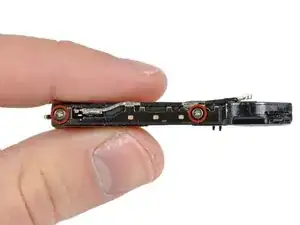
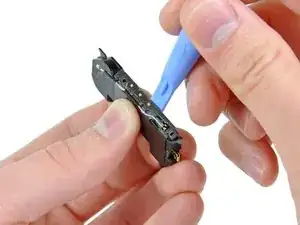
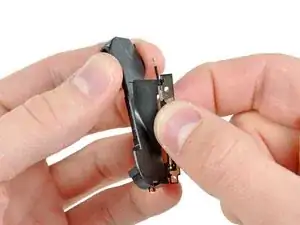
Starting near the cellular antenna cable, use the edge of a plastic opening tool to peel the antenna off the speaker enclosure. Make sure you insert the plastic opening tool under the plastic the antenna is mounted on, not the metal plate.
-
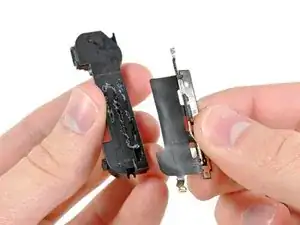
Continue peeling the cellular antenna off the speaker enclosure, being careful not to rip the gold bracket attached to one of its edges.
-
Remove the cellular antenna.
-
To reassemble your device, follow these instructions in reverse order.
7 comments
My speaker was blown, just out of warranty. Apple wanted $199 to replace my phone. Bought the speaker enclosure, used your guide, put it all back together, and everything works perfectly! You save me a bunch of money! Great pics and instructions!
robrogg -
ребята всё просто и понятно, глаза бояться руки делают! первый раз в жизни разбирал айфон ))) после сборки, всё окей :) процедура заняла 20 минут
I replaced my iPhone 4's speaker closure successfully with this guide. Note that:
1. I skipped Step 13 to 19, which seem to be irrelevant to replacement of speaker closure.
2. I did not pull the battery out. Only disconnect the battery connector.
yangchen -

using something like the 18-compartment tray will GREATLY help with this one; there are over a dozen groups of parts. For re-assembly having a digital calipers to measure the 2.4 vs the 2.6mm screws also helps greatly.
awr -
My method for hardware management during delicate phone surgery is to take and print out on 8.5"x11' paper, one or more pictures of the open phone in various stages of disassembly, and then tape the screws to the appropriate spots on the pictures. Also write numbers on the pictures next the screws to indicate the order in which you removed them.
lens42 -
I use a plastic egg tray, I drop all the screws and small parts (like the camera) for each step into the same egg indentation. You can see that the screws are different lengths, so I don't put one screw into it's own spot. I used 5 egg indentations to replace my screen.
Mangled Jargon -