Introduction
Dot projector parts are extremely fragile. A fall or water damage may harm dot projector parts, inducing Face ID not working. Since the dot projector IC is encrypted and replacement requires data encryption bonding for the new IC, repair technicians find it a challenge to repair the Face ID. The good news is that REWA LAB has developed a simple and efficient method to repair the Face ID. Let’s check it out!
-
-
Go to Settings > Face ID & Passcode > Set Up Face ID. When trying to set up Face ID, “Move iPhone a little lower/higher” pops up. Face ID cannot be normally set up. It can be judged that the dot projector of the Face ID has malfunctioned.
-
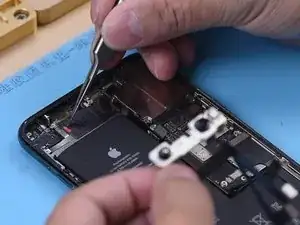
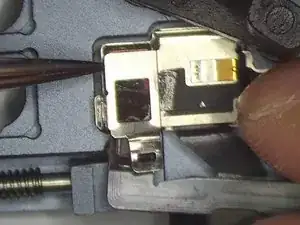
Remove the display and then detach the Face ID module. We can see a red mark, which indicates that the phone has water damage.
-
-
-
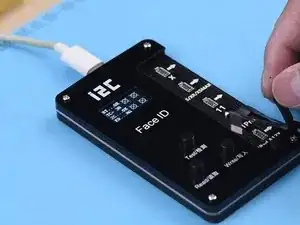
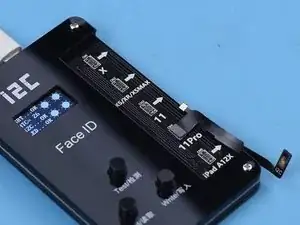
Connect the dot projector flex cable with the I2C Repair Programmer. The test shows that the dot projector flex cable has malfunctioned.
-
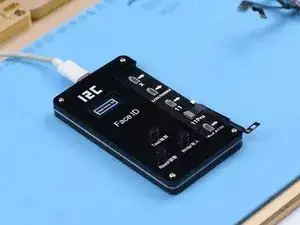
Press “Read” and read the data from the dot projector flex cable.
-
Connect a new I2C iPhone 11 Pro Max flex cable to the programmer. Press “Write” and write the data that has been read on the new flex cable.
-
-
-
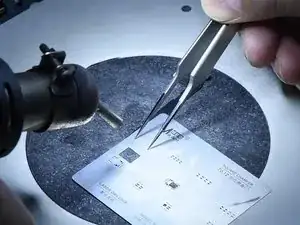
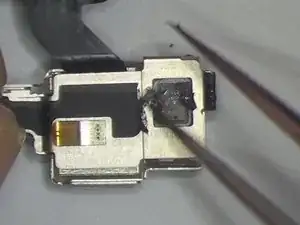
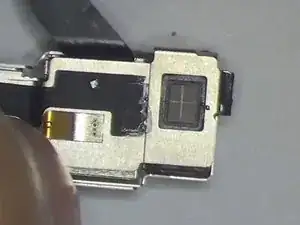
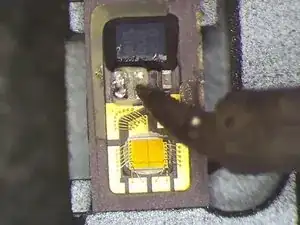
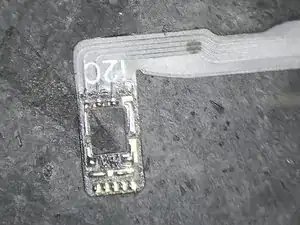
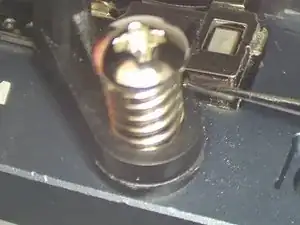
Dip a small amount of UV Adhesive on the crystal of the dot projector flex cable and solidify it with UV Lamp. This step is aimed to fix the crystal.
-
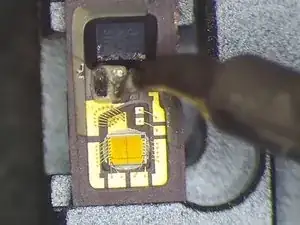
Remove the foam on the back of the dot projector.
-
-
-
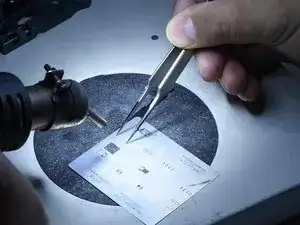
To make positioning easier while assembly, mark the module with Sculpture Knife.
-
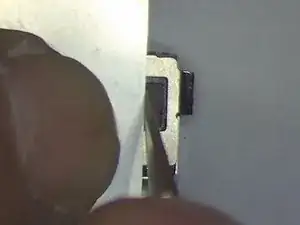
Since the dot projector flex cable is under the metal plate, lift the metal plate to remove the flex cable.
-
-
-
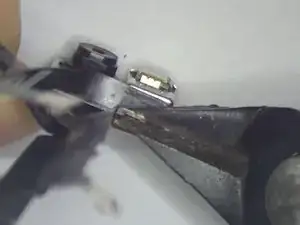
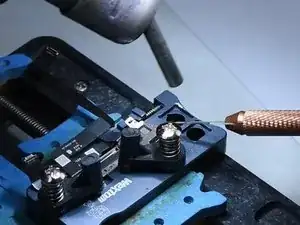
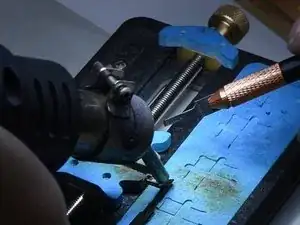
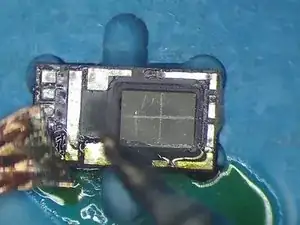
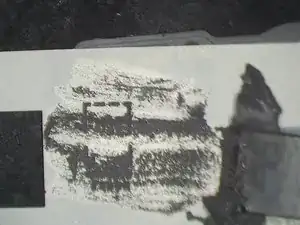
Attach the Face ID module to the Holding Fixture and grind the welding position of the metal plate.
-
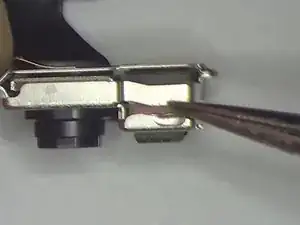
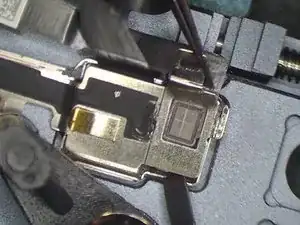
Insert the pry knife into the gap between the dot projector module and the crystal.
-
-
-
Heat with Hot Air Gun at 150℃ and remove the dot projector flex cable.
-
Heat with Hot Air Gun at 320℃ and detach the dot projector module.
-
-
-
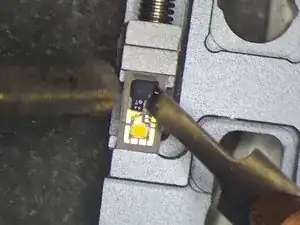
Attach the dot projector module to the Holding Fixture. Heat with Hot Air Gun at 320℃ and take out the MOSFET.
-
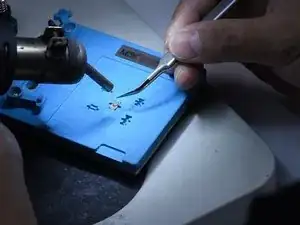
Apply a small amount of Solder Paste to the bonding pad with Soldering Iron at 365℃. Jump wire between pin 2 and pin 3 of the MOSFET with 0.02mm copper wire.
-
-
-
Attach the dot projector module to the holder. To clean the tin on the dot projector module, smear rosin with Soldering Iron at 365℃ and solder-wick.
-
Clean the module with PCB Cleaner afterward. Heat with Hot Air Gun at 240℃ and remove residual adhesive with tweezers.
-
-
-
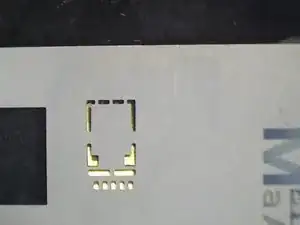
Get the new flex cable. Put the Reballing Stencil in the right position and apply some medium-temperature Solder Paste evenly.
-
Heat with Hot Air Gun at 320℃ and remove the Reballing Stencil after the flex cable has cooled.
-
-
-
Heat with Hot Air Gun at 320℃ again and apply a small amount of Paste Flux to the flex cable.
-
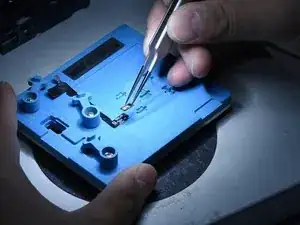
Fix the flex cable to the holder and align the dot projector module.
-
-
-
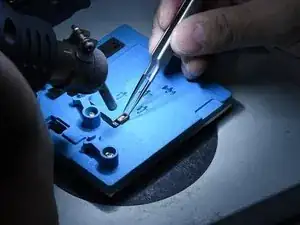
Solder with Hot Air Gun at 320℃.
-
Connect the flex cable that has been soldered to the I2C programmer. Press “Test” and the screen shows “Pass” which indicates that the flex cable is normal.
-
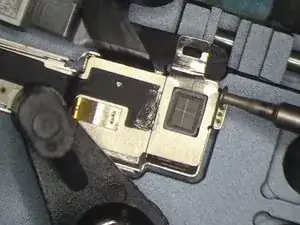
Attach the flex cable to the Holding Fixture and put the dot projector flex cable in position.
-
-
-
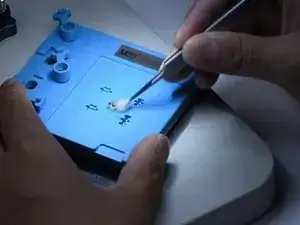
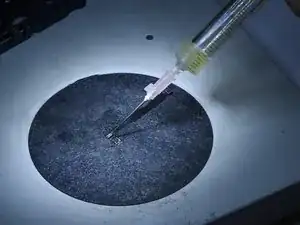
Apply a small amount of 460 Adhesive between the dot projector module and the crystal.
-
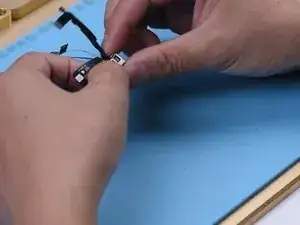
Once the adhesive has set, arrange the flex cable.
-
-
-
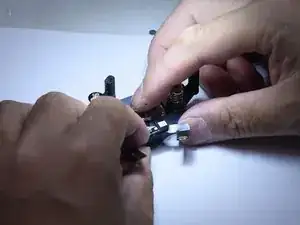
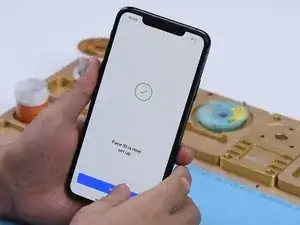
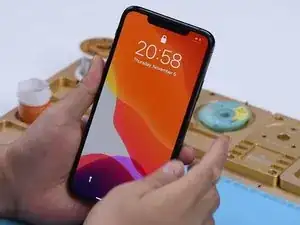
Install the flex cable on the phone. Boot up the phone, and go to Face ID settings. Face ID is set up normally and unlocks normally. The fault is cleared.
-


Please stay tuned for more content.