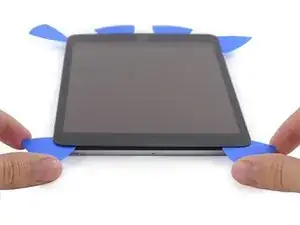
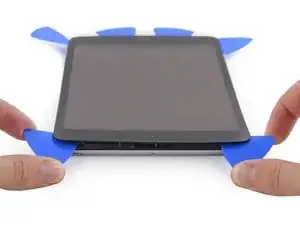
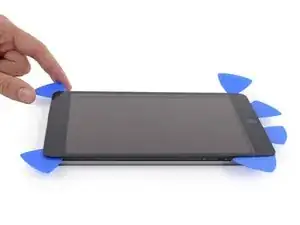
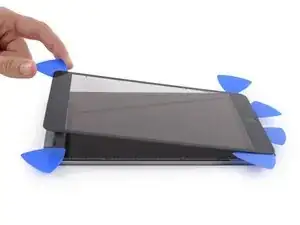
Introduction

Prereq only. This version has a warning for the antenna cable on the iPad Mini 2 LTE and iPad Mini 3 LTE.

  1. tTb1dDKSaGoKfuyF
    tTb1dDKSaGoKfuyF
    Dps1mvmo2P52bwQL
    u5lPtG2MA1hNMwKc
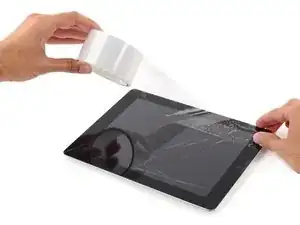
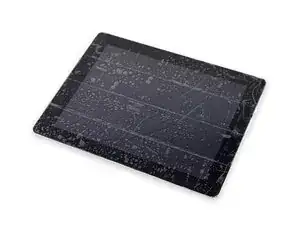
    • If your display glass is cracked, keep further breakage contained and prevent bodily harm during your repair by taping the glass.

    • Lay overlapping strips of clear packing tape over the iPad's display until the whole face is covered.

    • This will keep glass shards contained and provide structural integrity when prying and lifting the display.

    • Do your best to follow the rest of the guide as described. However, once the glass is broken, it will likely continue to crack as you work, and you may need to use a metal prying tool to scoop the glass out.

    • Wear safety glasses to protect your eyes, and be careful not to damage the LCD screen.

  2. tQHKoioft2C2Cbsy
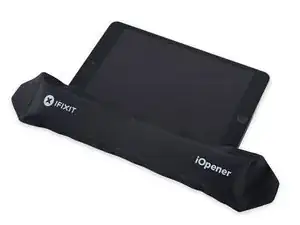
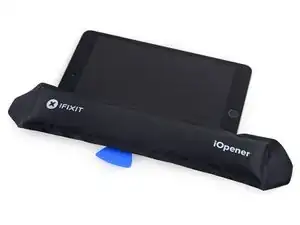
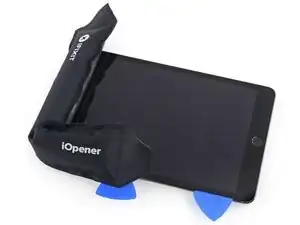
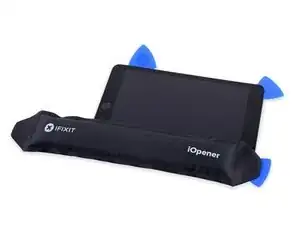
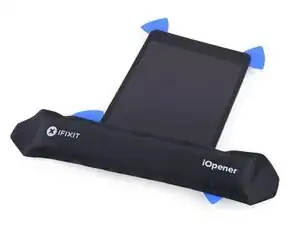
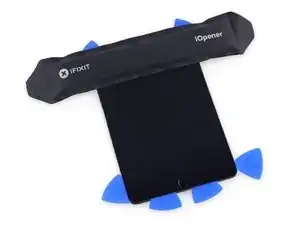
    • Handling it by the tab, place the heated iOpener on the side of the iPad to the left of the home button assembly.

    • Let the iOpener sit for about five minutes to soften the adhesive beneath the glass.

  3. aywS5BDp3KKcuCLn
    aywS5BDp3KKcuCLn
    VxMnbCa2doisSOdB
    FjRhAp3MYbwZmbMU
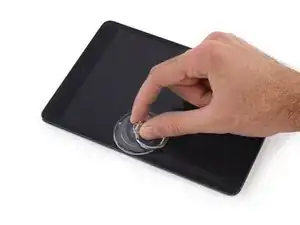
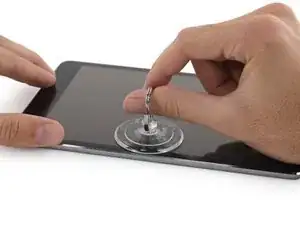
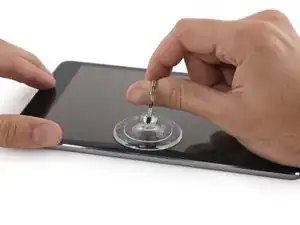
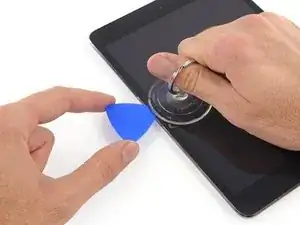
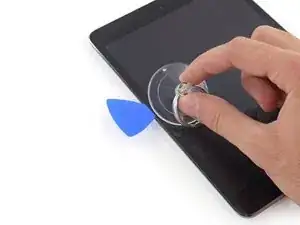
    • Carefully place a suction cup halfway up the heated side.

    • Be sure the cup is completely flat on the screen to get a tight seal.

    • While holding the iPad down with one hand, pull up on the suction cup to slightly separate the front panel glass from from the rear case.

    • Be careful to only lift the glass enough to insert an opening pick—any more and you risk cracking the glass.

  4. U3MksSSyeCJkofMc
    U3MksSSyeCJkofMc
    igKtd6N3KoQCFkOO
    FOZxGfKuC13KBNrk
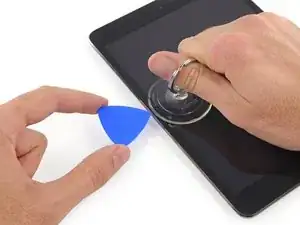
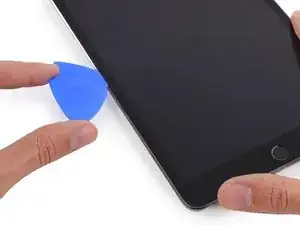
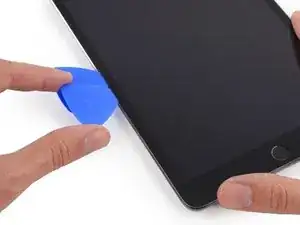
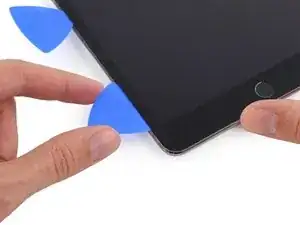
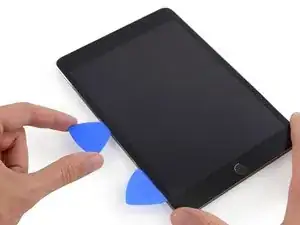
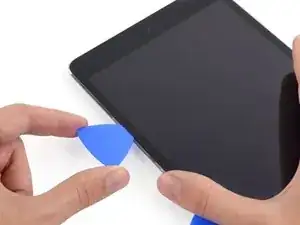
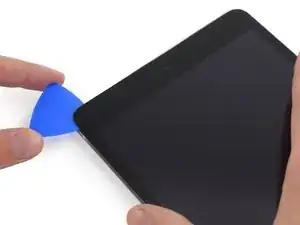
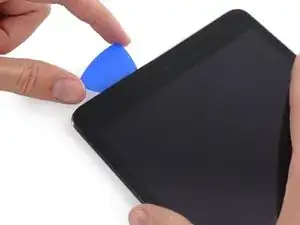
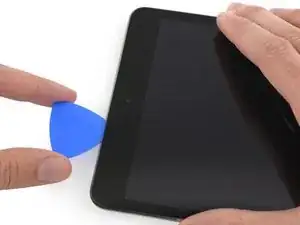
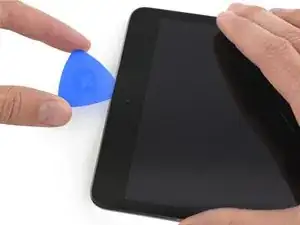
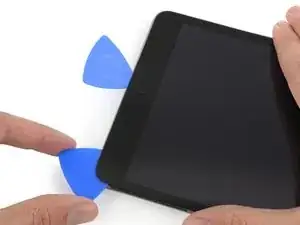
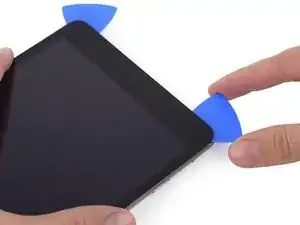
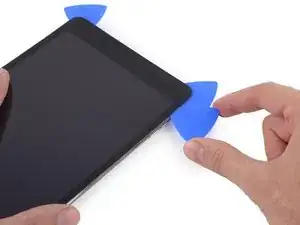
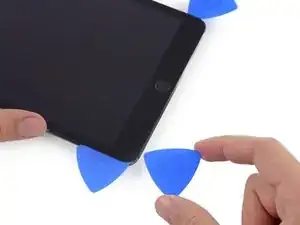
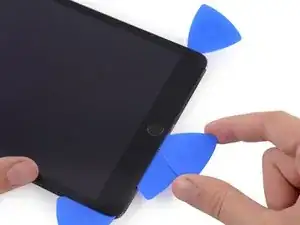
    • While holding the glass up with the suction cup, slide the point of an opening pick into the gap between the glass and body of the iPad.

    • Don't insert the opening pick any deeper than the black bezel on the side of the display. Inserting the pick too far may damage the LCD.

    • Pull the suction cup's plastic nub to release the vacuum seal and remove the suction cup from the display assembly.

  5. bTCAqT5WBc4HR31i
    • Reheat and reapply the iOpener.

    • Be careful not to overheat the iOpener during the repair procedure. Always wait at least ten minutes before reheating the iOpener.

    • Let it rest for a few minutes to reheat the left edge of the iPad.

  6. niZrKXuwZfjKEWUs
    niZrKXuwZfjKEWUs
    jvOxRqxLOsPUDvQj
    xJoYJWVPviY4pCAA
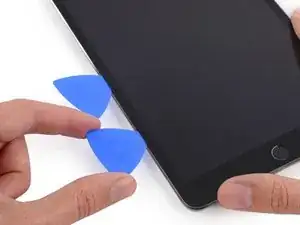
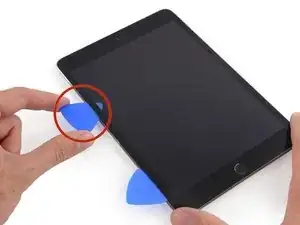
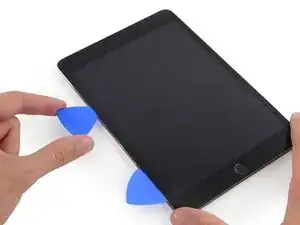
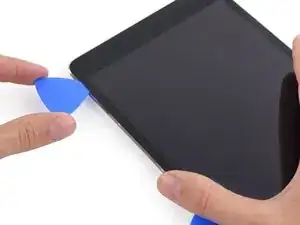
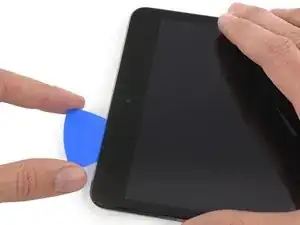
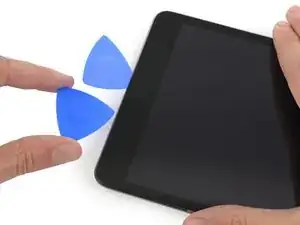
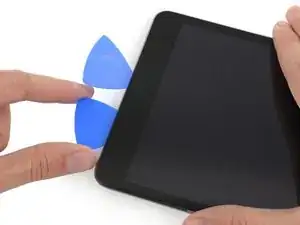
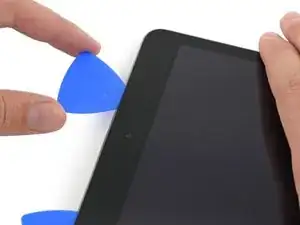
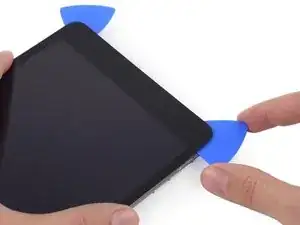
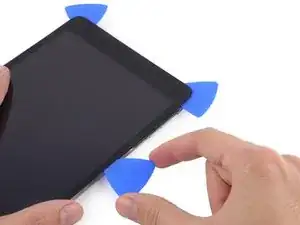
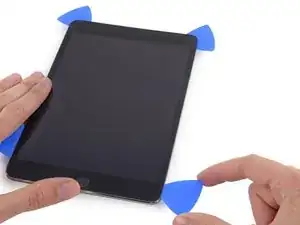
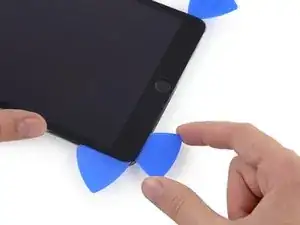
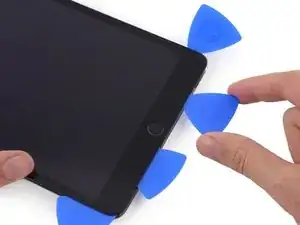
    • Place a second opening pick alongside the first and slide the pick down along the edge of the iPad, releasing the adhesive as you go.

    • Throughout the rest of the procedure, if you encounter significant resistance to sliding picks beneath the glass, stop and reheat the section you're working on. Forcing the picks risks cracking the glass.

  7. lDdhmi6N6RVCGtbH
    lDdhmi6N6RVCGtbH
    EtOCI4WYxyqgFEGZ
    qTKUcQgYRA2WjEmi
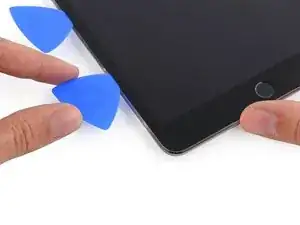
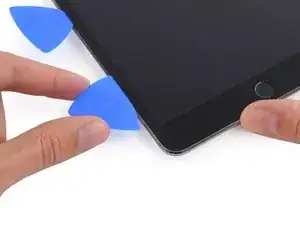
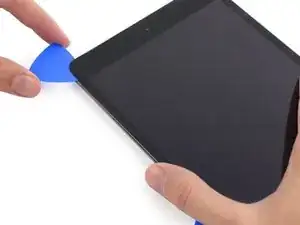
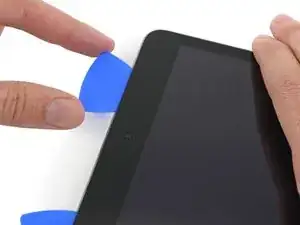
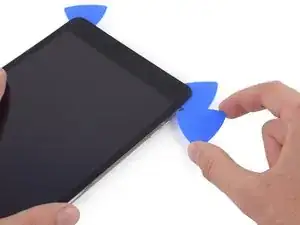
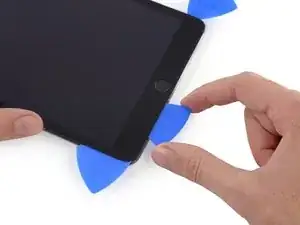
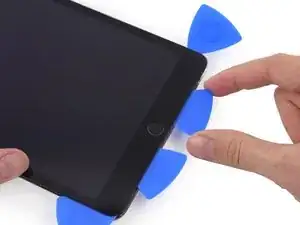
    • Continue moving the opening pick down the side of the display to release the adhesive.

    • If the opening pick gets stuck in the adhesive, "roll" the pick along the side of the iPad, continuing to release the adhesive.

  8. Ur3MeCd6PXDyOoWY
    Ur3MeCd6PXDyOoWY
    yVWsrEhSRCr6RowV
    4MsxmGKjtR6urGV6
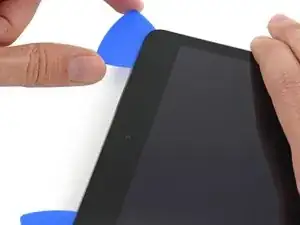
    • Take the first pick you inserted and slide it up toward the top corner of the iPad.

    • If you can see the tip of the opening pick through the front glass, don't panic—just pull the pick out a little bit. Most likely, everything will be fine, but try to avoid this as it may deposit adhesive on the front of the LCD that is difficult to clean off.

  9. pZYokiUWii14phQR
    • Reheat the iOpener and place it on the top edge of the iPad, over the front-facing camera.

    • Be careful not to overheat the iOpener during the repair procedure. Wait at least ten minutes before reheating the iOpener.

    • If you have a flexible iOpener, you can bend it to heat both the upper left corner and the upper edge at the same time.

  10. bUYa2Px1AiNusqHH
    bUYa2Px1AiNusqHH
    YolMsuDCrRP5AFYx
    HJGUTTguNADvU4fS
    • Slide the opening pick around the top left corner of the iPad to separate the adhesive.

  11. HMtdN13wYFITJcCE
    HMtdN13wYFITJcCE
    yNDIj2kOdQ2ZNel5
    BfL2iBmADVKOZKED
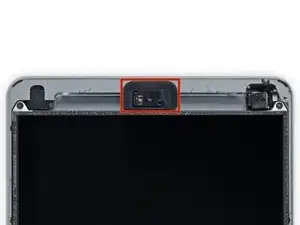
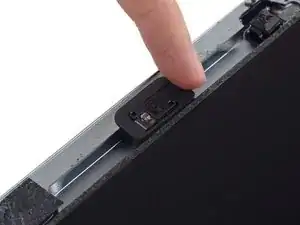
    • Slide the opening pick along the top edge of the iPad, stopping just before you reach the camera.

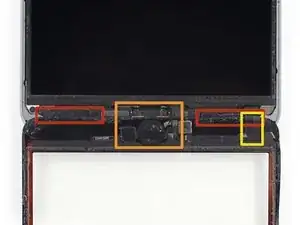
    • The third image shows where the front-facing camera and housing are in the iPad.

    • Avoid sliding the opening pick over the front-facing camera, as you may smear adhesive onto the lens or damage the camera. The following steps will detail how to best avoid disturbing the front-facing camera.

  12. lvRRok4HUOZAkvHk
    lvRRok4HUOZAkvHk
    rnNUv3ayj2FotMBC
    rCBmEYNMcyImPSQ6
    • Pull the pick out slightly, and slide the very tip gently along the top of the front-facing camera section of the top edge.

  13. njvWSIkflJEe4oJI
    njvWSIkflJEe4oJI
    PBdJXJl2QNjE3DbZ
    6ELDwnfHGneRUWaP
    • Leave the opening pick in the iPad slightly past the front-facing camera.

    • Take a second pick and insert it to the left of the camera, where the first pick just was. Slide it back to the corner to completely cut any remaining adhesive.

    • Leave the second pick in place to prevent the corner adhesive from re-sealing as it cools.

  14. 1Ay2doECHTIuLCPo
    1Ay2doECHTIuLCPo
    3HAocCfA32DOZB1J
    cAdFdqTldCyxFJhj
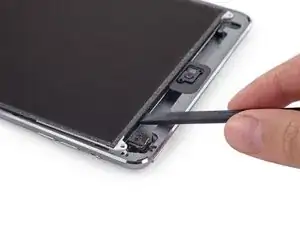
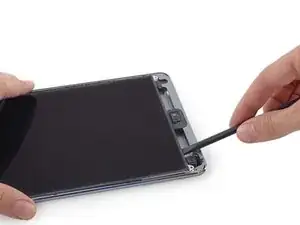
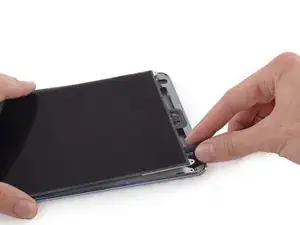
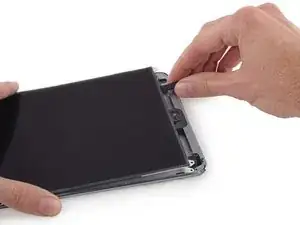
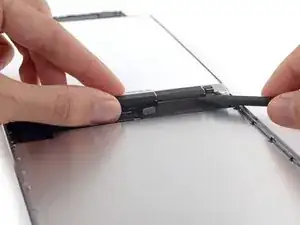
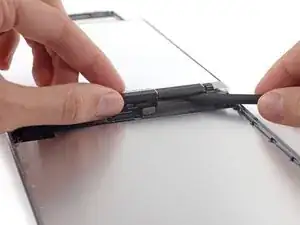
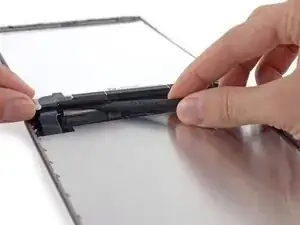
    • Insert the previous pick deeper into the iPad and slide it away from the camera toward the corner.

    • Be very careful of the small antenna cable near the upper-right corner. Only slide the pick away from the camera—while sliding it in the opposite direction you may accidentally tear the antenna cable.

    I broke the “small antenna cable”. Should have paid more attention to the fact that the LTE model is different from the WI-FI model. I have the LTE version. Oh well. I didn’t discover the break until reassembly so we’ll see what I’ve lost.

    Leon -

    I broke this cable too. Even though I’d read through this section before I got to it, when I was actually going through the process (with these photos and the text to hand) I didn’t appreciate the danger. If the photo linked to in the warning paragraph (showing the pick caught underneath the cable) was included in the main photos I’m very confident I’d have known exactly how to avoid the problem. It’d be worth tweaking the way this bit is presented. Thanks for the guide.

    Graham -

  15. JSlirTxaDc5XQ3lX
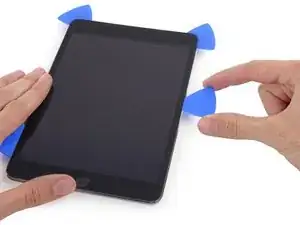
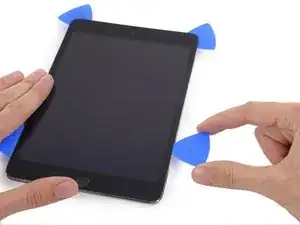
    • Leave the three picks in the corners of the iPad to prevent re-adhering of the front panel adhesive.

    • Reheat the iOpener and place it on the remaining long side of the iPad—along the volume and lock buttons.

  16. 4sAF6IwncXYqQ2yr
    4sAF6IwncXYqQ2yr
    PSWn2W6JGQLIBcYI
    • Slide the top right opening pick around the corner to fully release the top edge of the glass.

    • Leave this pick in place to keep the adhesive from re-sealing itself, and grab a new pick for the next step.

  17. D3jHHxya4ZIYTJKs
    D3jHHxya4ZIYTJKs
    pIKOrVuTTHFvnhGY
    RSE3mqsOkmJEc4Px
    • Insert a new opening pick and slide it to the middle of the right edge of the iPad, releasing the adhesive as you go.

  18. 3RfwFHFvIIqW5AkN
    3RfwFHFvIIqW5AkN
    sXdm1xIKxJbGPe5q
    FjUAOPyUPCIuEKIU
    • Continue to slide the pick down the right edge of the iPad, releasing the adhesive.

  19. 2XkPAlUxl3yLYvFA
    • Leave the opening picks in place and reheat the iOpener.

    • Remember not to overheat the iOpener—no more than once every ten minutes.

    • Set the reheated iOpener on the home button end of the iPad and let it rest for a few minutes to soften the adhesive beneath the glass.

  20. IDDKtZaXDg6OZleY
    IDDKtZaXDg6OZleY
    2APsCFLfDaSFYShO
    iYABwZHGDPCGVHYd
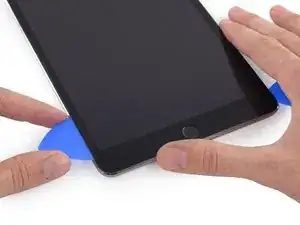
    • Slide the lower left pick to the lower left corner to cut the adhesive on that corner.

    • Leave the pick at the corner. Do not pry any farther, and do not remove the pick from the iPad.

    • There are quite a few things to avoid beneath the lower bezel, so study the third image closely:

    • Antennas

    • Home button cavity

    • Digitizer cable

    • The following steps will direct you where to pry to avoid damage to these components. Only apply heat and pry where directed.

  21. ZSGVNvsibO1nYx25
    ZSGVNvsibO1nYx25
    mS6QEbtVc5AmVrPJ
    u34rkMoqLBLTuU6B
    • Leave the pick from the last step in place to prevent the adhesive from re-sealing.

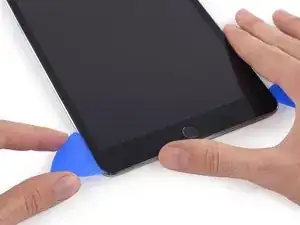
    • With a new pick, slice gently over the left-hand antenna, stopping before the home button.

    • Only slide the pick from the outer edge toward the center of the iPad. Do not move the pick back toward the outer edge, as moving in this direction may damage the antenna.

    • If you need to slide the pick over the lower section more than once, remove it and re-insert at the outer edge, and slide inwards.

    • Leave the pick in place before moving on.

  22. gwDYrXpgXXHTCD1M
    gwDYrXpgXXHTCD1M
    ZqTFknvgvjovgxDd
    3ZRlYCDHbNJPqZjC
    • Insert the tip of one last pick next to the previous step's pick, and slide it beneath the home button.

    • Stop about an inch from the right-hand side to avoid cutting the digitizer cable.

    • Insert the pick slightly deeper and work it back toward the home button.

    • Again, be sure to only slide the pick toward the center of the iPad when it is fully inserted; otherwise you may damage the antenna beneath the glass.

  23. BlnxFPSeQUlAruKU
    • Reheat and reapply the iOpener to the top bezel of the iPad.

  24. Ig1DIEr25SjulBWQ
    Ig1DIEr25SjulBWQ
    Wx5bfiLMbg2I6Ou6
    • Be very careful with this step. Take your time and ensure the adhesive is hot and soft, and that you've been through all of the adhesive with an opening pick. Don't be afraid to stop and reheat.

    • At the top of the iPad opposite the home button, you should have a pick lodged into each corner. Twist the picks to lift the glass slightly, separating the last of the adhesive along all four edges.

    • If you encounter a significant amount of resistance, stop twisting. Leave the picks in place, reheat, and reapply the iOpener to the problem areas, and run a pick through the sticking point one more time.

  25. QqUXZZWsJEWetEBc
    QqUXZZWsJEWetEBc
    xyDL2XRYqMktntZf
    • Lift slowly and gently to further detach the adhesive along the lower edge.

  26. A6nVinsoPqipEgAu
    A6nVinsoPqipEgAu
    YOhEQlxuLKVEnFcW
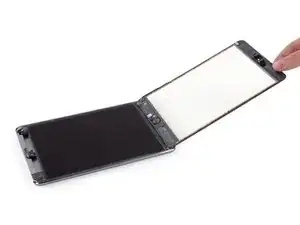
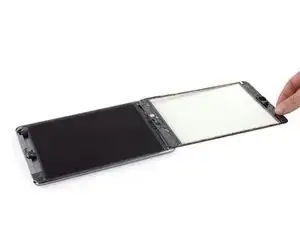
    • Once all of the adhesive has been separated, open the front glass like a page in a book and rest it on your workspace.

    • If you plan to reuse the front panel assembly, you will need to replace the display adhesive. Use our display adhesive application guide to reapply your display adhesive and reseal your device.

  27. xyT2PDmuXFcxobum
    xyT2PDmuXFcxobum
    FWKPU2EwNN3AlH6n
    6V5XYse2TnHRtNQO
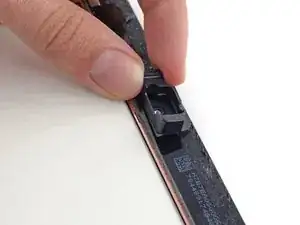
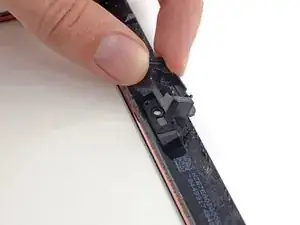
    • The front-facing camera housing may stick to the front panel; peel up the housing and place it back over the camera to protect it.

    • Rock the camera housing up on one edge to free it from the adhesive and remove it from the front panel.

    • Return the front-facing camera housing to its recess in the rear case.

  28. Vh6SyyqrcNyTyuPO
    Vh6SyyqrcNyTyuPO
    BggRIsCSIWShCAKa
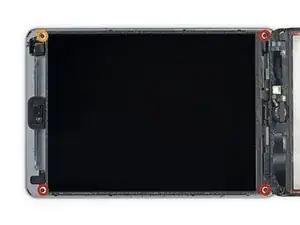
    • Remove the following Phillips #00 screws securing the LCD:

    • Three 3.3 mm screws

    • One 4.5 mm screw

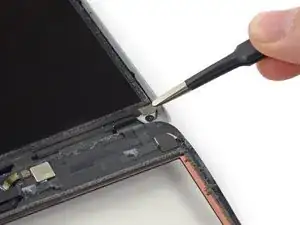
    • If there is tape covering any LCD screws, peel it up with tweezers.

    I used the PH000 bit; PH00 was too large.

    Yoron -

  29. SbvJPrwW6vq4I3Oq
    SbvJPrwW6vq4I3Oq
    31QmLJAHSViHxeGT
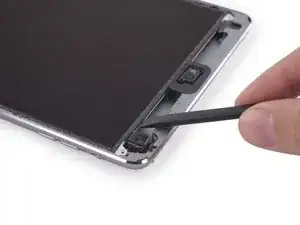
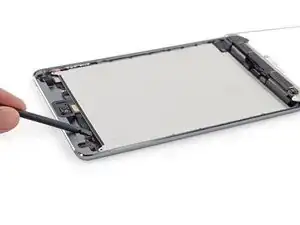
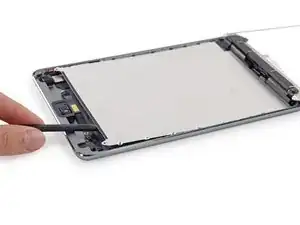
    • Do not attempt to fully remove the LCD. It is still connected to the iPad by several cables at the home button end. Lift only from the front-facing camera end.

    • Insert the flat end of a spudger under the LCD between it and the LCD shield plate and lift gently.

    • Be very careful not to get the spudger under the shield plate. It must be between the LCD and the shield.

    • Even bending the LCD slightly can permanently damage it, so be extremely careful as you lift.

    Peel up the thin foam tape attached to the very top of the LCD. Under it is a small strip of tape holding the top edge of the LCD down. You won’t be able to remove the LCD without first peeling back this tape. Trying to pry up the LCD without removing it will most likely bend the LCD.

    mturner -

    There is a problem that I ran into. This picture shows a wifi only model which does not have the LTE antenna up above. What I ran into is that on the LTE model the antenna has a slight lip that holds the LCD down. So on this model you actually have to lift the bottom portion up first just enough that you can then move the panel downward slightly then lift the top end of the LCD panel up past the lip on the antenna housing near the front facing camera at the top.

    Dylan Fox -

    How about those two rectangular magnets on each too corner? What happens if they’re removed?

    Victor Boo -

  30. YgjIyBiWxPcC1NqB
    YgjIyBiWxPcC1NqB
    oqUSFNHoiwl4YCMV
    SAaNA2MfQYl3HgNS
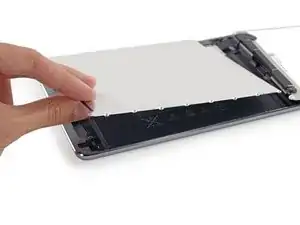
    • The LCD is secured by mild adhesive that should be loosened before you flip the LCD up from its shield plate.

    • Insert the spudger between the LCD and LCD shield plate and slide it to the far edge of the iPad.

  31. OCPenEKcMqRXxTNq
    OCPenEKcMqRXxTNq
    WOUh15qx3VNj6JhA
    • Two wide strips of tape connect the LCD to the speakers.

    • Hold the LCD with one hand, and the rear body of the iPad with the other.

    • Do not attempt to fully remove the LCD from the iPad.

    • Gently pull the LCD away from the speakers to separate the tape, being careful not to pull on the digitizer cable.

  32. MHTmDifM512fcEv3
    MHTmDifM512fcEv3
    I5Z2OGAMmDnjXSvi
    • Do not attempt to fully remove the LCD. It is still connected to the iPad by several cables at the home button end. Lift only from the front-facing camera end.

    • Flip the iPad LCD like a page in a book, lifting near the camera and turning it over the home button end of the rear case.

    • Be gentle and keep an eye on the LCD cables as you flip the display over.

    • Lay the LCD on the front panel glass to allow access to the display cables.

  33. AnUN4QhiwUdyKrJr
    AnUN4QhiwUdyKrJr
    YqBpHEytgSBRnrRC
    1FbKP1SLPmTYLrl2
    • Slide the tip of a spudger between the LCD and the adhesive tabs to free the display.

    • Push gently between each of the two adhesive tabs; be careful not to damage any of the nearby cables.

  34. QnCiykDiAbNok3FQ
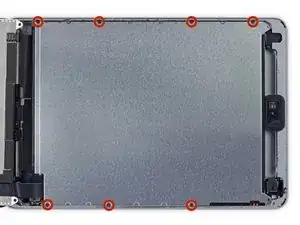
    • Remove the seven 1.8 mm Phillips #00 screws from the LCD shield plate.

  35. CxMgoBiaS4lKn5Bv
    CxMgoBiaS4lKn5Bv
    LhBRvNJILxQpIqPM
    dLOHLlbctEIWGLtY
    • Use the flat end of a spudger to pry the LCD shield plate up and out of the iPad.

    • Remove the LCD shield plate.

    Push the shield slightly left or right so that the other side clears the frame.

    rmac -

Conclusion

To reassemble your device, follow these instructions in reverse order.
Sam Goldheart

Member since: 19/10/12

465332 Reputation

0 comments