Introduction
Prereq only.
-
-
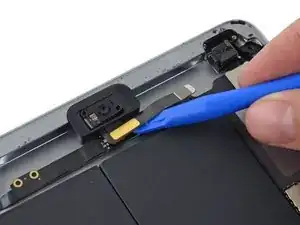
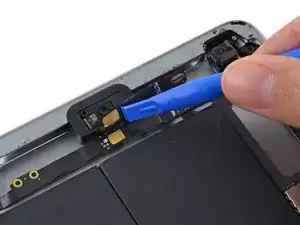
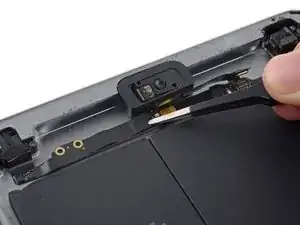
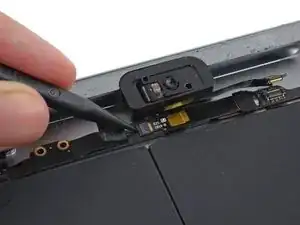
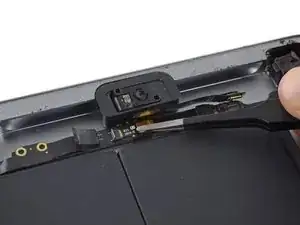
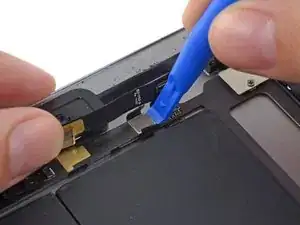
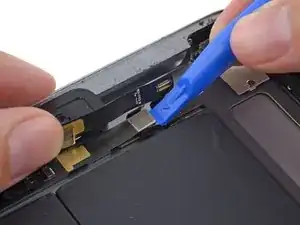
Use a plastic opening tool to gently fold the front-facing camera cable upwards (roughly at a 90-degree angle), exposing the bottom side of it.
-
-
-
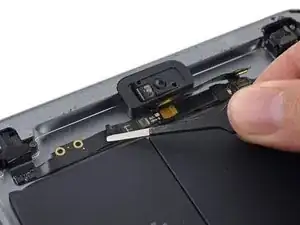
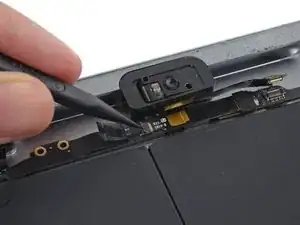
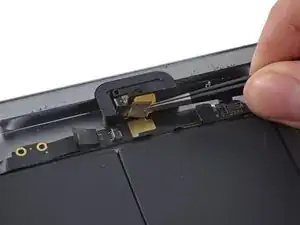
Use a set of tweezers to peel up the small piece of tape covering the microphone cable connector.
-
-
-
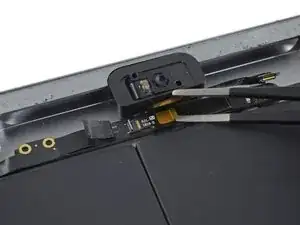
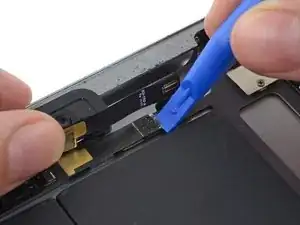
Use the tip of a spudger to gently lift the tab on the microphone ribbon cable's ZIF connector.
-
-
-
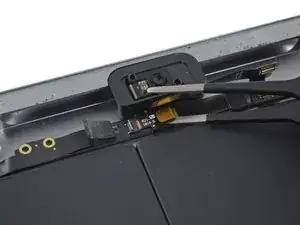
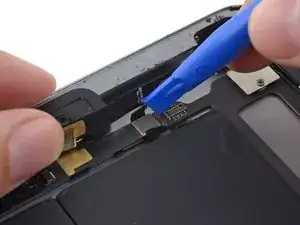
Slide the tip of a tweezer under the microphone cable to separate it from the adhesive holding it to the headphone jack cable.
-
-
-
Use tweezers to pull the microphone cable straight out from its ZIF socket.
-
Gently bend the microphone cable up and out of the way of the headphone jack cable.
-
-
-
Use a plastic opening tool to fold the headphone jack cable clips outward, away from the cable, freeing the cable connector.
-
-
-
Use a plastic opening tool to pry the headphone jack cable's connector up from its socket on the logic board.
-


To reassemble your device, follow these instructions in reverse order.