Introduction

Prerequisite only guide for removing the front panel assembly from an iPad Mini 3.

  1. oSiLHQYHcHr2fllo
    oSiLHQYHcHr2fllo
    DTXU1MYL5FlhhAeh
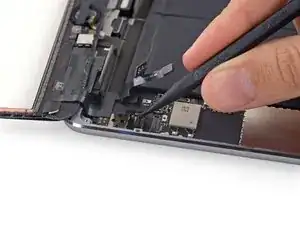
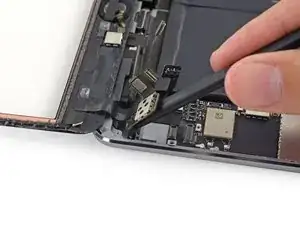
    • Use the tip of a spudger to lift the digitizer cable connector straight up off of its socket.

    The wider end allows better leverage and no slippage

    Billinski -

  2. 2SwSCPriXca6RMdQ
    2SwSCPriXca6RMdQ
    ai1OtZNYJuQhH6Xs
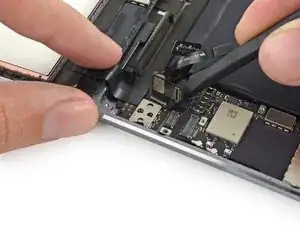
    • Slide the flat end of a spudger under the battery side of the digitizer board to begin separating it from the rear case.

  3. qLPcmsNWaDicNkPB
    qLPcmsNWaDicNkPB
    NKGSMJnHTJRJXCiB
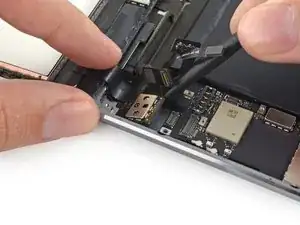
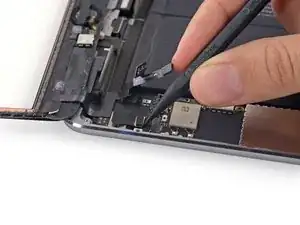
    • Lift the digitizer board up to free the last of the adhesive.

    It’s quite stiff, the board is secured by adhesive, so don’t worry about using gentle force.

    Continue to pry off the flexicables, also secured with adhesive.

    Billinski -

  4. 2OcZ1iWEFONJgV3a
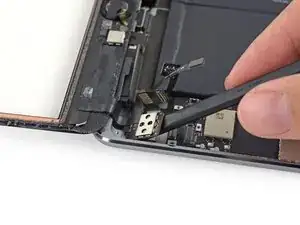
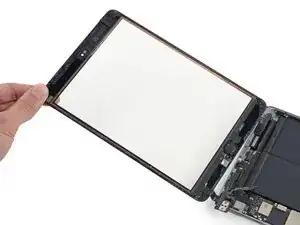
    • Lift and remove the front panel assembly from the iPad.

Conclusion

To reassemble your device, follow these instructions in reverse order.
Evan Noronha

Member since: 06/02/15

223244 Reputation

0 comments