Introduction
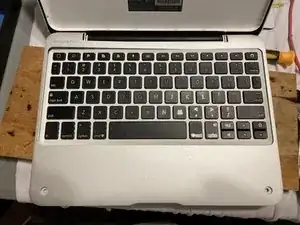
Opening the ClamCase Pro is different than some other ClamCase models. You can identify your ClamCase model by the shape of the keyboard and the silver keyboard overlay as shown in the photo. This is the ClamCase Pro that was marketed for the iPad Air 2 which is also shown. This guide is specific to the ClamCase Pro model.
-
-
This is the hardest part of the whole process. The ClamCase Pro has all the securing parts concealed so knowing what to pull on and where to put pressure is key. Something I didn't know until I did it the first time.
-
-
-
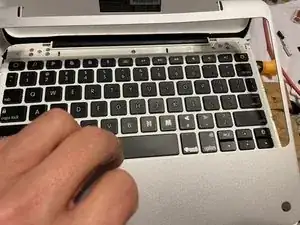
I used several spudgers to work my way around the outside edge of the ClamCase Pro. Insert one spudger and then insert another next to it and remove the first spudger and so on hopping over each spudger to make your way around the edges.
-
-
-
Once the bottom is loose, gently pull up on loose areas of the silver overlay. It is glued down so work slow and methodically to loosen it all the way around. The majority of the glue is in the area below the keys. Concentrate on that area and the thin top area will loosen easily.
-
-
-
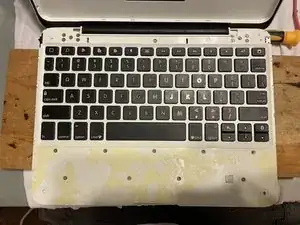
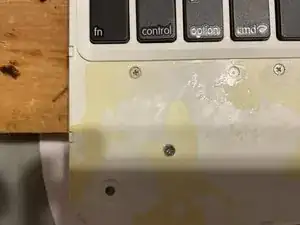
Once the silver overlay is removed, it exposes all the securing screws: 5 screws on each left and right hinge and 9 screws along the base area below the keys.
-
-
-
Slowly and gently remove all the screws. Once they are out, the bottom plastic shell will pop out. This is where the first step loosening the plastic shell helps. Slowly pop the clips free around the edges to reveal the bottom of the keypad and battery.
-
-
-
The battery is a 3.7v 440 maH cell which is tough to come by. The critical aspect of it appears to be the thickness. The stock battery is 3mm thick. The hard part is finding this battery in the 440 maH 3.7v size.
-
-
-
I purchased a replacement 3.7v battery the same thickness but much larger width which worked just fine. You can find it on Digikey
-
Here's a link: https://www.digikey.com/en/products/deta...
-
There are other sources but that's the most reliable one with actual sizes.
-
-
-
Remove the white clip holding the battery connector to the keyboard. It simply is pressure fit but covered in glue. Gently apply pressure with a very small blade on each left and right side to pry it free.
-
-
-
Now for ease of use, clip off the battery connector giving yourself enough for space to attach the replacement battery leads to reuse the old connector.
-
-
-
Putting the ClamCase Pro back together is the reverse of the disassembly.
-
The hard part is gluing on the sliver lining around the keypad. I used rubber cement lightly spread along the thick bottom area and the edges of the silver overlay. I then used a 10" or so thin strip of wood and clamped both sides of the clamCase overnight. In the morning, it stayed nicely in place and was light new.
-
-
-
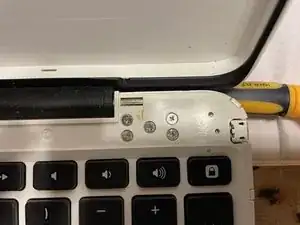
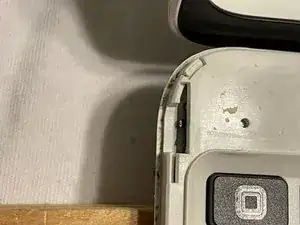
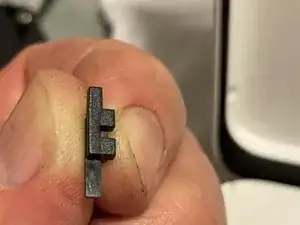
Be careful to put the on/off slide switch back where it belongs in the correct postion.
-
If you notice, the black slider has an inset on one side. This inset goes towards the inner part of the case. I found it has to go in hinge side first then lay it down in the grove. Be very careful as it easily pops out. I laided it down, prepped the sliver overlay and the carefully laid the silver overlay onto the area covering the slider.
-


To reassemble your device, follow these instructions in reverse order.