Introduction
This is a prerequisite only guide for the front panel replacement.
-
-
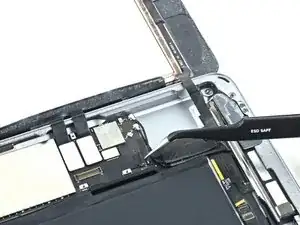
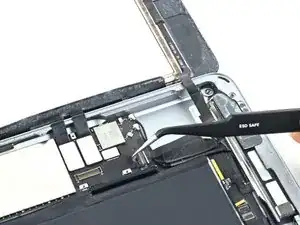
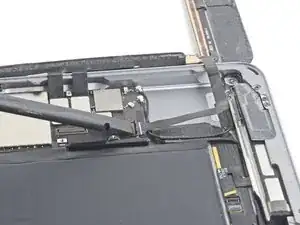
Use the flat end of a spudger to flip the tab on the home button ribbon cable ZIF connector upward.
-
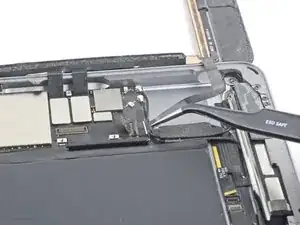
Carefully pull the home button ribbon cable straight out of the ZIF connector.
-
-
-
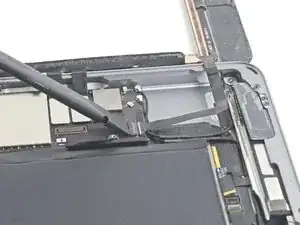
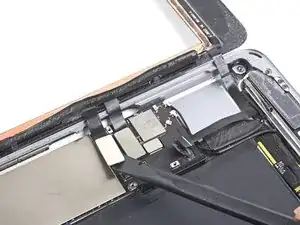
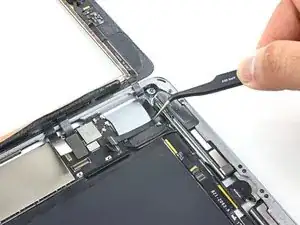
Use a the flat end of a spudger or a fingernail to carefully pop the two digitizer cable connectors straight up from their sockets.
-
-
-
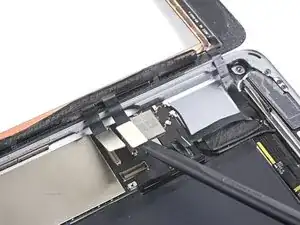
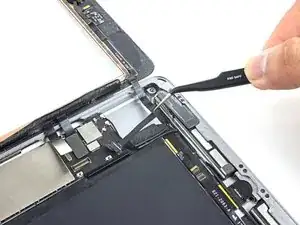
Carefully peel the home button ribbon cable up off of the adhesive holding it to the rear case.
-
-
-
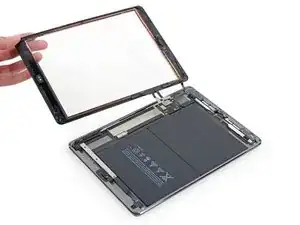
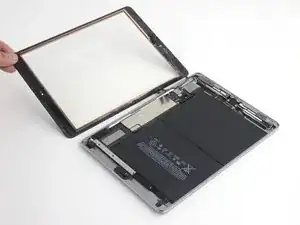
Remove the front panel assembly.
-
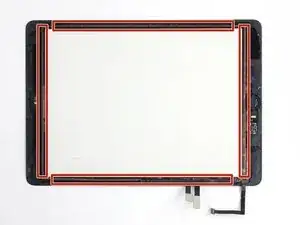
If you experience "ghost" or "phantom" touch input issues with your new display, this can be resolved by adding a layer of very thin insulating tape, such as Kapton (polyimide) tape, to the highlighted areas on the back of the panel. iFixit panels come with the proper insulation, and should not require the addition of any tape.
-

To reassemble your device, follow these instructions in reverse order.

I'm confused about the home flex cable connector required for the 6th generation iPad. It was my understanding that this model required an 18 pin connector. But these excellent pictures clearly show a 14 pin connector, just like the one for the first generation iPad Air AKA the iPad 5. I know this is not the primary focus of this guide, but can anyone clarify this for me?
Bonnie Baxter -