Introduction

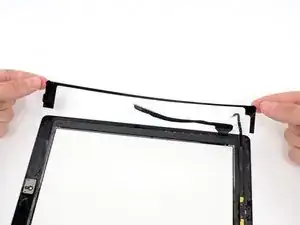
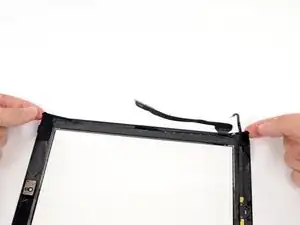
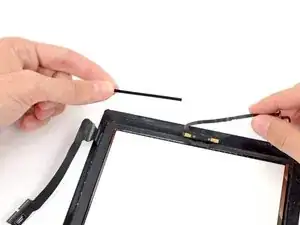
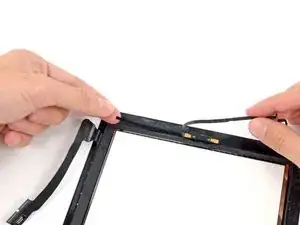
Use this guide to install adhesive strips on a replacement front panel.

Only for use with NEW front panel assemblies.

  1. ILmsnpHKxYYJBoLO
    ILmsnpHKxYYJBoLO
    yEU3hf1kOjaRPBQT
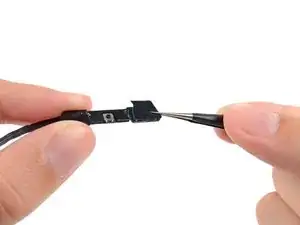
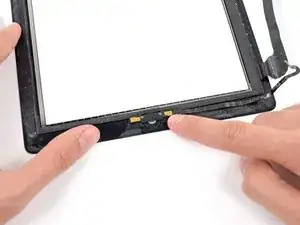
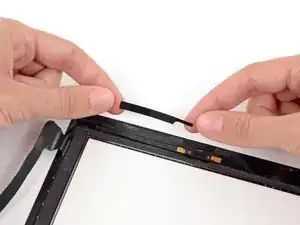
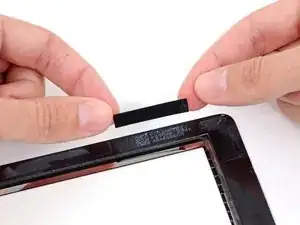
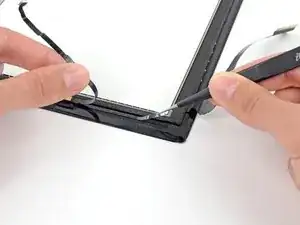
    • The two small notched trapezoidal strips will be used to attach the home button bracket to the front panel.

    • Carefully peel off the first trapezoidal adhesive strip with a pair of tweezers.

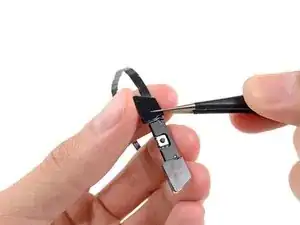
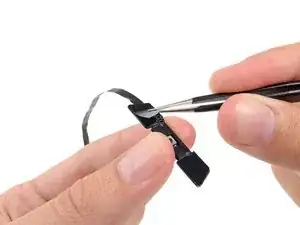
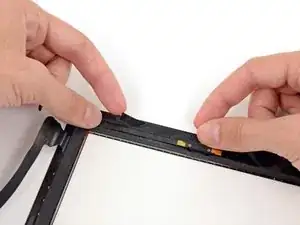
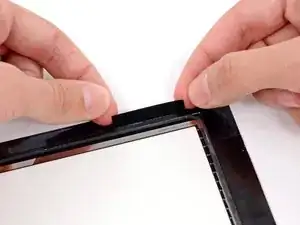
    • Using a pair of tweezers, place the first trapezoidal adhesive strip (minding its correct orientation) on the matching side of the home button mounting bracket.

    • Make sure to line up the profile of the strip with the edge of the mounting bracket.

    • Repeat the procedure for the second trapezoidal adhesive strip.

  2. VPL6aIKEDUsQHAS6
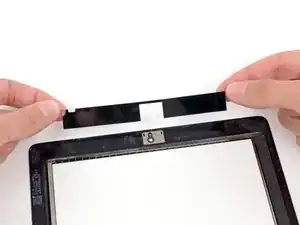
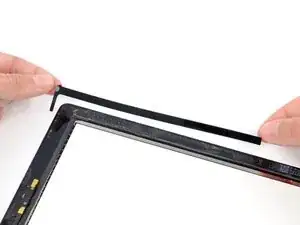
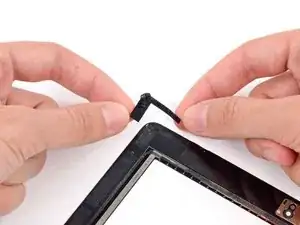
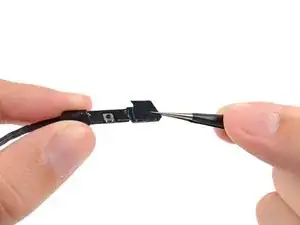
    • Use a pair of tweezers to grasp the corner of one of the adhesive strips placed on the mounting bracket.

    • Lift and peel the clear backing up off the adhesive strip, revealing the black adhesive strip.

    • Repeat the procedure for the secondary adhesive strip.

  3. QeC6whWIghmUJmaF
    QeC6whWIghmUJmaF
    PsSwRMrVeJfACoWe
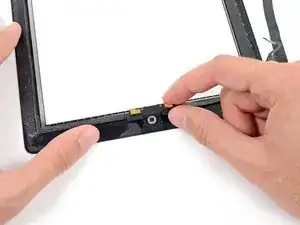
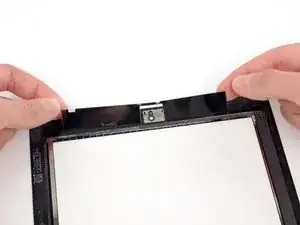
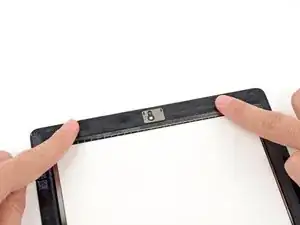
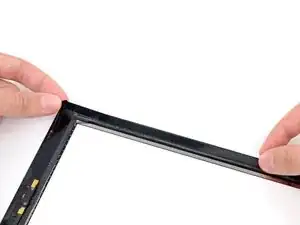
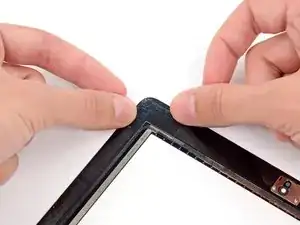
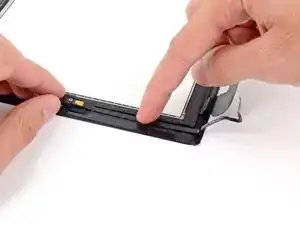
    • Gently place the home button mounting bracket on top of the home button.

    • Make sure the home button mounting bracket is lined up with the bottom of the digitizer.

  4. tQmoJIhPHBxIZAe4
    tQmoJIhPHBxIZAe4
    ApUASXBNpagVEYtq
    YHhlYnxxGjkdglRO
    • In the following steps, you will be placing the remaining pieces of adhesive on the front panel.

    • Do not peel the clear backing off the strips just yet.

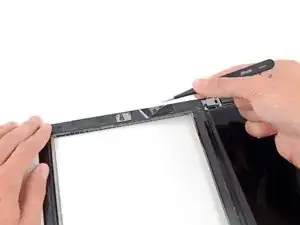
    • Place the bridge shaped adhesive strip between the top edge of the inner frame of the front panel and the camera mounting bracket.

    • Smooth the strip down from the center out, taking care to not trap any air bubbles between the strip and the front panel.

  5. bbmlqBe1fTuZcYde
    bbmlqBe1fTuZcYde
    DcPDJMNRSB2Zkf5Z
    • Place the elongated C shaped adhesive strip on the right side of the front panel.

  6. AfZcavt4PMdXsuUC
    AfZcavt4PMdXsuUC
    IFg1PUV1NvFusDeL
    • It is recommened to lift the home button ribbon cable aside while placing the next adhesive strip.

    • Place the straight, medium length adhesive strip on the bottom right side of the front panel, underneath the home button ribbon cable.

  7. OGFLakRFf3MSoxO3
    OGFLakRFf3MSoxO3
    oJF22FR6wIFgqQZS
    • Place the tabbed rectangular adhesive strip on the bottom right side of the front panel.

  8. rFssYDZ1VfsAsEqq
    rFssYDZ1VfsAsEqq
    XOYZnZlMZ6Vb2nZ3
    • Place the long L-shaped adhesive strip on the bottom left corner of the front panel.

  9. tinonCpKTAZWemOG
    tinonCpKTAZWemOG
    lg2G6mY2HklC2gRJ
    • Place the short rectangular shaped adhesive strip on the top left side of the front panel.

  10. pmdstkq5WvEOpsYU
    pmdstkq5WvEOpsYU
    EDHMJ56VVdHFqQdd
    • Place the last, short L-shaped adhesive strip on the top left corner of the front panel.

  11. uxnCXvmrCyuZY2Ht
    uxnCXvmrCyuZY2Ht
    fcCABgTkxChIVYme
    • Use a pair of tweezers to peel the clear backing up off the adhesive strip directly underneath the home button ribbon cable.

    • Lay the home button ribbon cable down on the adhesive strip and smooth the cable down from the center out, taking care to not trap any air bubbles between the strip and the front panel.

    • Do not peel the clear backing off the strips just yet.

  12. BkV2fgHVxInheOMx
    • Use a dry microfiber cloth to clean the LCD and inside of the front panel glass. You may want to use canned air or an air compressor to blow away and dust.

    • Use a pair of tweezers to peel the clear backing up off each adhesive strip.

    • Close the front panel down onto the iPad, careful to place it within the plastic bezel, and careful not to get any dirt or fingerprints between the glass and LCD.

    • To ensure a good seal, place the iPad face down on a padded envelope or cloth and pile a couple of books above it to weigh the screen down. Leave it like this for a few hours before using.

    Just anted to remind everyone to connect all your cables BEFORE sticking the screen down!!

    Eric Viitala -

    …before attaching the LCD, in fact.

    To go a step further in caution, leave the backing on the adhesive strips, attach all the cables (and replace the tape over them if you like), making sure all of the motherboard screws are in place. Then lay the LCD on top (without screwing it down), lay the glass on top of that, and TEST. Make sure you have full LCD and digitizer function. If not, do a hard reset and test again. If still not, dismantle everything and re-check the cables—they should be fully inserted (usually the white line should not show at all), with their latches down and no sharp crimps. It’s surprising how small a change in digitizer insertion can make a black screen suddenly function just fine.

    Bonnie Baxter -

Conclusion

To reassemble your device, follow these instructions in reverse order.
Walter Galan

694047 Reputation

0 comments