Introduction
-
-
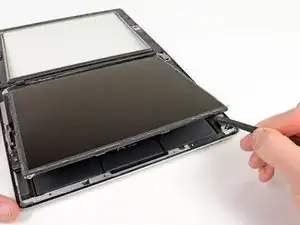
Using a plastic opening tool or a spudger, lift the right edge of the LCD out of the iPad.
-
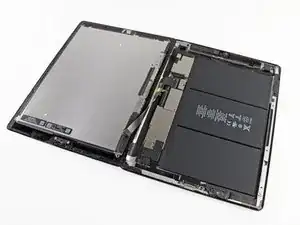
Rotate the LCD along its left edge and lay it down on top of the front panel.
-
Conclusion
To reassemble your device, follow these instructions in reverse order.

End of teardown. Start of disassembling.
Dorothy Simler -
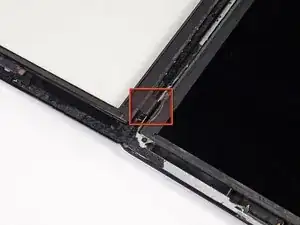
The top left screw may be covered by black adhesive tape.
Chat Pat -
The ribbon cable on my unit was too short to lay it all the way down. I had to let it sit sideways.
Petabyte Studios -