Introduction
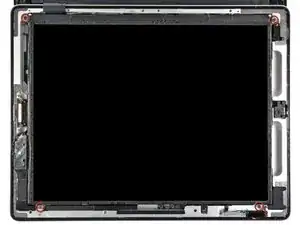
Removing LCD assembly with front panel attached. Internal Prerequisite.
-
-
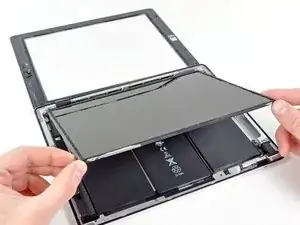
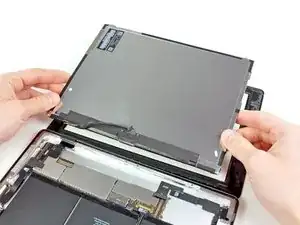
Lift the LCD from its long edge closest to the volume buttons and rotate it out of the rear case.
-
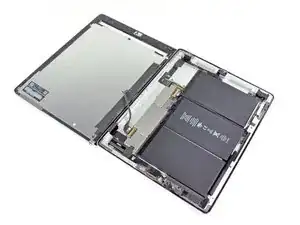
Lay the LCD on the front panel as seen in the second picture.
-
-
-
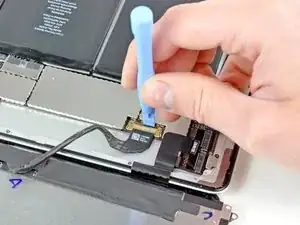
Use the edge of a plastic opening tool to flip up the metal retaining clip securing the display data cable to its socket on the logic board.
-

Conclusion
To reassemble your device, follow these instructions in reverse order.

Bonjour, a l'étape 28, j'ai retourné la dalle comme sur la photo sauf que mon lcd a frotté sur le bouton home du coup des rayures sont apparues sur le ldc, embêtant ! il suffi de mettre une protection entre l'arrière du bouton home et la face de la dalle lcd.
Milas -