Introduction
This guide walks through how to replace the battery on the iON SnapCam 1046 Lite. Replacement is difficult and requires advanced soldering and circuits experience.
Tools
Parts
-
-
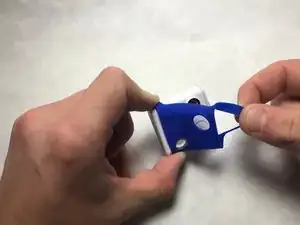
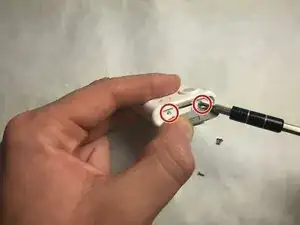
Use a Phillips head screwdriver to remove the four 4mm PH00 screws located on the sides of the device. All screws are located under each of the grey covers for the microSD card and the microUSB insert.
-
-
-
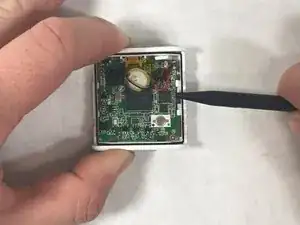
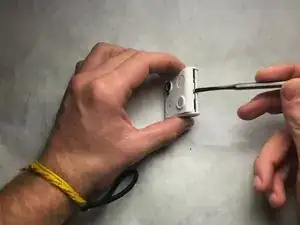
Grab a metal or plastic opening tool and insert it into the middle slot on the bottom of the camera and lightly pry open.
-
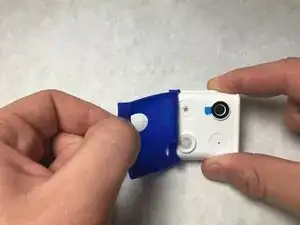
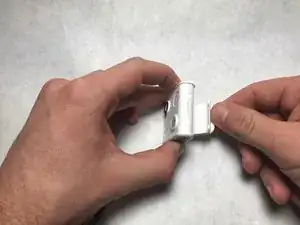
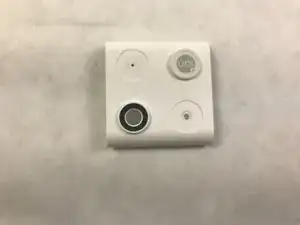
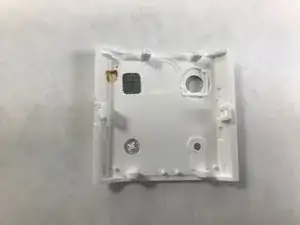
Locate the camera lens in the bottom left-hand corner of the picture which can be replaced by replacing the entire cover. The back of the cover is also shown. The camera is now located in the top right-hand corner of the picture.
-
-
-
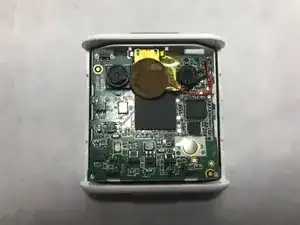
Lift the motherboard to reveal the battery compartment. Remove the thermal tape holding it in place and replace battery.
-
To reassemble your device, follow these instructions in reverse order.
