Introduction
A basic representation on replacing the lens on the iON SnapCam 1045.
Tools
-
-
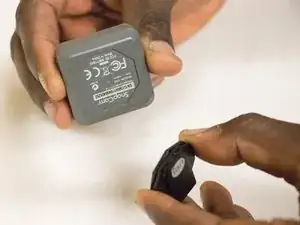
Detach the magnetic clip from the bottom of the camera.
-
The magnetic clip gets in the way of disassembly because it constantly spins and therefore a distraction so it is imperative to detach.
-
-
-
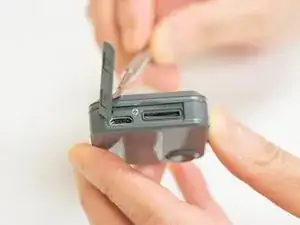
Use a Phillips #000 Screwdriver to loosen the 0.008 mm screw located between the USB and memory card slots.
-
-
-
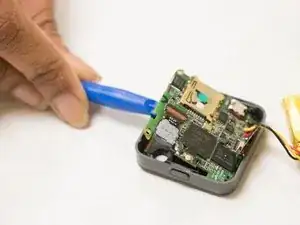
Once again use the spudger to gently open the encasement.
-
The Battery can be safely detached and replaced.
-
-
-
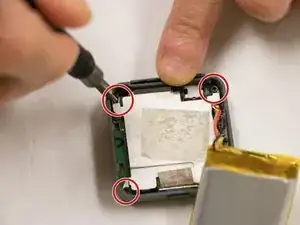
To get to the motherboard, safely lift the battery to expose an Aluminium plate that shields and holds the motherboard in place.
-
The plates are held down by four Phillips 0.008 mm screws on all four corners. Use a Phillips head #000 to safely loosen the screws.
-
-
-
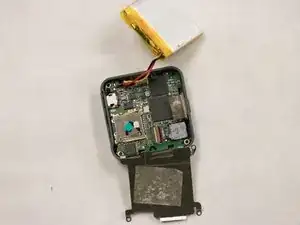
The motherboard is in plain sight . The lens assembly is located on the lower left part of the motherboard just to the left of the power button.
-
To replace the lens assembly, simply flip it up and detach.
-
To reassemble your device, follow these instructions in reverse order.
