Introduction
Upgrade your RAM for an instant increase in speed!
Tools
Parts
-
-
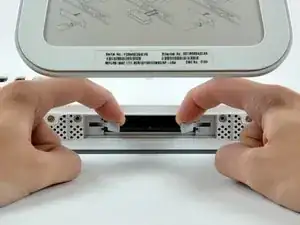
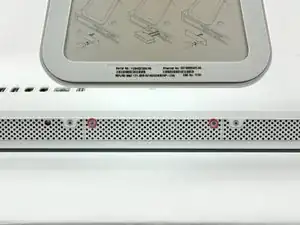
Loosen the two captive Phillips screws securing the access door to the iMac.
-
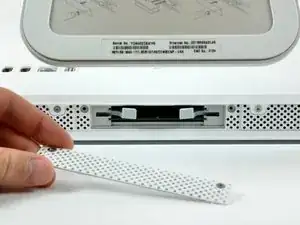
Remove the access door from the iMac.
-
-
-
Rotate the two RAM arms outward from the iMac to eject the RAM chips.
-
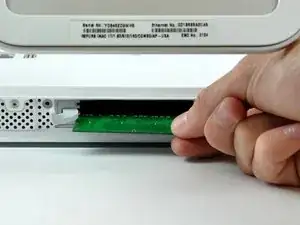
Slide the RAM chips out of their slots.
-
To reassemble your device, follow these instructions in reverse order.
4 comments
These comments don't belong here, they are for the hard drive replacement page. That being said, the RAM replacement is easy easy easy. It took me longer to get the RAM out of the packaging than it took to install them.
tjsadiq1 -
Great Guide! I felt comfortable starting this project before I began. I love the option to buy the relevant tools as well. My only question is this: Why isn't the 2GB upgrade listed in the relevant parts? I bought one from this site after checking compatibility, but it seems like I can't find that same part from this page . . . just seemed strange. Again, great guide! Thanks!
I of course did it wrong! Then figured it out and did it right after the children started crying their 3 macs weren't working! When you put the memory in it really is important to push the memory chips all the way in with your fingers until they are well seated. If not... flashing start light computer won't even start, and at best only half of ram will actually work. So put them in right side up, slide them in carefully into their slots and slide them all the way in until they click into place. All happy now on Club Penguin and Kizi!
Jim -


That is a really, really unnecessarily complex way of fitting a new hard drive. Thanks, but no thanks...
annax -
annax, if you can suggest a simpler way we're all ears!
Jake Simmonds -
I found this guide to be very useful. The installation was super easy, especially since I've never opened my iMac before. I was able to skip steps 6, 7, 9, 10 and 14. Wish I had one of those long skinny magnetic torx screwdriver's though. I had to use duct tape to hold the screws on the end of the bit for step 12.
I used this opportunity to vacuum out the dust with mini attachments. Much needed after 3 years ;0)
Awesome site!!! Thanks for sharing your knowledge and saving me time and $$$!
Eric Patten -
Yes I did it! thanks for this very good manual
Philippe d Anfray -