Introduction
Like brain surgery? Use this guide to replace your logic board.
Note: The logic boards of the 1.83 Ghz models are not interchangeable with the 2.0 Ghz+ models. Several connectors are incompatible, including the power supply.
Tools
-
-
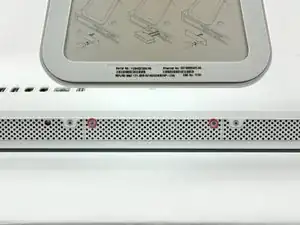
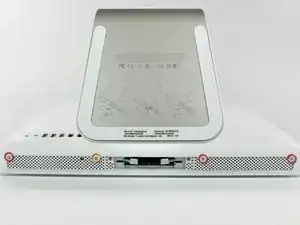
Loosen the two captive Phillips screws securing the access door to the iMac.
-
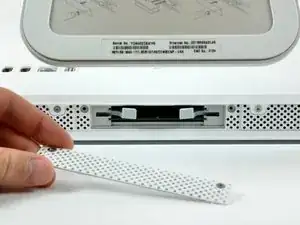
Remove the access door from the iMac.
-
-
-
Flip your iMac over and lay it stand-side down on a flat surface.
-
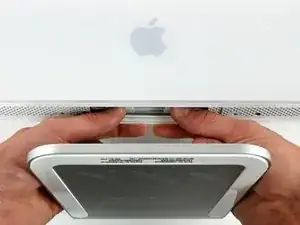
To lift the front bezel off the iMac, simultaneously:
-
Use your thumbs to press in the RAM arms and hold the iMac down.
-
Use your index fingers to pull the small bridge of material on the front bezel toward yourself.
-
Pull the Front bezel up with your index fingers.
-
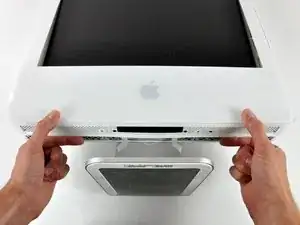
Once the small bridge of material has cleared the RAM arms, lift the front bezel by its lower edge just enough to clear the bottom edge of the rear case.
-
-
-
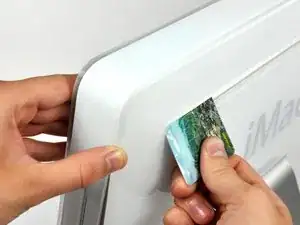
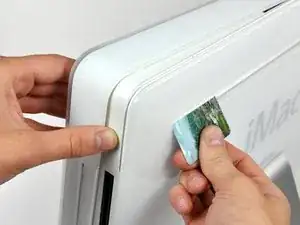
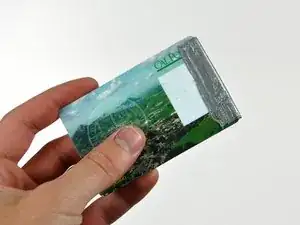
Insert a plastic card up into the corner of the air vent slot near the top of the rear case.
-
Push the card toward the top of the iMac to release the front bezel latch.
-
Pull the front bezel away from the rear case.
-
Repeat this process for the other side of the front bezel.
-
If the bezel refuses to release, try pressing the lower edge back onto the rear case and repeat this opening process.
-
-
-
Lay your iMac stand-side down on a table.
-
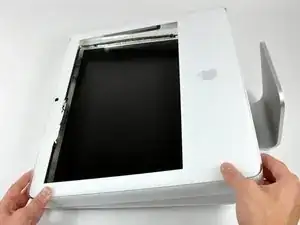
Lift the front bezel from its lower edge and rotate it away from the rest of your iMac, minding the RAM arms that may get caught.
-
Lay the front bezel above the rest of the iMac.
-
-
-
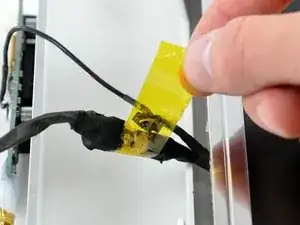
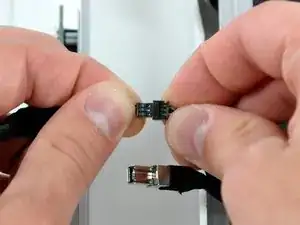
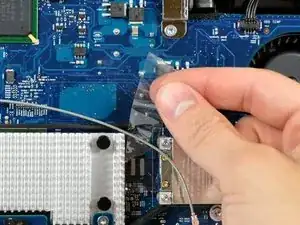
If necessary, remove the piece of kapton tape(it is ok to toss this) wrapped around the microphone and camera cables.
-
-
-
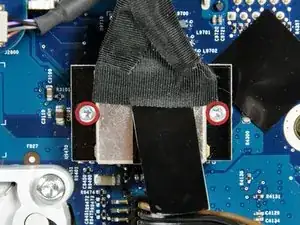
Remove the two 4.8 mm T6 Torx screws securing the display data cable to the logic board.
-
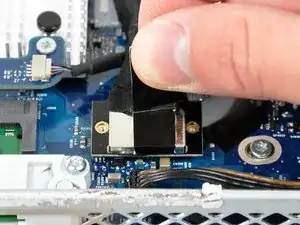
Grab the display data cable connector by its black tab and pull it straight up off the logic board.
-
-
-
Inverter cable on 24inch iMac pulls off to the left.
-
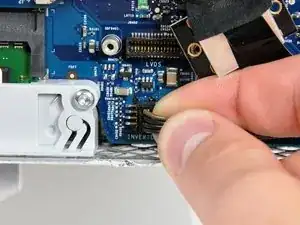
Pull the inverter cable connector straight up off its socket on the logic board.
-
-
-
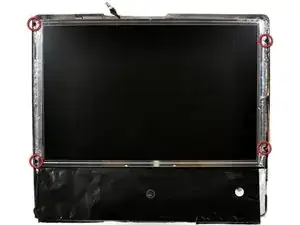
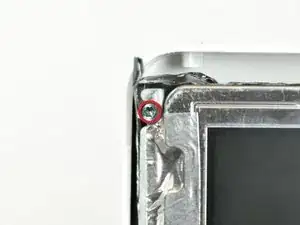
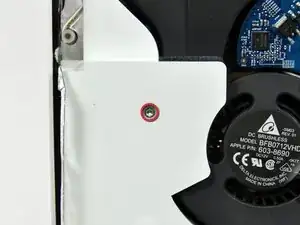
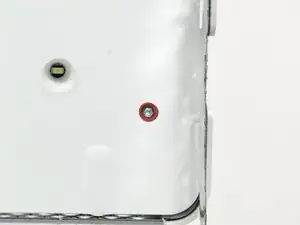
Remove the four 8 mm with 2 mm thick head coarse-thread T10 Torx screws securing the display to the rear case.
-
-
-
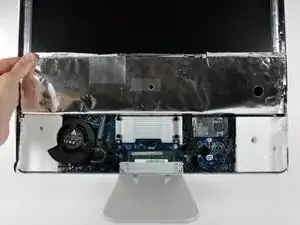
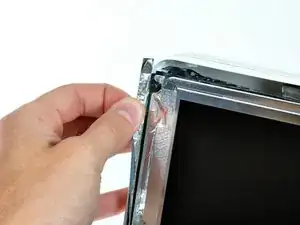
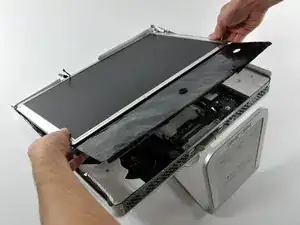
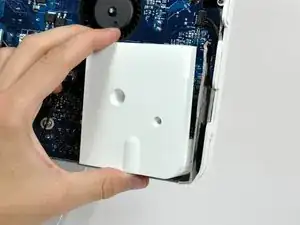
Lift the display from its lower edge and pull it toward yourself to peel off the EMI shield attached to its top edge.
-
-
-
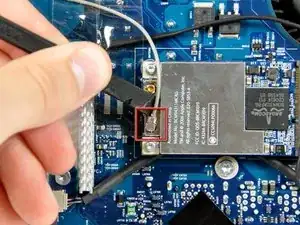
Use the flat end of a spudger to pry the AirPort Extreme antenna connector up off the AirPort Extreme card.
-
-
-
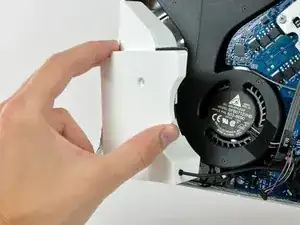
Disconnect the speaker cable connector by pulling its connector away from the socket on the logic board.
-
-
-
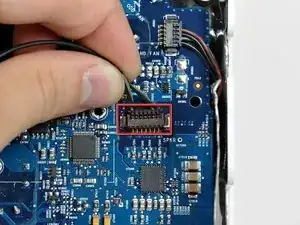
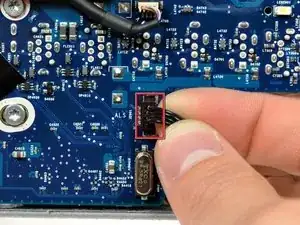
Disconnect the ambient light sensor by pulling its connector up off the socket on the logic board.
-
-
-
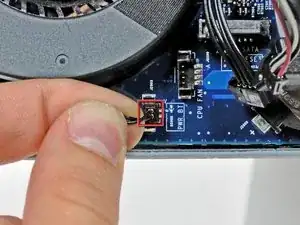
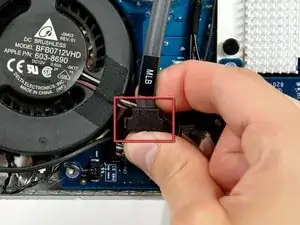
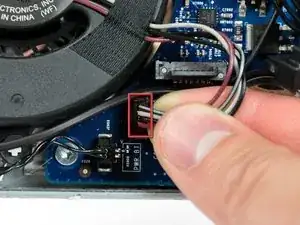
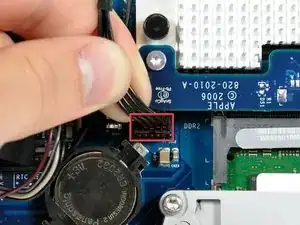
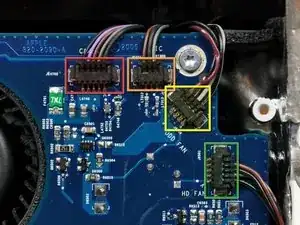
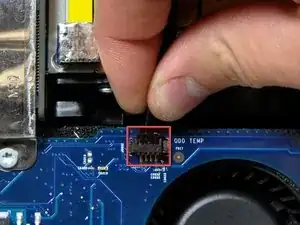
Disconnect the following four connectors by pulling them straight away from their sockets:
-
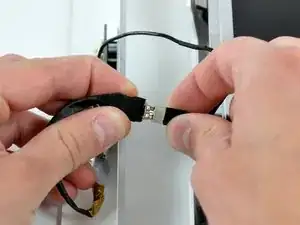
Camera cable.
-
Microphone cable.
-
Optical drive fan cable.
-
Hard drive fan cable.
-
-
-
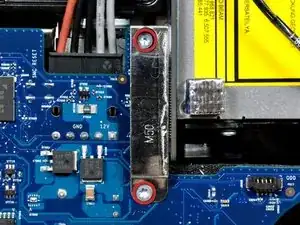
Remove the two 7 mm fine thread T10 Torx screws securing the optical drive clip to the logic board.
-
Remove the optical drive clip.
-
-
-
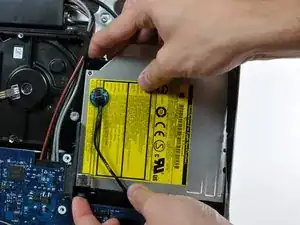
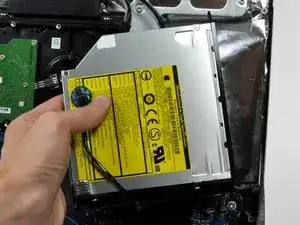
Squeeze the two optical drive bracket ears together while pulling the drive up toward yourself.
-
Pull the optical drive away from the side of the rear case and remove it from the iMac.
-
-
-
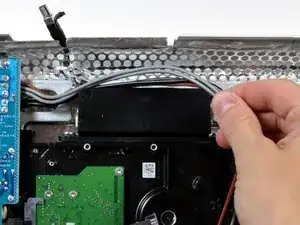
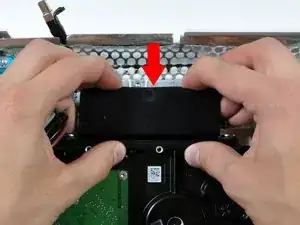
Press the hard drive bracket down to free it from the rear case, then rotate the top of the drive toward yourself.
-
-
-
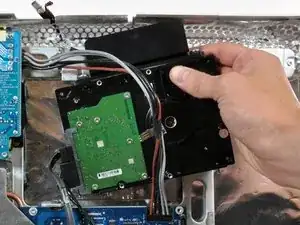
Lift the hard drive (with cables attached) straight up off its lower pins and remove it from the rear case.
-
-
-
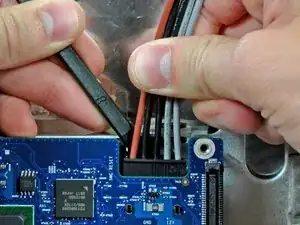
Unplug the power supply cable bundle from the logic board by simultaneously depressing the locking mechanism (toward yourself) with a spudger and pulling the connector away from its socket.
-
-
-
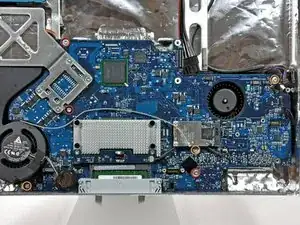
Remove the following six screws securing the logic board to the rear case:
-
Three fine-thread 7 mm T10 Torx.
-
Three coarse-thread 7 mm T10 Torx.
-
-
-
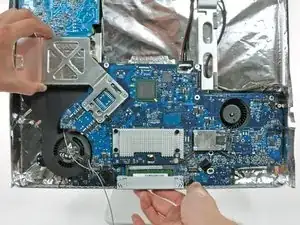
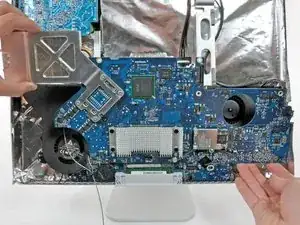
Grab the logic board from its left edge and rotate it out from the rear case, using your other hand to press the RAM arms in enough to clear the rear case.
-
To reassemble your device, follow these instructions in reverse order.
2 comments
I just have to say thank you to ifixit.com because I am no computer guy and I made it through this fix successfully. Even though the instructions for the iMac 17" Intel computer were slightly different from my board, I was still able to make it through. You're a lifesaver ifixit.
Mark -
Thanks for this great guide. Managed to fix up a broken iMac and put it back into use. Great stuff!

That is a really, really unnecessarily complex way of fitting a new hard drive. Thanks, but no thanks...
annax -
annax, if you can suggest a simpler way we're all ears!
Jake Simmonds -
I found this guide to be very useful. The installation was super easy, especially since I've never opened my iMac before. I was able to skip steps 6, 7, 9, 10 and 14. Wish I had one of those long skinny magnetic torx screwdriver's though. I had to use duct tape to hold the screws on the end of the bit for step 12.
I used this opportunity to vacuum out the dust with mini attachments. Much needed after 3 years ;0)
Awesome site!!! Thanks for sharing your knowledge and saving me time and $$$!
Eric Patten -
Yes I did it! thanks for this very good manual
Philippe d Anfray -