Introduction
Keep your iMac cool and happy by replacing the upper right fan.
Tools
Parts
-
-
Lay the iMac display-side down on a flat surface.
-
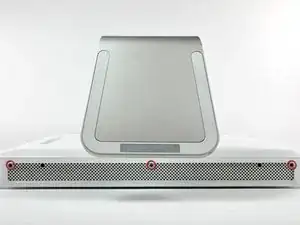
Loosen the three Phillips screws securing the rear panel to the iMac.
-
-
-
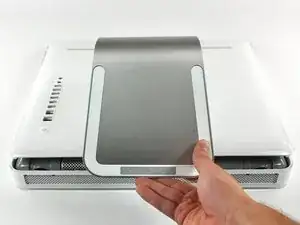
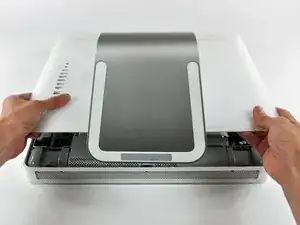
Lift the rear panel slightly from the bottom edge of the iMac.
-
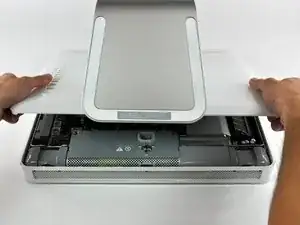
Pull the rear panel toward yourself and remove it from the iMac.
-
-
-
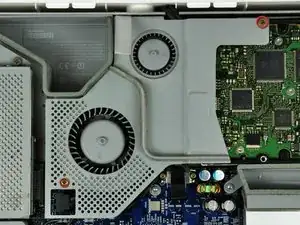
Remove the two Phillips screws securing the fan cover to the midplane.
-
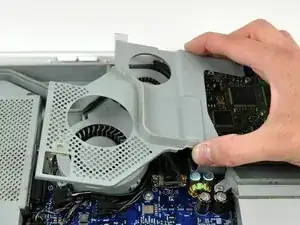
Lift the fan cover up off midplane.
-
-
-
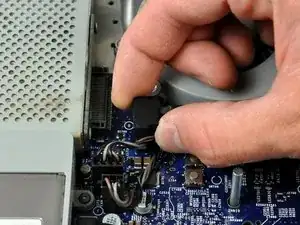
Disconnect the hard drive data cable connector from the logic board by pulling its connector straight up.
-
-
-
Disconnect the upper left fan cable connector from the logic board by pulling its connector straight up.
-
-
-
Remove the two T8 Torx screws securing the upper left fan to the chassis.
-
Lift the upper left fan out of the chassis.
-
-
-
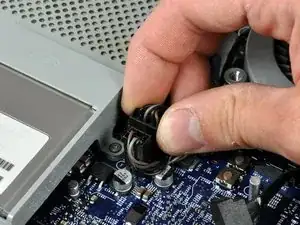
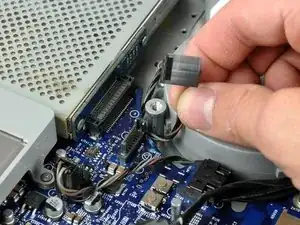
Disconnect the upper right fan cable connector from the logic board by pulling its connector straight up.
-
-
-
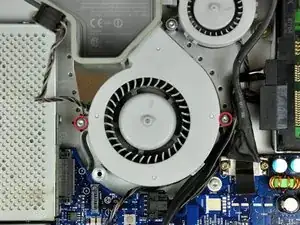
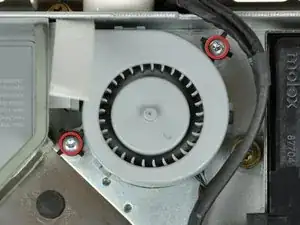
Remove the two shouldered T8 Torx screws from the upper right fan.
-
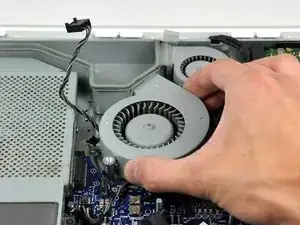
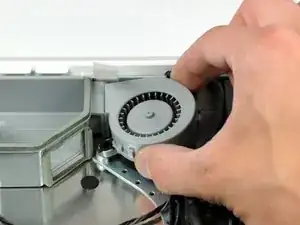
Lift the fan out of the chassis, de-routing the cable as necessary.
-
To reassemble your device, follow these instructions in reverse order.

My iMac has only ONE catch, the central one, so the two outer screws are not to be touched.
In fact, I tried so hard to unscrew them, with a good screwdriver, that my hand hurt. Knowing that some times captive things (like these screws or a faucet) can be already at the end of their travel and we only lock them further into that position, I tried both screwing and unscrewing to no avail.
paulfrancoeur -
The two outer screws each drive a locking bar that engage tabs on the rear panel.
They definitely need to be unscrewed.
Dale Stanbrough -