Introduction
Upgrade your hard drive for an instant increase in storage space.
Tools
Parts
-
-
Lay the iMac display-side down on a flat surface.
-
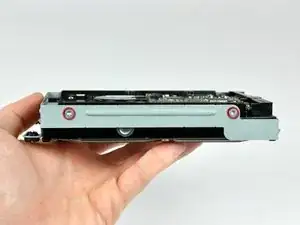
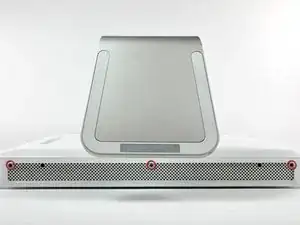
Loosen the three Phillips screws securing the rear panel to the iMac.
-
-
-
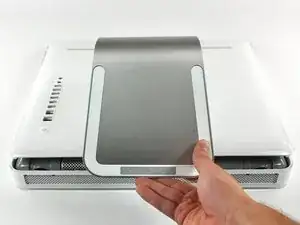
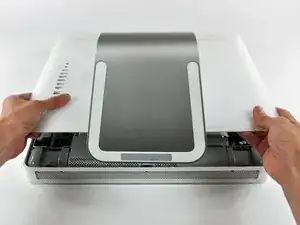
Lift the rear panel slightly from the bottom edge of the iMac.
-
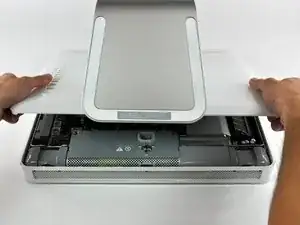
Pull the rear panel toward yourself and remove it from the iMac.
-
-
-
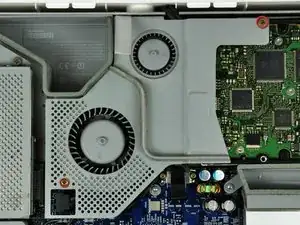
Remove the two Phillips screws securing the fan cover to the midplane.
-
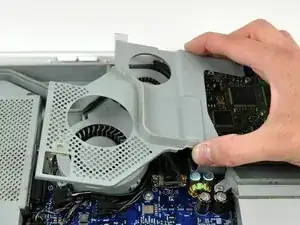
Lift the fan cover up off midplane.
-
-
-
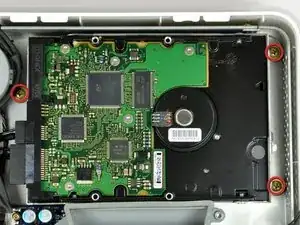
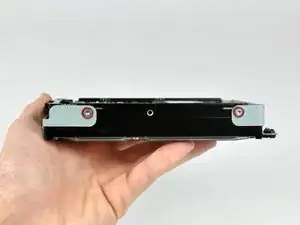
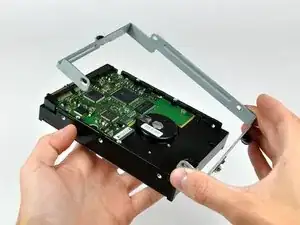
Remove the three Phillips screws securing the hard drive to the midplane.
-
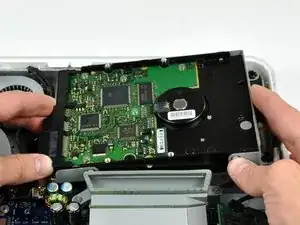
Lift the hard drive from its right edge and maneuver it out of the midplane.
-
-
-
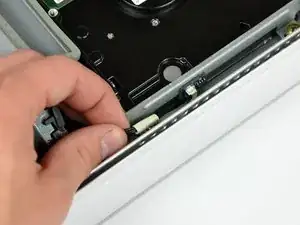
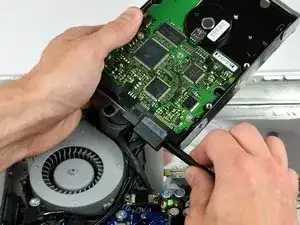
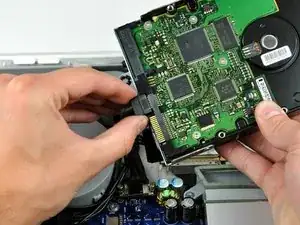
Insert the flat end of a spudger between the SATA power cable connector and the body of the hard drive.
-
Twist the spudger counter-clockwise to slightly separate the SATA power cable connector from its socket on the hard drive.
-
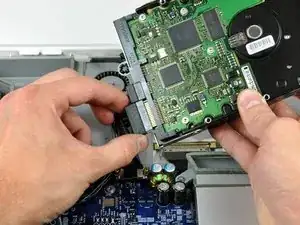
Pull the SATA power cable connector away from the hard drive.
-
To reassemble your device, follow these instructions in reverse order.
5 comments
I can't imagine why this disassembly is called "moderate." This has to be one of the easiest Macs to open up and gain access. Interestingly, the very next model, the 1144, is one of the most difficult and painful macs (that I know) to open up for access to the most rudimentary parts (drive and memory). The designers of the 1144+ iMacs should all be taken outside and shot!
Maybe the Quadra 700 is easier - no tools required! Or the G4 and G5 towers. Dunno about the later ones...
Boris -
Awesome, thanks for helping me breathe life back into my G5, it's going to become the band computer for storing videos/recordings, as well as some mastering and whatnot.
Very easy, thank you!
MadameX -

My iMac has only ONE catch, the central one, so the two outer screws are not to be touched.
In fact, I tried so hard to unscrew them, with a good screwdriver, that my hand hurt. Knowing that some times captive things (like these screws or a faucet) can be already at the end of their travel and we only lock them further into that position, I tried both screwing and unscrewing to no avail.
paulfrancoeur -
The two outer screws each drive a locking bar that engage tabs on the rear panel.
They definitely need to be unscrewed.
Dale Stanbrough -