Introduction
The iMac G3 was Apple's brand new all-in-one Macintosh. It had five different colors of translucent plastic that it was available in: Blueberry, Lime, Strawberry, Grape, and Tangerine, these were known as the "5 Flavors." The iMac "i" standing for internet, was very capable, it had built in LAN, IR(this was removed in later models), and a 233Mhz, 266Mhz, or 333Mhz PowerPC 750 (G3) CPU, and a built in 15" CRT screen. This computer paved the way for modern Macs.
The iMac G3 M4984 uses PC100 laptop-style memory. Some models support a maximum of 256MB while others support a maximum of 512MB, this is entirelly dependent on the firmware of the machine.
Parts
-
-
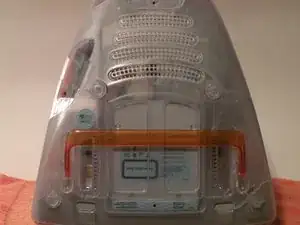
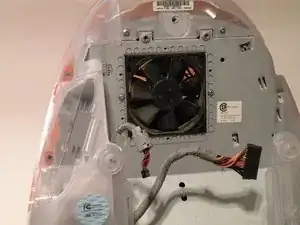
Start by flipping the iMac upside-down. It may help to lay it on a towel, so you don't damage the screen, or scratch the face.
-
-
-
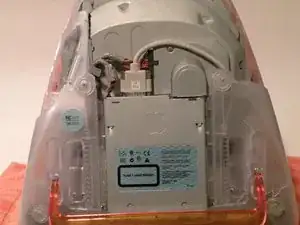
Remove this Phillips screw.
-
Using a flathead screwdriver, work your way around the bottom cover, until it comes off.
-
Then, lift the bottom cover up and out, and set it aside.
-
-
-
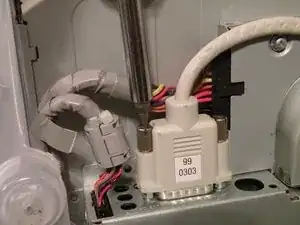
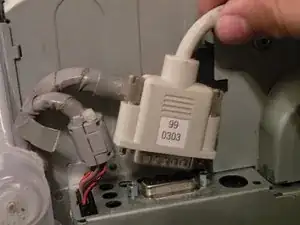
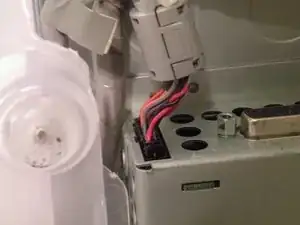
Now, remove the DB-15 Video connector from the logic board.
-
It may be helpful to use a Phillips screwdriver to remove the thumbscrews.
-
-
-
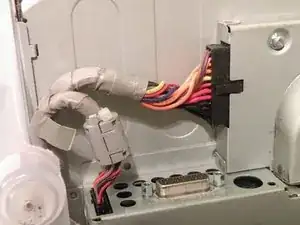
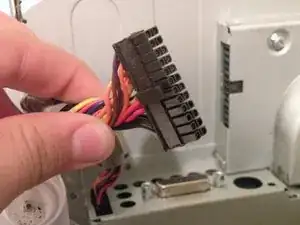
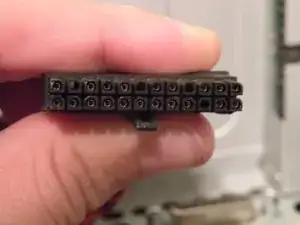
Remove the front panel connector. (You may also need to remove an additional screw that connects the front panel connector to the logic board assembly).
-
-
-
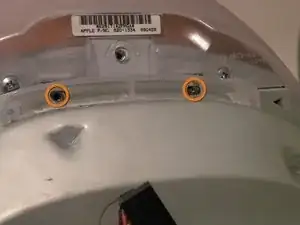
Now, remove these Phillips screws.
-
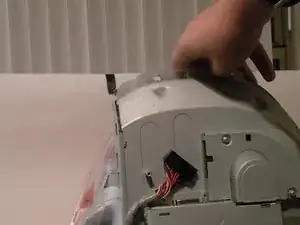
Now, grab the logic board assembly by the piece of plastic, and lift it out.
-
-
-
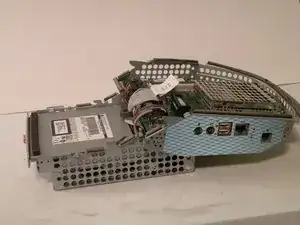
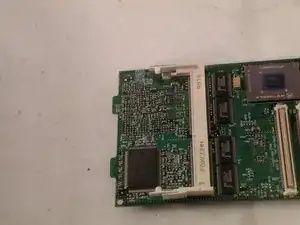
The logic board assembly. This is the heart of the computer, it contains the motherboard, CPU, RAM, V-RAM, PRAM battery, the hard drive, and the optical drive.
-
-
-
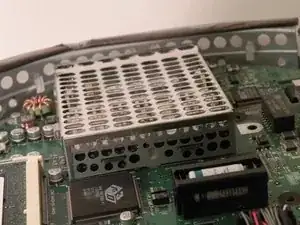
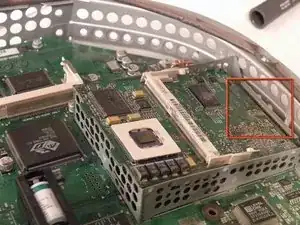
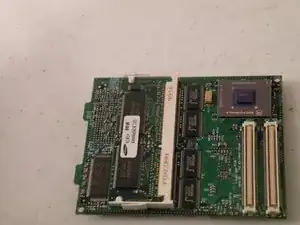
Remove the CPU shield, this will reveal the "top slot". This is the user-serviceable RAM slot, though there is a a second slot of RAM under the CPU card.
-
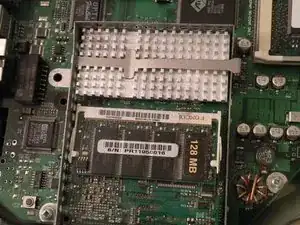
The iMac uses PC100 Laptop Ram, and according to Apple, it supports up to 256MB RAM (2X128MB) but unofficially. Some later models can support 512MB (2X256MB).
-
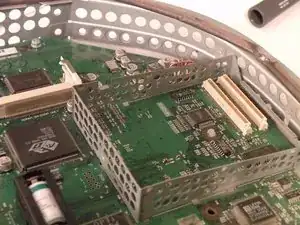
Push the tabs out, and the RAM should pop up, then pull the ram out.
-
-
-
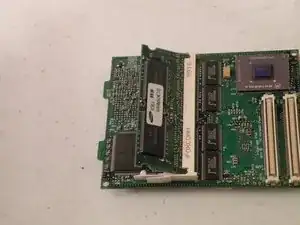
RAM (bottom slot).
-
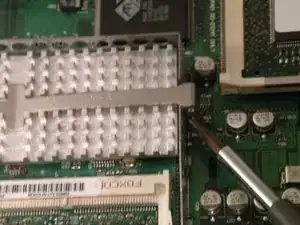
Remove the CPU Heatsink.
-
Use a flathead screwdriver. Remove the heatsink clip, it will pop off, and may get lost if you don't keep track of it.
-
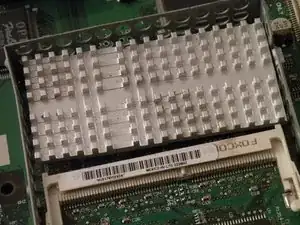
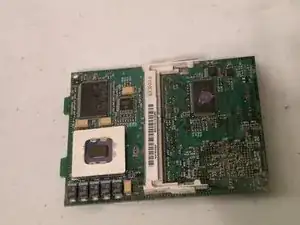
Remove the heatsink revealing the CPU, then lift the CPU card up, and it should come free with a little tug.
-
-
-
Now, flip the card over.
-
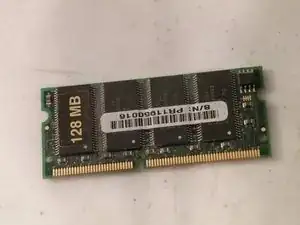
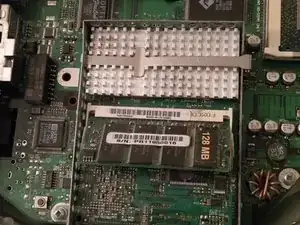
This will reveal another stick of laptop PC66.
-
This is most likely a 32MB Stick, because the iMac shipped standard with only 32MB of RAM.
-
Now, remove it by pushing the tabs, it should pop up, and you can set it aside.
-
-
-
The RAM.
-
The iMac supports two pieces of PC66 laptop RAM, though it can use PC100 and PC133 (laptop size of course).
-


To reassemble your device, follow these instructions in reverse order.