Introduction
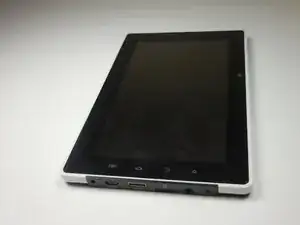
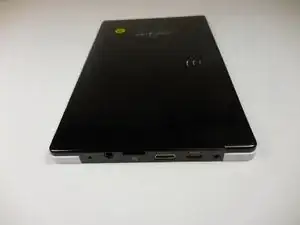
This guide provides quick and easy steps for the replacement of a digitizer glass intended for an iDea USA CT702 tablet.
Tools
-
-
Place tablet on the table with screen facing upright.
-
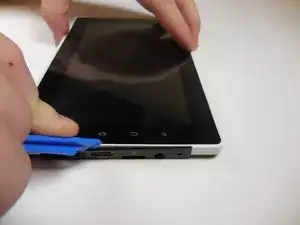
Starting from the portholes, use plastic opening tool to pry in between the front panel and back cover.
-
Follow the opening along the corners and sides until all latches are unclipped.
-
Remove back cover completely and place it outside of the work area.
-
-
-
Place tablet facing down.
-
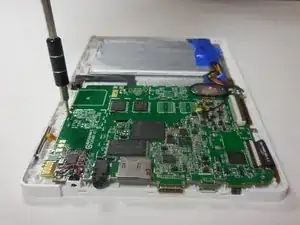
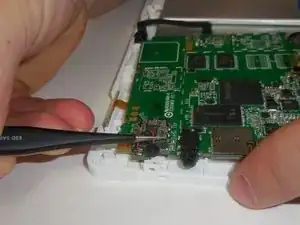
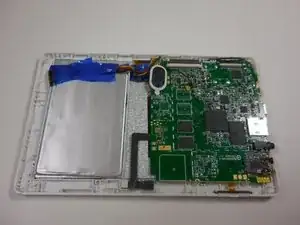
Locate the 4mm screws along the perimeter of the motherboard.
-
There should be 4 screws.
-
Use Philips screw driver to unscrew each one, and carefully place screws in a safe place.
-
-
-
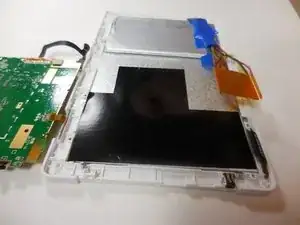
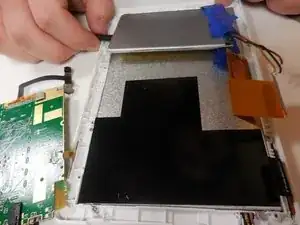
After screws are removed, gently pull up on the ribbon wire connection to release all 3 wires from the motherboard.
-
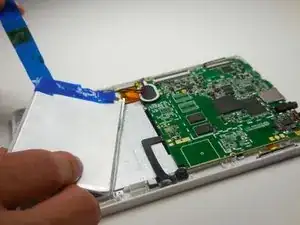
Safely remove mother board and battery from tablet by using tweezers.
-
-
-
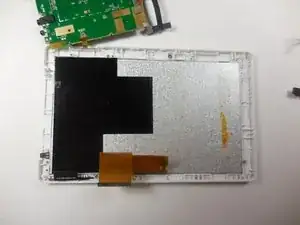
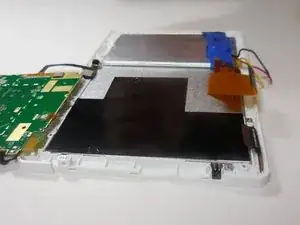
After removing the battery pack and motherboard, the touch sensor unit should be visible.
-
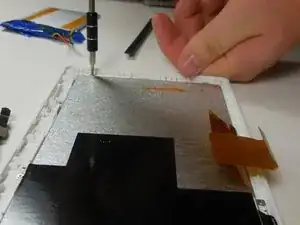
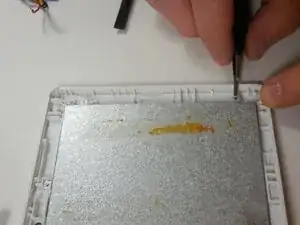
Use small Philips screw driver to unscrew all 6 of the 2mm screws.
-
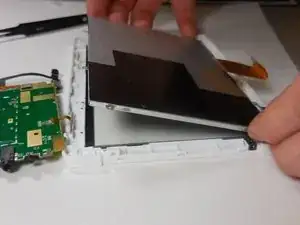
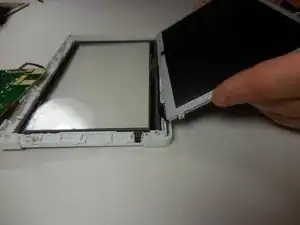
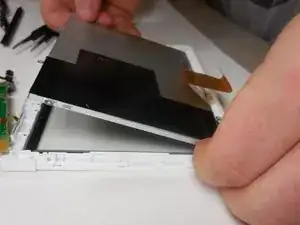
Use fingers and prying tool to remove the touch sensor unit from frame.
-
-
-
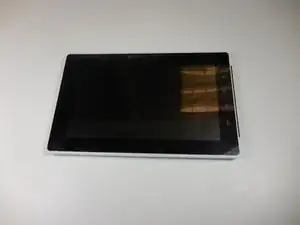
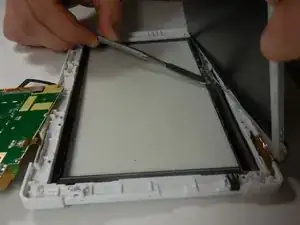
After the touch sensor is detached, only the plastic screen should remain.
-
Insert new touch sensor plate into the same position, aligning all screw inputs.
-
Insert all six of the 2mm. screws to connect the new touch sensor to the screen frame.
-
To reassemble your device, follow these instructions in reverse order.
