Introduction
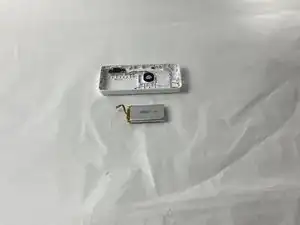
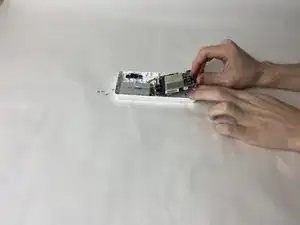
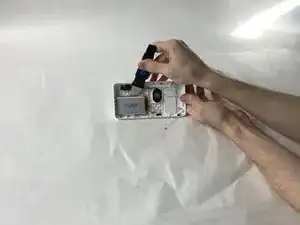
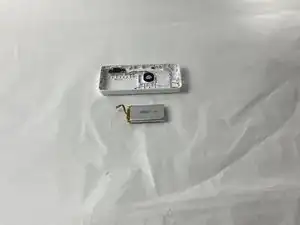
Welcome to our comprehensive guide on replacing the battery for your Eufy Security SpaceView Monitor. If you've noticed a decline in battery life or your device struggles to hold a charge, this step-by-step tutorial will guide you through the process of replacing the battery, ensuring your SpaceView Monitor remains a reliable component of your home security system.
Tools
-
-
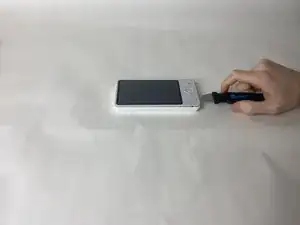
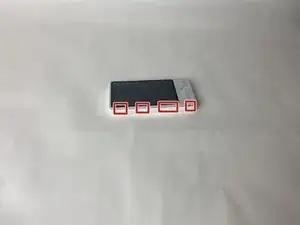
Using either the Jimmy or the IFixit Opening tool, press into the opening notches built into the lower portion of the display.
-
The sides of the display each have two notches, while the top has 3 notches, and the bottom has 4 respectively.
-
Using the given tools, ensure that the tool enters the space of the opening notches, and apply force downwards, prying that specific part up and away from the housing.
-
Repeat for all sides and notches, until the display is completely detached from the rest of the monitor.
-
-
-
Lay the display face down on a table, to expose the back of the screen.
-
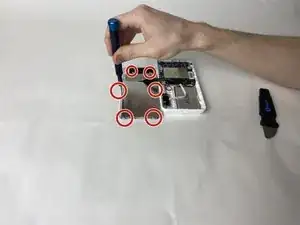
Use Phillips #00 screwdriver to unscrew each of the six screws that hold the display in place.
-
-
-
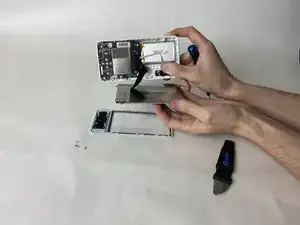
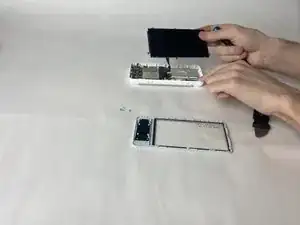
Gently lift the display housing, and set it aside.
-
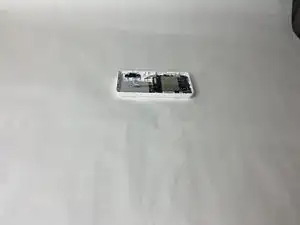
The housing is ready to have the new display installed.
-
-
-
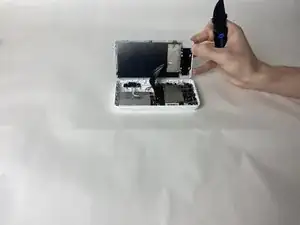
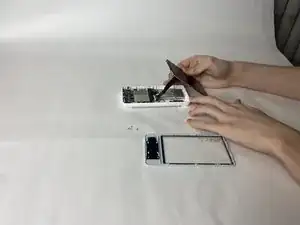
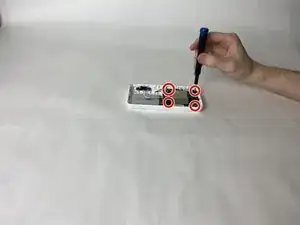
Using a Phillips #00 screwdriver, unscrew the 4 retaining screws in each corner of the motherboard.
-
-
-
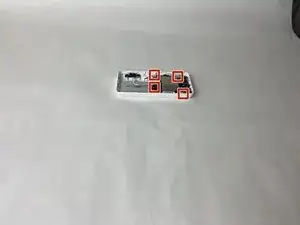
Starting with either red/black wired connector on, gently pull it from its receptor and set it aside.
-
Pull the white ribbon connector from the motherboard, on the side closest to the battery.
-
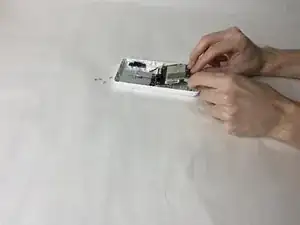
Lift the motherboard and disconnect the antenna connector from its port.
-
To reassemble your device, follow these instructions in reverse order.
2 comments
I can't find any info on suitable replacement batteries. There isn't a model number on the battery, just the following: FT804163P 2900mAh 11.02Wh BHZKF28L 3.8V. Where did you source your replacement battery from?
I used this one from ebay (104050, 2500mAh, the 1.25mm connector version): https://www.ebay.com/itm/115814771499 referenced by this reddit comment: https://www.reddit.com/r/techsupport/com...
I had to splice and swap the red/black wires as they were in the wrong order for the spaceview, but other than that, it fit in the monitor casing and worked as expected.
