Introduction

If your eufy RoboVac 11 is having trouble maneuvering throughout rooms or is immobile altogether, taking a look through this guide may be beneficial. This guide requires taking apart the device, keeping track of various parts, and some skill in replacing both the wheels and motors. However, because of how in depth this guide is, it will allow you to have access to the entire interior of the device. It is a perfect time to clean it thoroughly.

  1. sIQO3ujU5YNUmfdK
    sIQO3ujU5YNUmfdK
    evbpWJrcmhxQxMsk
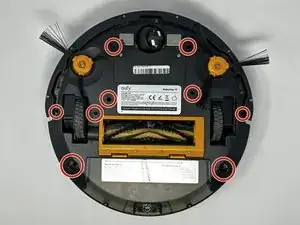
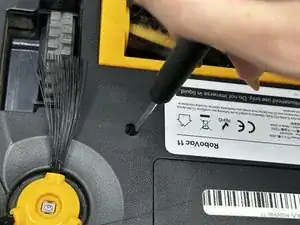
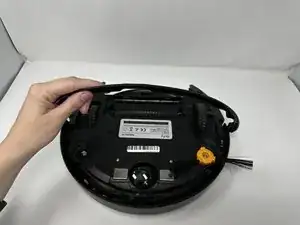
    • Remove the nine 10 mm screws with the Phillips #1 precision screwdriver.

    • Keep track of these screws. They are the same length as the interior screws but wider in diameter.

  2. sp5wJVAEH1GJL5en
    sp5wJVAEH1GJL5en
    IsbsOcMXTwkAdvdo
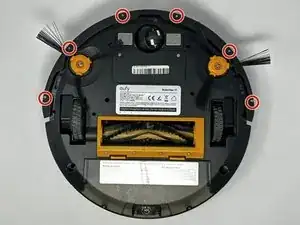
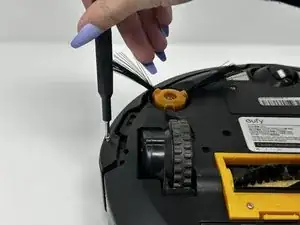
    • Remove the six 7 mm screws on the bumper with the Phillips #1 screwdriver.

  3. 1PnkaUXHwKeMCXuj
    1PnkaUXHwKeMCXuj
    tGCdluxjZKIcNxVp
    y6A4xJUWiwp2cbuL
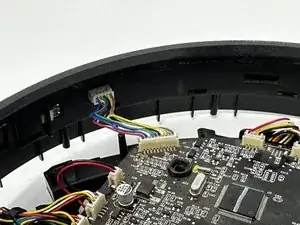
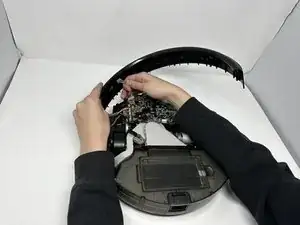
    • Remove the top plate from the body of the device.

    • Unplug the bumper from the motherboard.

  4. fZuFuyCyfPOwQNnS
    fZuFuyCyfPOwQNnS
    vgRmtOKpHNrZjeRx
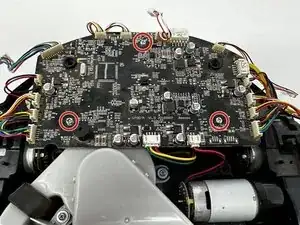
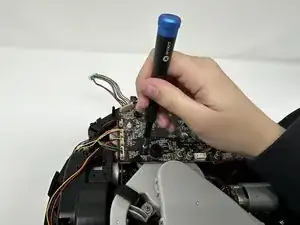
    • Remove the three 10 mm motherboard screws with a Phillips #1 screwdriver.

    • Cleaning the motherboard and inside of the device outdoors with a compressed air cleaner will help the robot last longer.

  5. 6shUHAh1EXCmQ1WM
    6shUHAh1EXCmQ1WM
    NYyo1Yj3OgKGWPVT
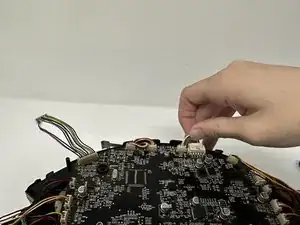
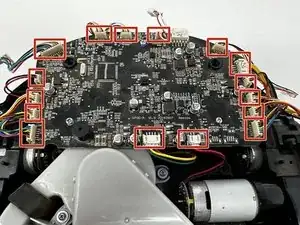
    • Unplug the cables from the motherboard.

  6. WTODWELfXQatMWTC
    WTODWELfXQatMWTC
    p6QPShbHt5vggMhZ
    • Remove the single 10 mm screw with the Phillips #1 screwdriver.

    • Remove the rolling brush.

  7. qTro5DweMIW5Lt4h
    qTro5DweMIW5Lt4h
    PZqNkX2cBxKv2Ws3
    F5JqYsHIeq4iBnLv
    • Remove the wheels.

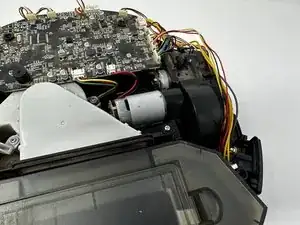
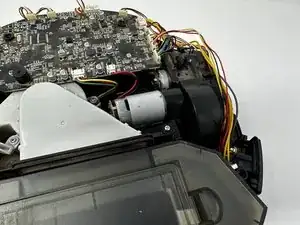
    • The removal of the two wheels is the same on both sides, but on the left side there is a motor in the way of the wheels.

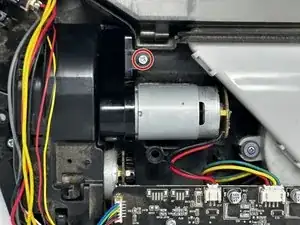
    • Remove the single 10 mm screw with the Phillips #1 screwdriver and then pull upwards to remove the piece preventing removal.

  8. UDyw4DbhQHOrINCS
    UDyw4DbhQHOrINCS
    XTA1TA1cSp4OHIxa
    aTkjKoJnMckWHvbZ
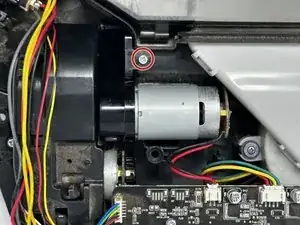
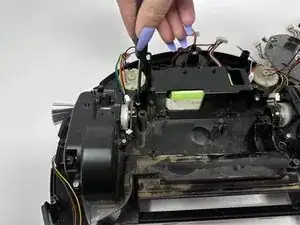
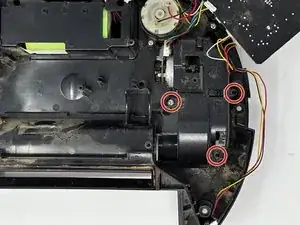
    • Remove the three 10 mm screws with the Phillips #1 screwdriver.

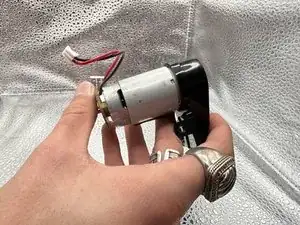
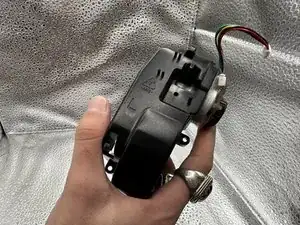
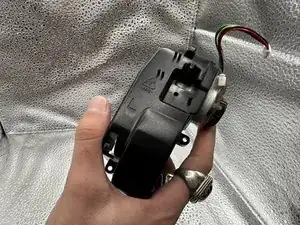
    • Remove motors.

    • The process for removing the left and right motors is the same.

Conclusion

To reassemble your device, follow these instructions in reverse order.
Kyleigh Hill

Member since: 28/09/22

223 Reputation

0 comments