Introduction
For assistance putting bObi back together, follow the guide on closing bObi: Closing bObi's Cover Post-Repair
Tools
-
-
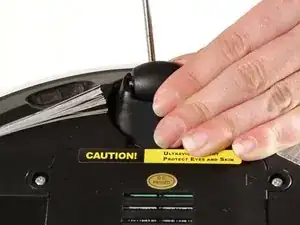
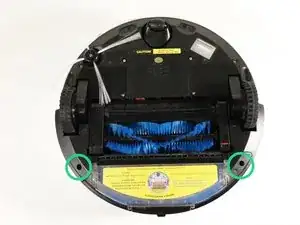
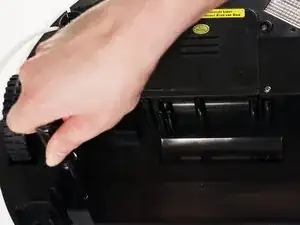
Remove bObi’s front wheel to access one of the screws holding bObi together.
-
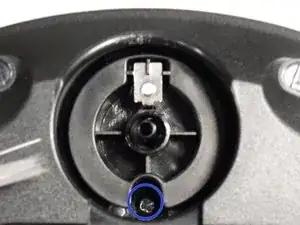
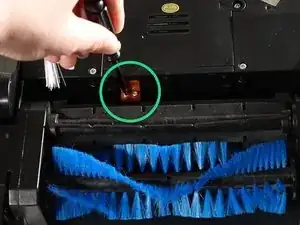
Uninstall the larger screw that sits deeper in the wheel compartment.
-
-
-
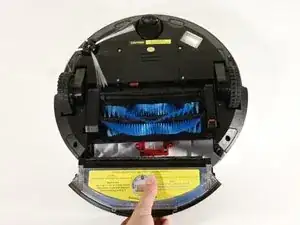
Remove bObi's dustbin.
-
Uninstall the 2 screws close to the bin and 2 smaller screws above her main brushes.
-
-
-
Lift the brush holder. To detach completely, unplug it from bObi.
-
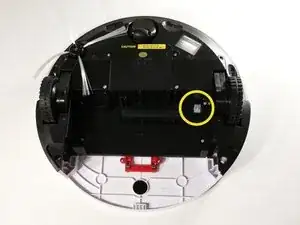
Remove the two screws on the dustbin contact point holder inside bObi.
-
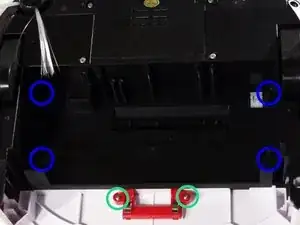
There are 4 screws beneath the main brushes. Uninstall these, and open bObi up to expose her main circuit board.
-
-
-
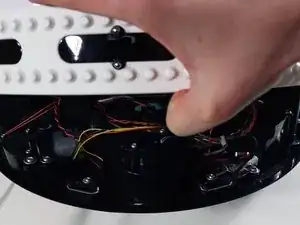
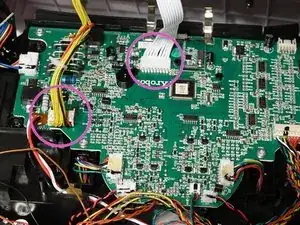
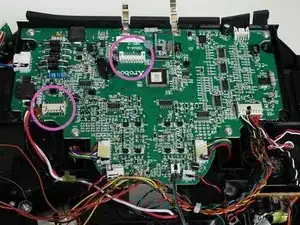
Detach the two circuit plugs connecting bObi's cover to the main board and the cover will be completely removed.
-
-
-
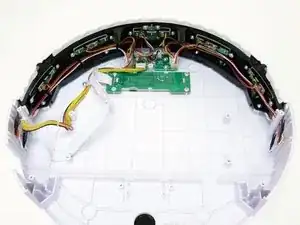
All of bObi’s wall detection sensors are plugged in to a small circuit board on the underside of the cover.
-
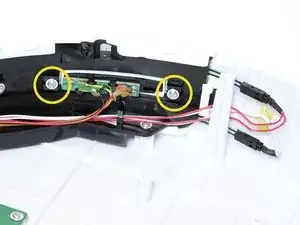
Refer to bObi’s check up test in order to determine which sensor is in need of repair. Then, remove the two screws holding it on the front bumper.
-
-
-
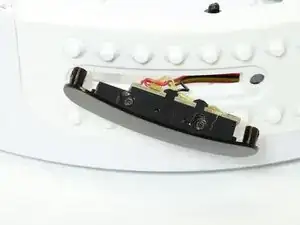
You will be able to push the sensor from the inside of the cover, so it pops out of its place on the bumper.
-
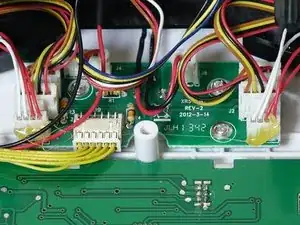
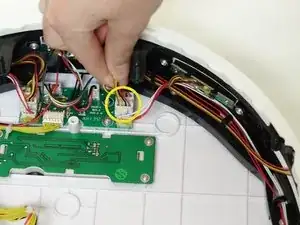
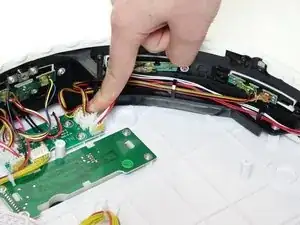
Unplug the appropriate circuit plug from the cover's circuit board.
-
-
-
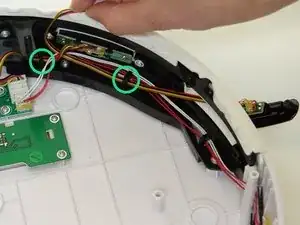
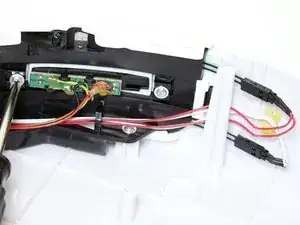
Unhook the wires from the holders on the inside of the bumper.
-
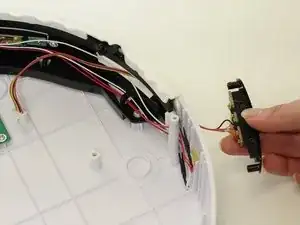
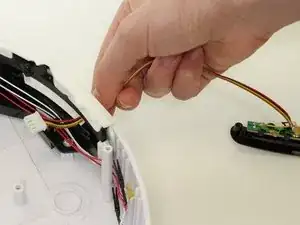
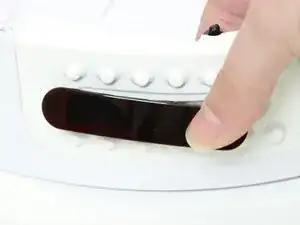
Feed the circuit plug and its wires through the open space in bObi’s bumper.
-
-
-
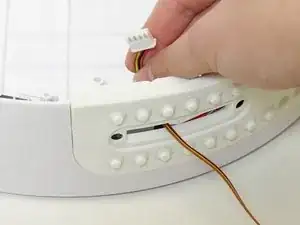
Put the circuit plug for your replacement part through the obstacle detection sensor’s open slot.
-
Place the actual sensor in its space on the bumper and install the two screws which secure it to bObi.
-
-
-
Feed the wires for the sensor's circuit plug back through the hooks on bObi's bumper.
-
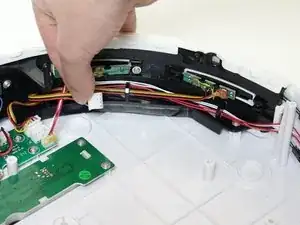
Then, plug it into the empty spot on bObi’s cover circuit board.
-
To finish off this repair, follow the closing bObi manual: Closing bObi's Cover Post-Repair
-
To reassemble bObi, refer to the Closing bObi Guide.
