Introduction

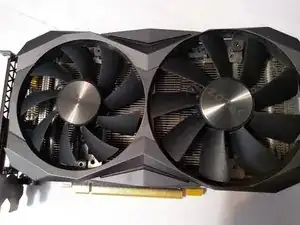
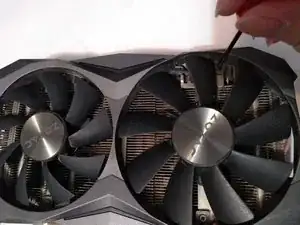
In this guide, we will take you through a step-by-step approach on how to replace a broken graphics card fan specifically the Zotac GTX 1080 Ti Mini. A couple of reasons why you might need to do the replacement is the graphics card fans can stop functioning efficiently, become noisy, or completely stop working. In order to fix these problems, you can use the guide to help.

  1. iurYUU6YoeFwYedU
    iurYUU6YoeFwYedU
    NL2vDLfgWeWvx4Ie
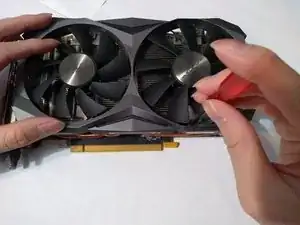
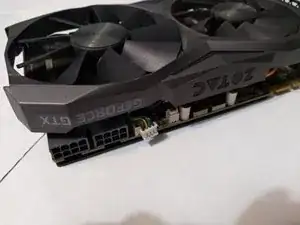
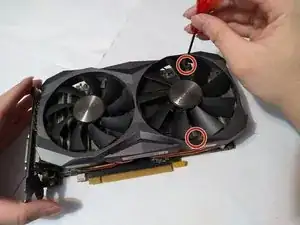
    • Be sure to properly ground yourself with an anti-static wristband before working on the graphics card.

    • Use a Phillips #0 screwdriver to remove the two 4mm screws from the right side of the shroud.

  2. OCFfIGo5pfJ5HLeM
    OCFfIGo5pfJ5HLeM
    QSiLHGQm1ftwThdF
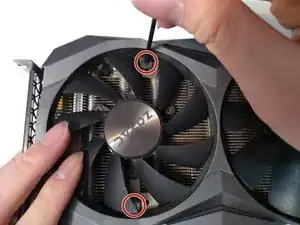
    • Use a Phillips #0 screwdriver to remove the two 4mm screws from the left side of the shroud.

  3. xVmqjtIrsX3P2EgM
    xVmqjtIrsX3P2EgM
    sOoOAghnPGiOksvp
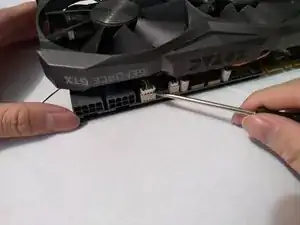
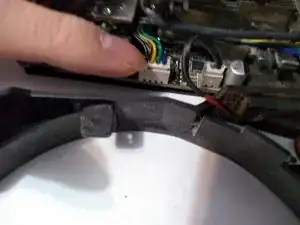
    • Look for the fan header located beside the 16-pin power connector.

    • Gently pry the fan connector apart from the header with a flathead screwdriver.

  4. YgXf1MnM1InCEonB
    YgXf1MnM1InCEonB
    X5I4rOFkpxigSynn
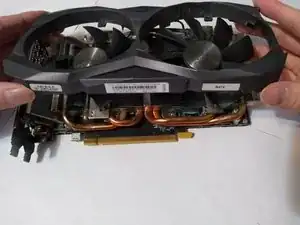
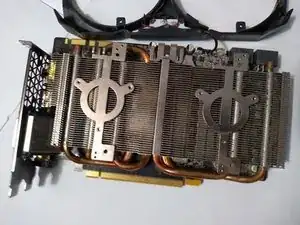
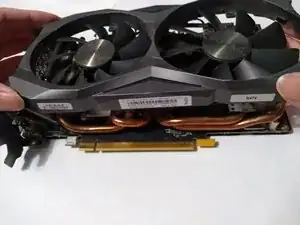
    • Slowly and carefully lift the shroud off the heatsink.

    • During this step, make sure not to damage the LED connector that is still connecting the shroud to the PCB.

    • Flip the shroud along the top of the graphics card.

  5. XwELLP2bOhN6Cvnw
    XwELLP2bOhN6Cvnw
    bf1iRG654upcglVl
    JbZwIgsp1P3qL4Te
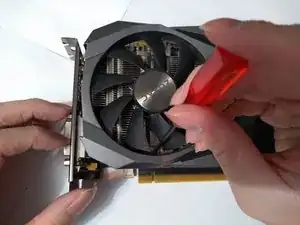
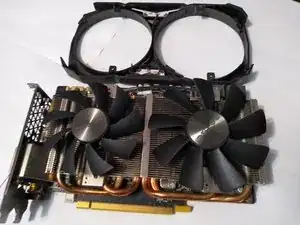
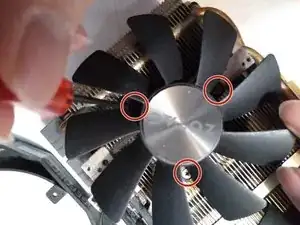
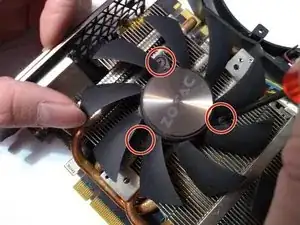
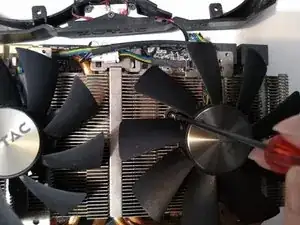
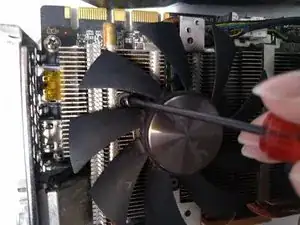
    • Remove the three 3 mm Phillips screws holding the fans to the heatsink with a Phillips #0 screwdriver.

    • Remove the broken fans.

    Do you have the specifications for the screws? One of my screws went missing and based on the others, its around 1-1.6mm wide for the screw itself (dont have toos to measure exact), 3mm long (as stated), and aroud 5mm wide for the head. Hoping I can get that missing dimensions before I go and purchase.

    c.magbitang -

  6. aWhfJmtalHgalZTg
    aWhfJmtalHgalZTg
    2JIdFcoIiZyJrWif
    C6TSxKcxmQBjWjqD
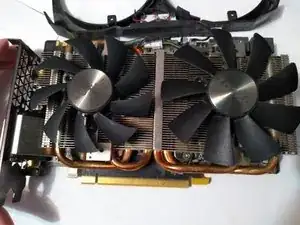
    • Place the replacement fan on top of the heatsink with the screw holes aligned.

    • Screw the fans into place using a Phillips #0 screwdriver.

  7. MjUW1CaXMRBEGnlV
    • Reconnect the fan connector to its header.

  8. bqsIQA1PQsu3QXCP
    bqsIQA1PQsu3QXCP
    MbFdUpC3pnbK1UZm
    1LLjplSOEK2toSsP
    • Place the shroud back over the heatsink and screw it back into place using a Phillips #0 screwdriver.

Conclusion

Hopefully, your graphics card is fully replaced and completely working now.

Victor Pan

Member since: 27/01/21

175 Reputation

One comment

Do you know what size (diameter and thread) the 4mm and 3mm screws are?
cchagadorn -