Introduction

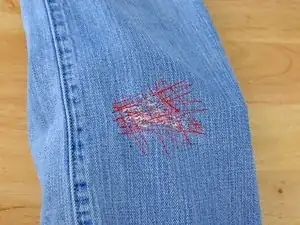
You've seen those jeans, the $200 pair that come pre-damaged, covered in contrasting stitches. Don't bother. Instead, follow this guide to not only fix your jeans, but upgrade them in style.

  1. DhYqtCZHNwasqkQR
    DhYqtCZHNwasqkQR
    ppspTxE1uYdNMQZH
    hiFiQZCE2J6kcgCB
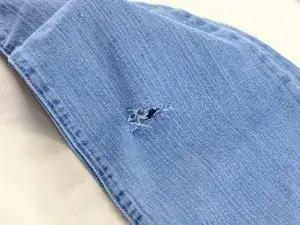
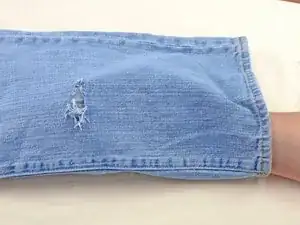
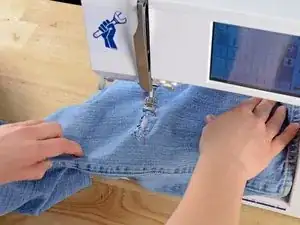
    • Examine the damage. Clip any long, loose threads, and remove any debris from the hole.

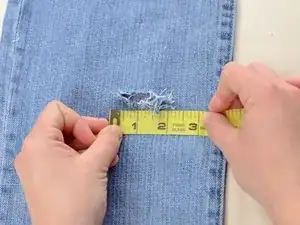
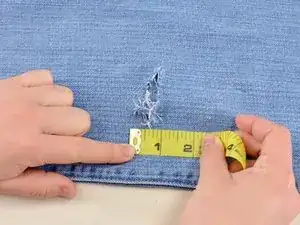
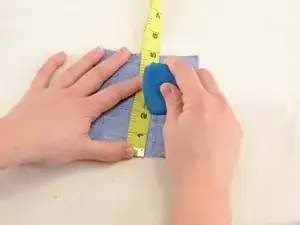
    • Measure the length and width of the hole.

    • In our case it looks like 2" by 1".

  2. TFrq6ucLqOjWVpWe
    TFrq6ucLqOjWVpWe
    tS2Y4dgnjN3Wp2Ug
    1JtVBGUbl2tsgVfy
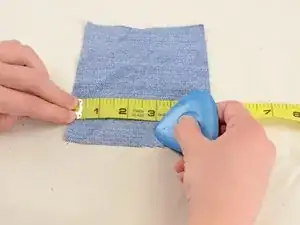
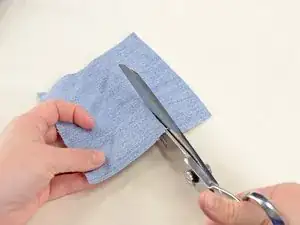
    • Grab a scrap of denim or other heavy-weight fabric and mark your measurements plus one inch in each direction.

    • In our case it will be 3" by 2".

    • Cut the scrap into a rectangle the dimensions of your new measurements.

  3. O3DyVaqYyXmoamJP
    O3DyVaqYyXmoamJP
    LXCpK3WSnToByM61
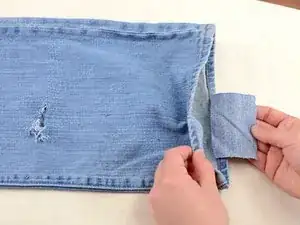
    • Insert the rectangle of fabric into the jean leg and position it under the hole.

    • Be sure that you put the rectangle of fabric in the pant leg and not behind it—you only want to work on one layer of fabric.

  4. uspZU4PgcYmGPLxM
    uspZU4PgcYmGPLxM
    RQIaoeFVUbRgSO6a
    pBSooWqioAeHxXuG
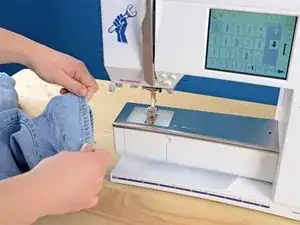
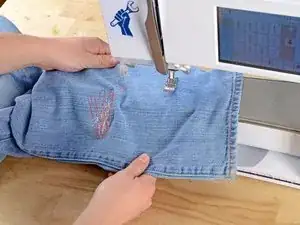
    • Thread your sewing machine with your desired thread color.

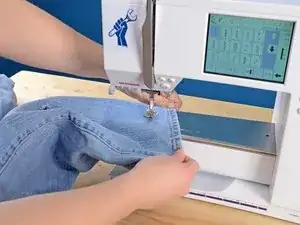
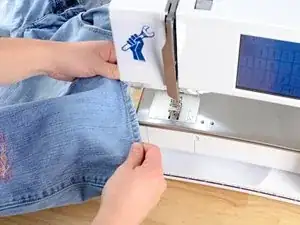
    • Slide the pant leg onto the arm of the sewing machine.

    • You may need to remove the sewing machine table for the pant leg to fit over the arm.

    • Be sure that the pant leg is around the arm of the sewing machine. If both layers are stacked on one another, you will sew the pant leg shut.

  5. nRTgLGw3jJV3aw5S
    nRTgLGw3jJV3aw5S
    sfPpktwFTKKXqCH4
    SnciTQm1NSyWOHfX
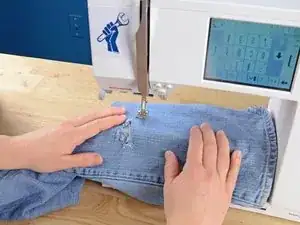
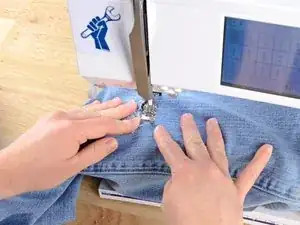
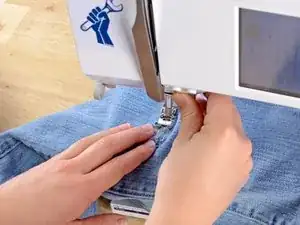
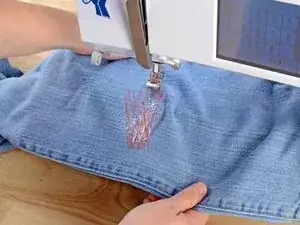
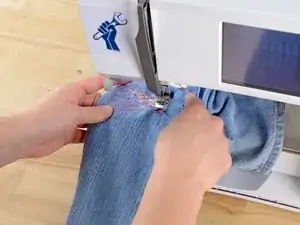
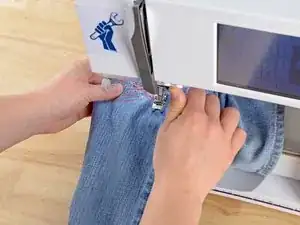
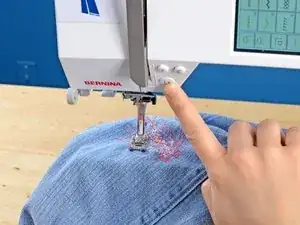
    • Check that the rectangle of fabric is still laying flat, centered beneath the hole.

    • Lower the pressor foot.

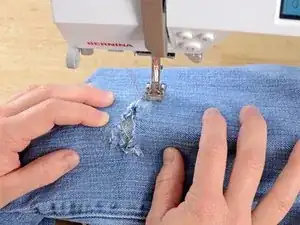
    • Sew a straight line over the hole going about five stitches past the damage.

  6. NdGVsBRyZf6xu5Ik
    NdGVsBRyZf6xu5Ik
    5usdTspEtFRUng3P
    OoLZJMkLsYyGaORv
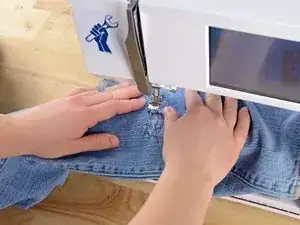
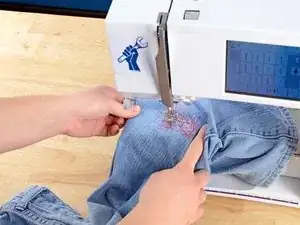
    • Lift the pressor foot.

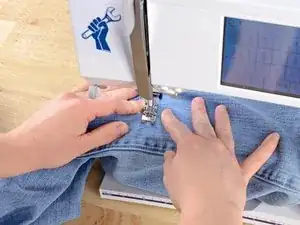
    • Rotate the jean leg a few degrees toward the center of the hole.

    • Lower the pressor foot.

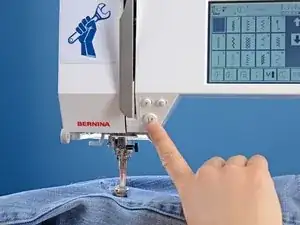
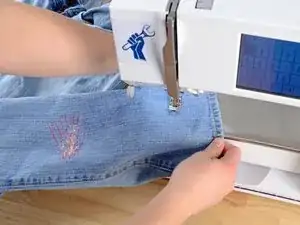
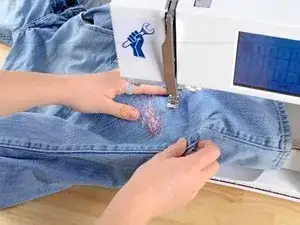
    • Engage the backstitch function on your sewing machine, and sew a straight line back over the hole, going about five stitches beyond the damage.

  7. XARcf4MgnxynMTAC
    XARcf4MgnxynMTAC
    G4kd5p3dlnGHlwBq
    3EnnBHXIuJYtsdYC
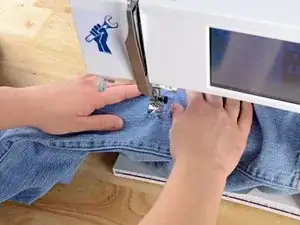
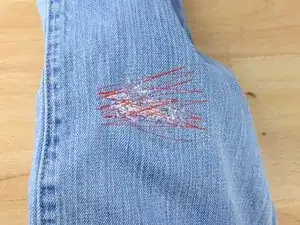
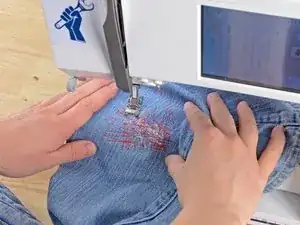
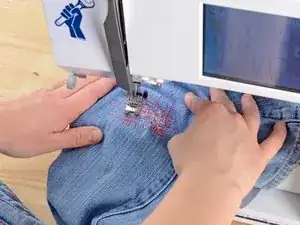
    • Repeat steps five and six, continuing to rotate and sew lines of stitching back and forth until you cover the entire hole.

  8. erjPDBcOqgHbqt4J
    erjPDBcOqgHbqt4J
    ylSWMkCtIUhJJtid
    • When you are satisfied with your stitching, backstitch two or three stitches.

    • Lift the needle and pressor foot.

    • Slide the jean leg off of the sewing machine.

  9. qqh23jaiWdUnMRpX
    qqh23jaiWdUnMRpX
    hTPmsxUYxYFJs4QD
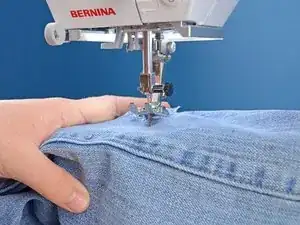
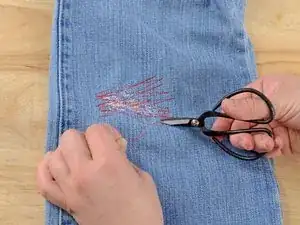
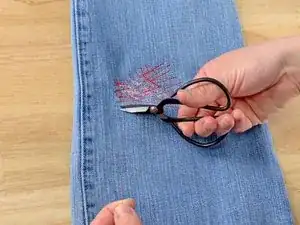
    • Clip any dangling threads and admire your work.

  10. a3TptiYmdyCbFYlW
    a3TptiYmdyCbFYlW
    LkpTHncHp3jSX1KN
    56EqCjEPKC4VRVZZ
    • Still not satisfied? Alrighty, let's add some decorative stitching the other way.

    • This is completely optional. If you are happy with your work, you can stop here.

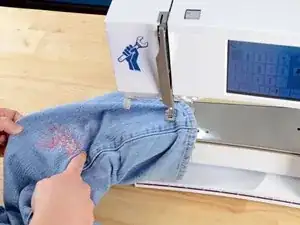
    • Slide the pant leg back onto the arm of the sewing machine, making sure that the leg goes around the arm.

  11. 2bEVYGhS15GyJeKi
    2bEVYGhS15GyJeKi
    hyFUgQ2XYnbq4gjb
    • Carefully rotate the jean leg 90 degrees.

    • Be sure that there is only one layer of fabric (plus the rectangle) between the sewing machine and the needle, or else you will sew the pant leg shut.

  12. bRN41wROsOnncRIZ
    bRN41wROsOnncRIZ
    s56fIKjkWRiZiT4N
    • Lower the pressor foot.

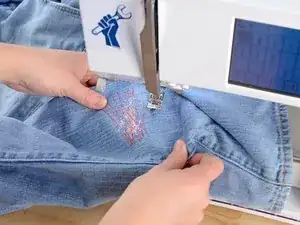
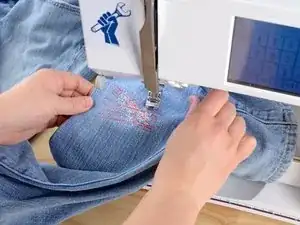
    • Sew a straight line of stitching over the damaged area.

  13. 2tBoUZqTCDZuUwcq
    2tBoUZqTCDZuUwcq
    vfLDQnDGTrDTFdOc
    1ETlSnMSAGl2MTEC
    • Just like before, at the end of each line of stitching, lift the pressor foot, rotate the jeans a few degrees, and sew another line of stitching.

    • When you are happy with the way that the stitching looks, backstitch two or three stitches.

  14. DSscyWcLe521DfSc
    DSscyWcLe521DfSc
    irKOT5BYQrUAUfsX
    • Lift the pressor foot and needle.

    • Slide the pant leg off the arm of the sewing machine.

  15. HOQ6Il5n2MlScFcj
    HOQ6Il5n2MlScFcj
    uOhNkoYR5nf6e3if
    • Clip any dangling threads.

Conclusion

Ta-da! Nice work.
Brittany McCrigler

Member since: 05/03/12

88913 Reputation

0 comments