Introduction
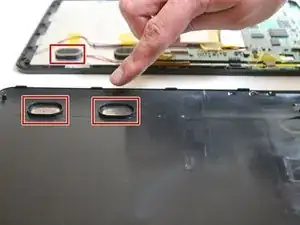
Replacing the speakers is a fairly simple task. It only requires basic soldering techniques, and both speakers and speaker connection points are easily accessible. Be sure to handle the speakers gently as their wires are very thin and could easily be broken.
Tools
-
-
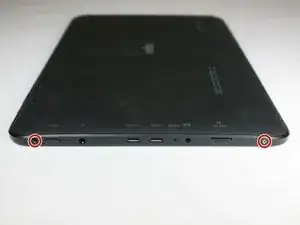
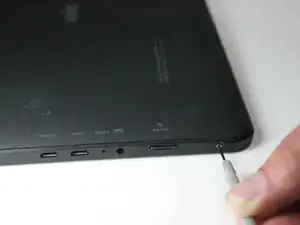
Remove the two 3 mm retaining screws from the side of the tablet with a Phillips #0 screwdriver.
-
-
-
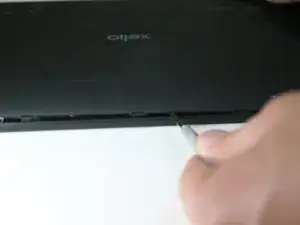
Insert the plastic opening tool in between the shelf halves and lift the top shelf half to detach the securing tabs.
-
-
-
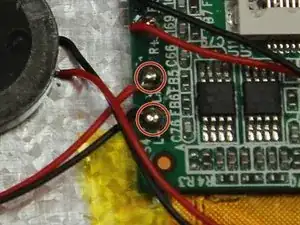
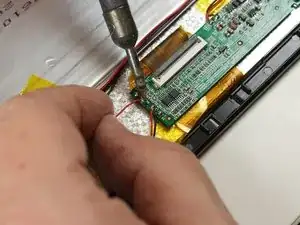
Desolder the two speaker wires with the soldering iron by melting the solder so the wires can be removed.
-
Remove the wires from the soldering points once they have loosened.
-
Use a soldering vacuum to remove the excess solder from the board.
-
-
-
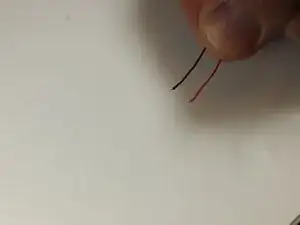
Inspect your wires. You should see 2 mm of exposed wire before you move to the next step.
-
If necessary, use your wire-stripping tool to strip 2 mm of insulation from each wire.
-
-
-
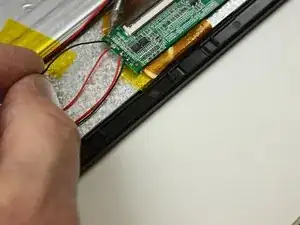
Place the exposed wire in the soldering point.
-
Apply the soldering iron to the point just until the wire is secured.
-
Repeat these two steps for the second wire.
-
To reassemble your device, follow these instructions in reverse order.
