Introduction
Follow this guide to remove and replace the power supply on a Xbox Series S.
Tools
Parts
-
-
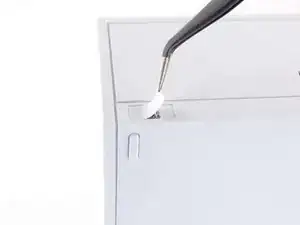
Use tweezers to peel off the two white screw covers located on the bottom corners of the back panel.
-
-
-
Use a T8 Torx driver to remove the two 10 mm-long screws securing the back panel to the bottom panel.
-
-
-
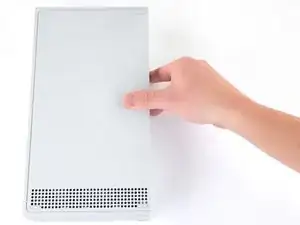
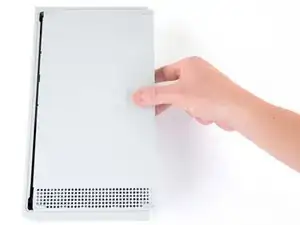
Slide the bottom panel horizontally toward the back of the console until it comes to a stop.
-
Lift straight up and remove the bottom panel from the plastic case.
-
-
-
Use a T10 Torx driver to remove the seven 51 mm-long screws securing the chassis to the plastic case.
-
-
-
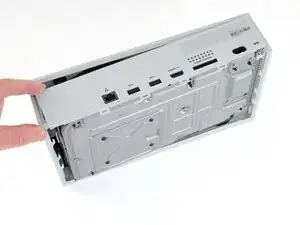
With the bottom of the Xbox facing you, pull the two bottom-rear corners of the plastic case away from each other.
-
As you pull the corners apart, slide the back panel towards the bottom of the device. This releases the back panel from the plastic case.
-
-
-
Pull the bottom-left corner away from the chassis while swinging the chassis away from the plastic case.
-
Remove the plastic case from the chassis.
-
-
-
Use a T10 Torx driver to remove the seven 11.3 mm-long screws securing the power supply to the chassis.
-
-
-
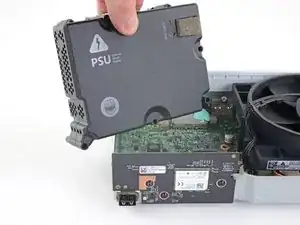
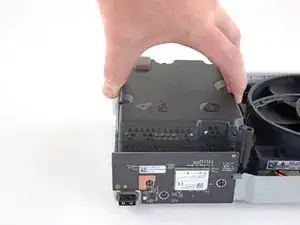
Lift the power supply straight up to disconnect it from the motherboard.
-
Remove the power supply.
-
To reassemble your device, follow these instructions in reverse order.
Take your e-waste to an R2 or e-Stewards certified recycler.
Repair didn’t go as planned? Try some basic troubleshooting, or ask our Answers community for help.
6 comments
What is the name of the blue paste on the power supply, and does it need to be replaced?
Luna -
I'd assume this is thermal putty used in lieu of thermal pads. Similar to thermal pads, there is usually no need to replace or reapply them unless their position doesn't line up with the components that need heat conduction—in this case the storage expansion module. Hope this helps!
I’m still getting the same results as soon as I load into a game the xbox turns off.
Looks like we both wasted 75 dollars on a Microsoft money laundering scheme designed to breakdown and not be capable of repair.
Worked like a charm









Where can I get a shell replacement?
King DK -