Introduction
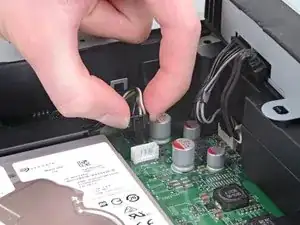
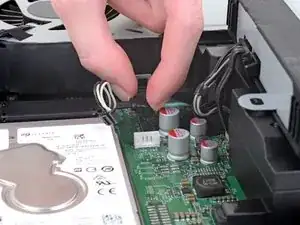
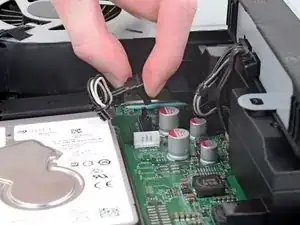
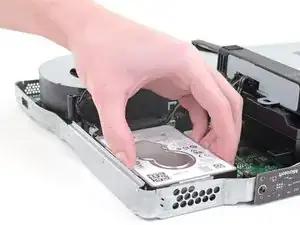
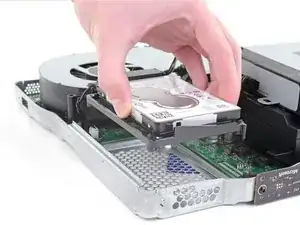
This guide shows you how to change your HDD to an SSD.
Tools
Parts
-
-
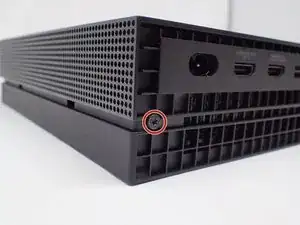
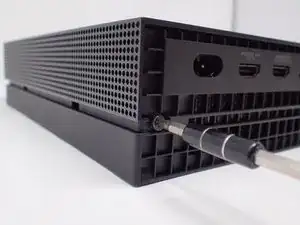
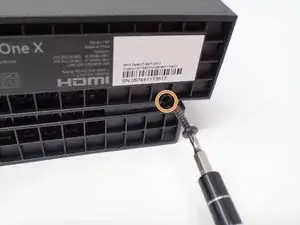
Use a T10 Torx screwdriver to remove the 13mm screw which is under and to the left of the power input.
-
-
-
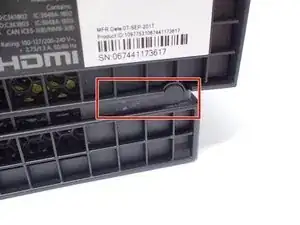
Using precision tweezers, remove the screw tab located on the opposite side of the box.
-
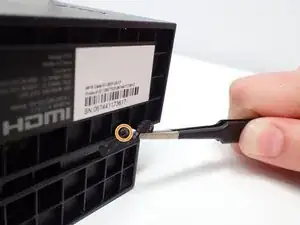
Use a T10 Torx screwdriver to remove the 13mm screw revealed underneath the tab.
-
-
-
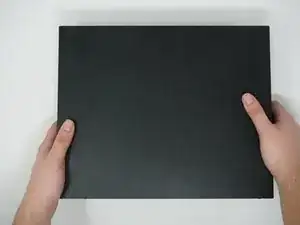
Orient the case so that the front of the Xbox (the side with the power button) is facing you.
-
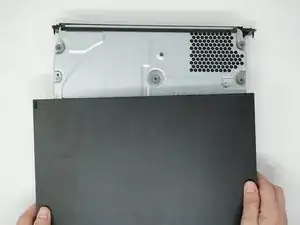
Remove the top of the case by sliding the case towards you.
-
-
-
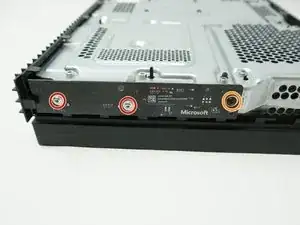
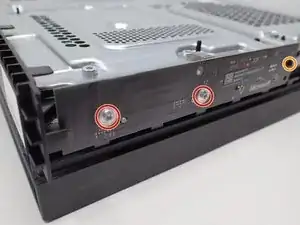
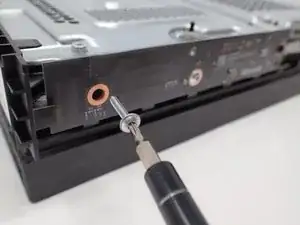
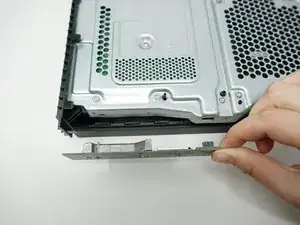
Using a T9 or T8 Torx screwdriver, remove the two 15mm silver screws that are holding a circuit board/panel to the side of the interior metal casing.
-
Using the same screwdriver, remove the 9mm black screw located farther to the right on the same circuit board/panel.
-
-
-
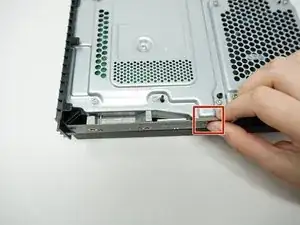
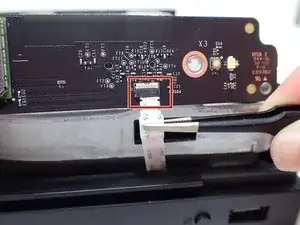
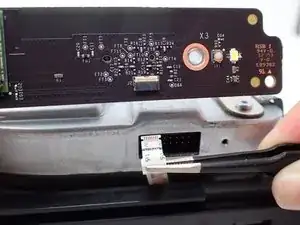
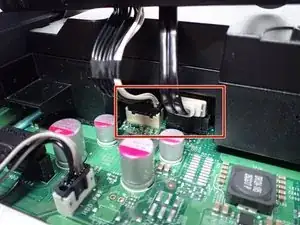
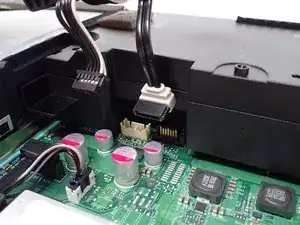
Above the black slot is a white switch, fold it over with your fingernail, and fold it over to the front. Then the cable can be easily removed without any problems.
-
-
-
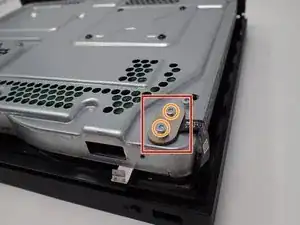
On the top of the device in the corner directly above the white connector, there is an oval plate held in place by two screws.
-
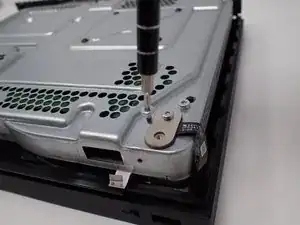
Remove both of these 7mm screws with a Torx T8 screwdriver.
-
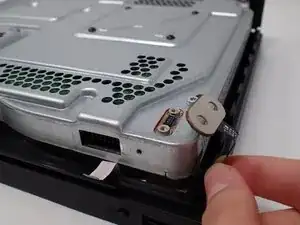
Lift the detached plate off to the side.
-
-
-
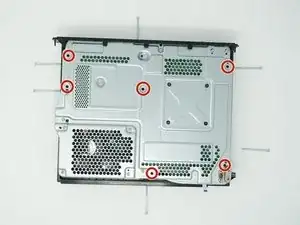
Use a Torx T10 screwdriver to remove the six 47mm long screws, which attach to the bottom side of the outer case.
-
-
-
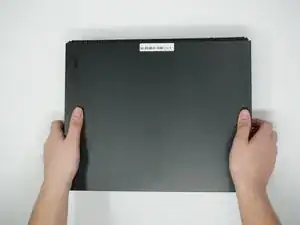
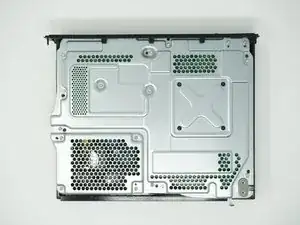
Turn the Xbox over, so that the bottom of the case is on top.
-
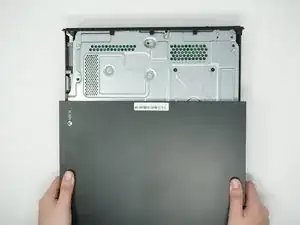
Lift the bottom of the case off of the Xbox by pulling it up and toward you.
-
-
-
Flip over the device again, so that the top is facing upwards.
-
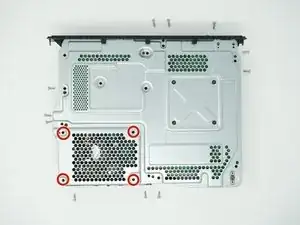
Remove the 4 smaller 11mm screws in the lower left corner of the metal casing using a Torx T10 screwdriver.
-
-
-
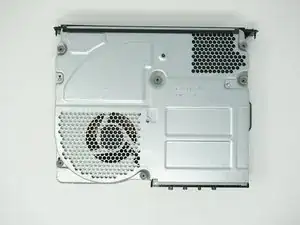
Flip over the device again, so that the bottom is facing upwards.
-
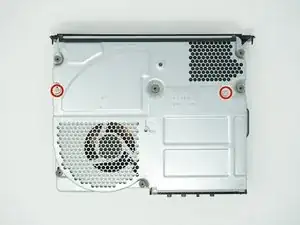
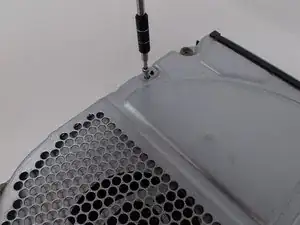
Using a Torx T10 screwdriver, remove the two screws located on opposite sides of the metal casing. One is near the fan vent, and the other is near the power supply vent.
-
-
-
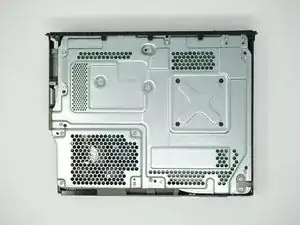
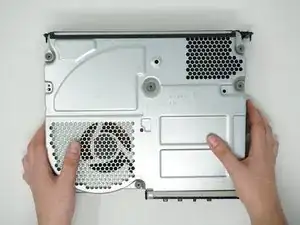
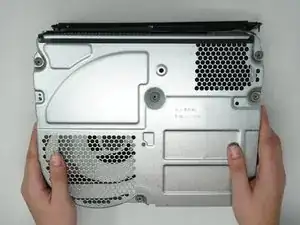
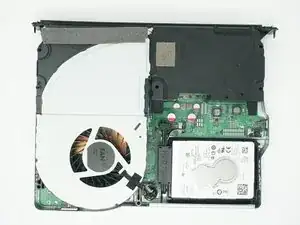
Remove the metal casing by pulling it upward, revealing the interior components of the device.
-
-
-
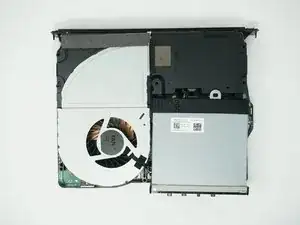
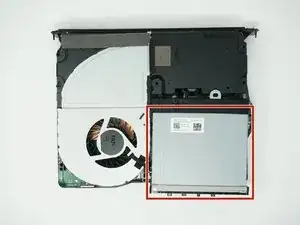
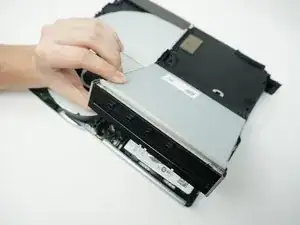
Using your fingers, gently unplug the two sets of wires connecting the drive to the motherboard.
-
Alternatively, you can disconnect the wires from the drive-side sockets. This is much easier if you have not removed the power supply.
-
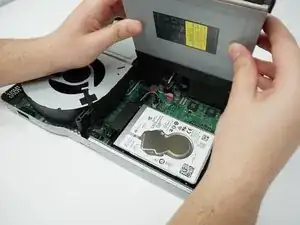
The BD drive should now be completely detached from the rest of the device, and it can be set aside.
-
-
-
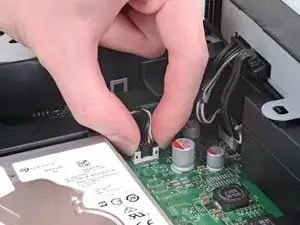
Unplug the bundled cable connector connecting the hard drive to the motherboard by pulling directly upward.
-
-
-
Unplug the SATA cable connecting the hard drive to the motherboard by pulling directly upward.
-
-
-
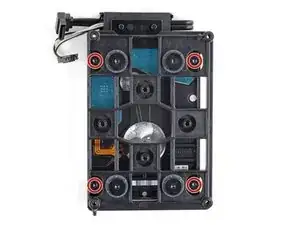
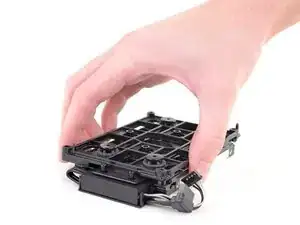
Flip the hard drive over so that the plastic mounting bracket is facing upward.
-
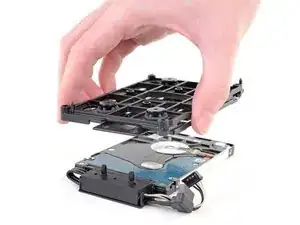
Use a T10 Torx screwdriver to remove the four 8.6 mm screws attaching the hard drive to the mounting bracket.
-
-
-
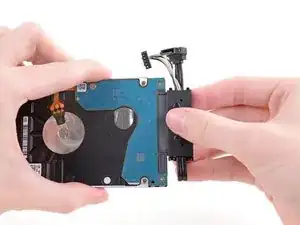
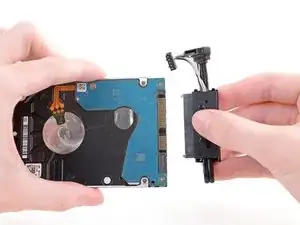
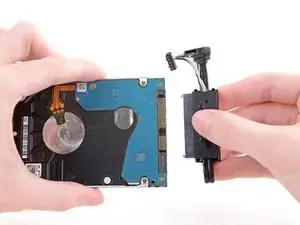
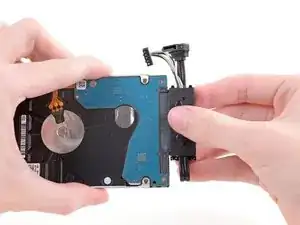
Unplug the hard drive connector from the hard drive by pulling parallel to the length of the drive.
-
Now It's Game Time! Of course after the updates though.
