Introduction

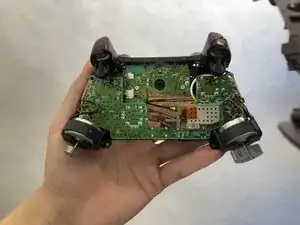
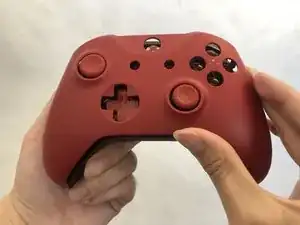
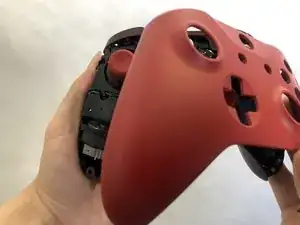
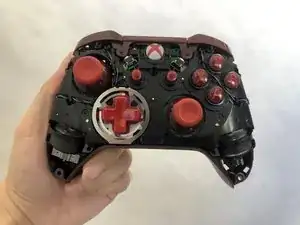
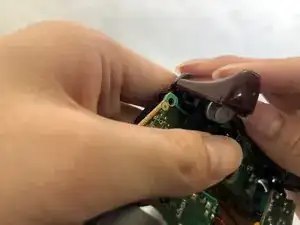
This guide offers instructions on how to replace cracked or split trigger caps in the Xbox One Wireless Controller (model 1708).

Trigger caps are pressable controls that often vibrate to provide feedback during gameplay. A cracked or split trigger cap will get jammed and will prevent the trigger motor from performing its intended function.

This guide is intended for trigger cap replacement only.

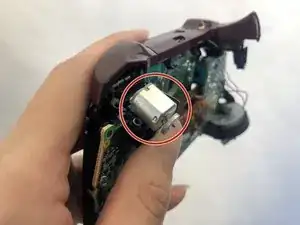
Before using this guide, examine the plastic trigger caps for any noticeable exterior damage. If you can see the trigger motors beneath the caps, this is the guide for you.

Make sure you have the proper tools and parts for this replacement and make sure your device is turned off before you begin.

  1. HERTaSdIGE2hKHtV
    HERTaSdIGE2hKHtV
    thPPEilJVmBbZqBY
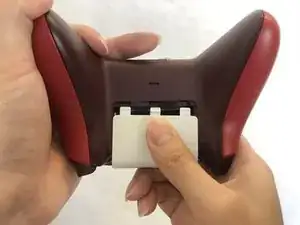
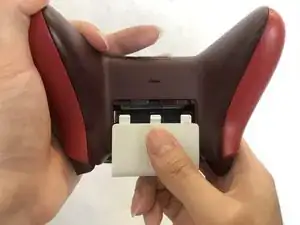
    • Slide the battery cover out and remove it.

    • Remove the battery pack.

  2. 1OBAEHjmTcZkrnVX
    1OBAEHjmTcZkrnVX
    wgsOJm4bUvE2aTeG
    ApNmcIl2DPIefBgT
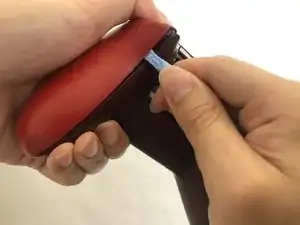
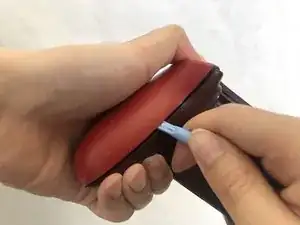
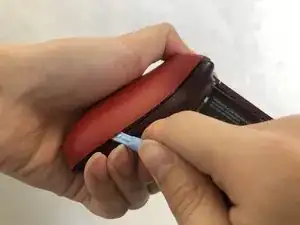
    • Insert a plastic opening tool between the handle and the plate.

    • Gently slide the opening tool from the top end to the bottom end of the seam to remove the plate from the handle.

    • Repeat the process with the other side plate.

    • The plate is tightly sealed on the handle, so it may be difficult to remove.

    You should show how the plates tabs looks from the inside. The tabs all face in different directions. I ended up breaking one because I did not know it was perpendicular from the others.

    diedo06 -

  3. a3VQY5PgsjEKk2pr
    a3VQY5PgsjEKk2pr
    KgJVtHeRwq3Mykcl
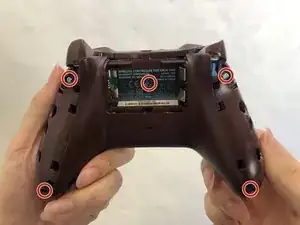
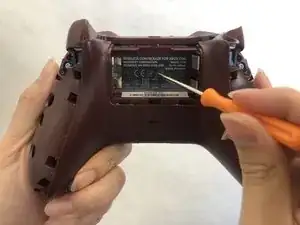
    • Remove the five 2.3mm screws on the bottom plate with a T8 Torx security Screwdriver.

    • If there is a sticker on the back, poke a hole with the screwdriver to get to the fifth screw.

  4. NNphGbEveDbOJNJc
    NNphGbEveDbOJNJc
    RJNoUYWBNS21fYxE
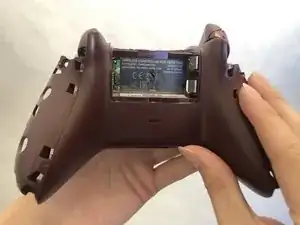
    • Remove the bottom plate.

  5. EJQlSnkJGFviFt4K
    EJQlSnkJGFviFt4K
    nS1jNhGHERpaIfmP
    Qm4JRPkDVWFlrmsi
    • Carefully turn over the controller with the front plate facing you.

    • Remove the front plate.

  6. 6KgPAtb3MHYtrWFW
    6KgPAtb3MHYtrWFW
    cQbEoTMaoS6O3NDF
    vhoL2g4QW2mJJxod
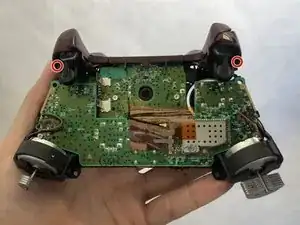
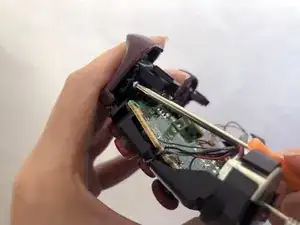
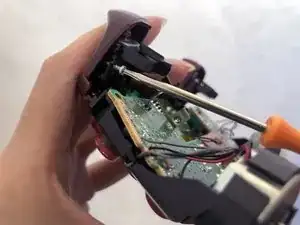
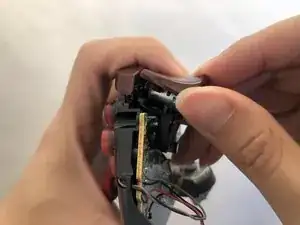
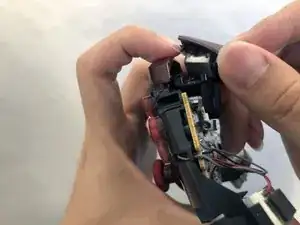
    • Remove the two 1.7mm screws from each of the triggers with a T6 Torx screwdriver.

    • It is best to do one trigger cap replacement at a time.

  7. IDnVsfULSDTsX11f
    IDnVsfULSDTsX11f
    sOpYRqTdddvaTJZb
    n3yVfKH25YjdqRpc
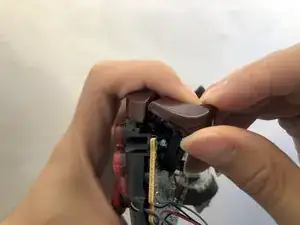
    • Be careful not to let the trigger motor inside come out.

    • Lift the trigger cap off the trigger motor.

  8. 1SMOO3Iw5oYDjNVX
    1SMOO3Iw5oYDjNVX
    MAsyNQAT5BILVEO4
    OKpmJJP5apG3ZrcE
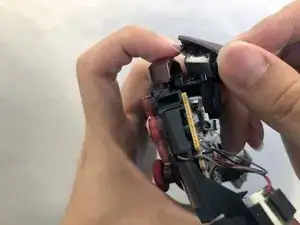
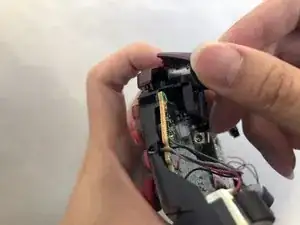
    • Place the new trigger cap on the trigger motor.

    • Push down the inside of the trigger cap until you hear a click.

    • Repeat step six to eight for the other trigger cap.

Conclusion

To reassemble your device, follow steps 1-5 in reverse order.
Lucero Cortes-Vitervo

Member since: 18/02/20

500 Reputation

0 comments