Introduction
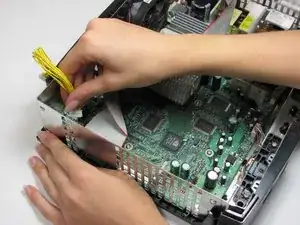
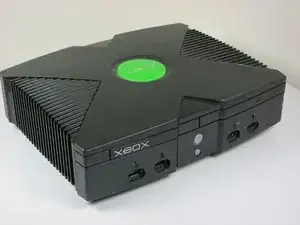
This is the replacement guide for the motherboard in the Microsoft Xbox.
Tools
-
-
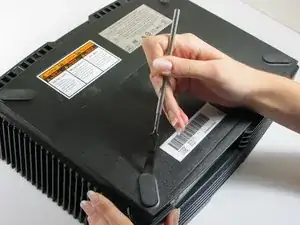
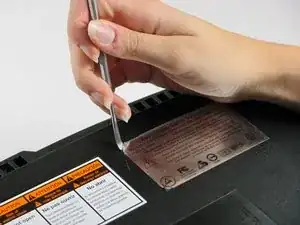
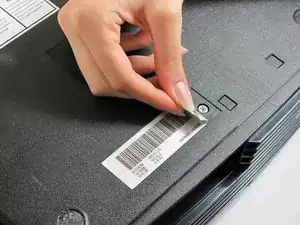
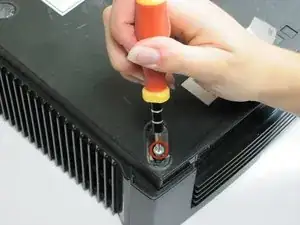
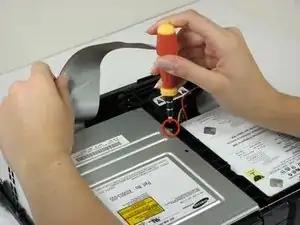
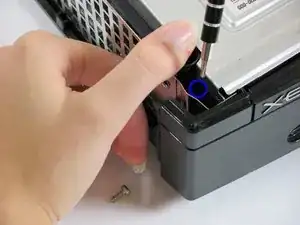
You can either remove the labels or simply feel for the screw holes through the labels and then cut or punch a hole through them.
-
-
-
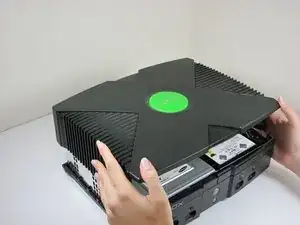
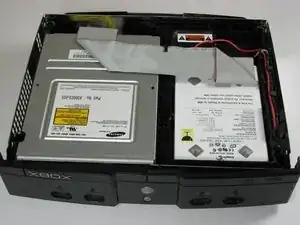
Once the bottom and top shells are no longer attached, carefully turn the Xbox right-side-up, lift and remove the top cover.
-
-
-
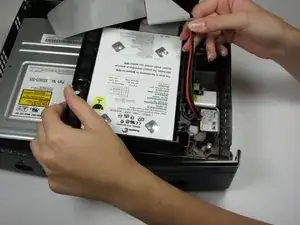
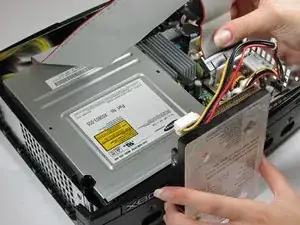
Free the hard drive power cable from the carrier for sufficient slack to lift the hard drive out.
-
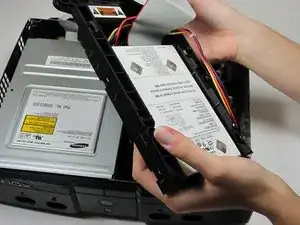
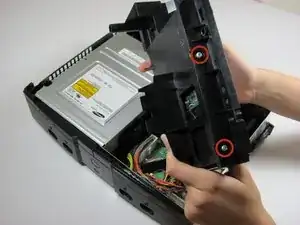
Lift the plastic hard drive carrier out of the Xbox case.
-
-
-
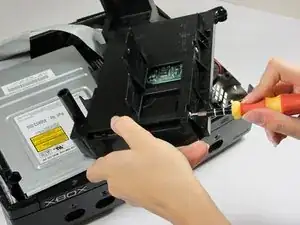
Remove the four 3.4 mm T15 Torx screws from the plastic hard drive carrier (two screws per side).
-
Carefully remove the hard drive from the plastic carrier. Gentle rocking will see the hard drive come out quite easily.
-
-
-
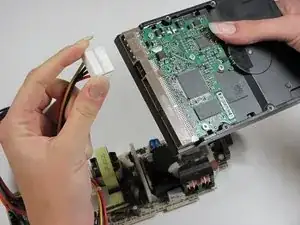
Pull both the hard drive data ribbon cable and the power cable straight up from the hard drive.
-
-
-
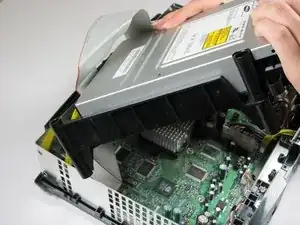
Remove the disk drive. It should come right out.
-
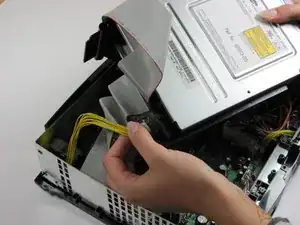
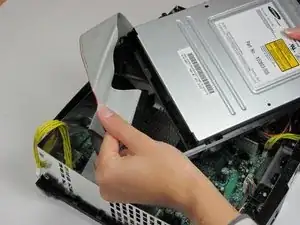
Unplug the ribbon cable and yellow cables from back of disk drive.
-
-
-
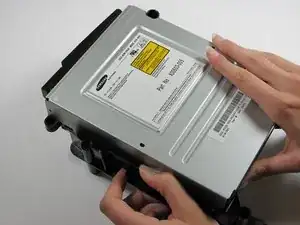
Pry back the black plastic tabs around the disk drive in order to remove it from its housing. Once removed, set the drive aside.
-
ONLY REMOVE IF DEAD!
-
-
-
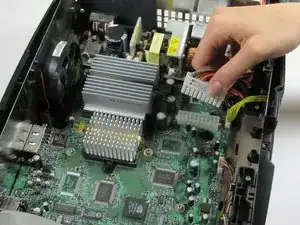
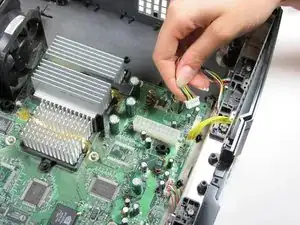
Unplug the multi-colored power cord from the motherboard. It is in there pretty tightly, so it may take some effort.
-
-
-
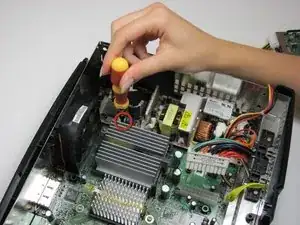
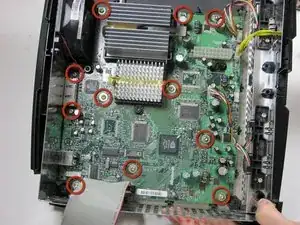
Remove eleven 3mm screws from motherboard, using a T10 Torx screwdriver. Refer to the picture to find all eleven.
-
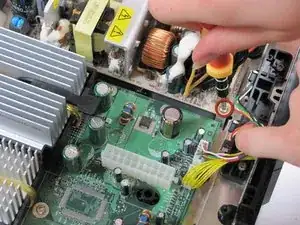
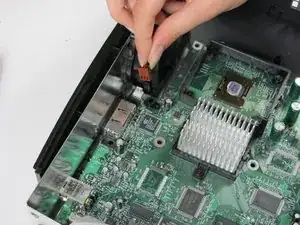
Unplug the power cable attached to the fan.
-
-
-
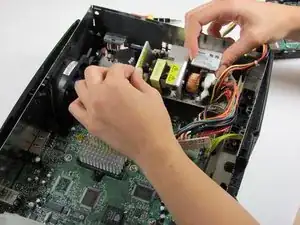
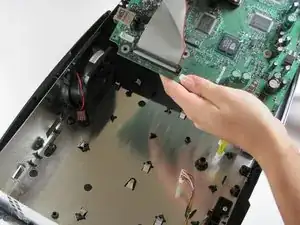
Remove the motherboard from the Xbox. As long as all of the screws are out and the fan is disconnected, it will lift out easily.
-
To reassemble your device, follow these instructions in reverse order.
5 comments
http://www.ebay.com/gds/How-To-Determine...
Utilize the information on this website to determine what Xbox version you have so you know what replacement parts to look for.
