Introduction
This guide will show you how to replace the top panel on your Xbox 360 S.
Tools
Parts
-
-
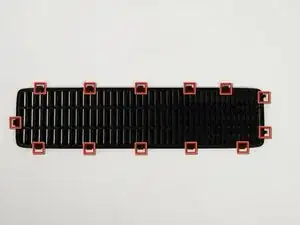
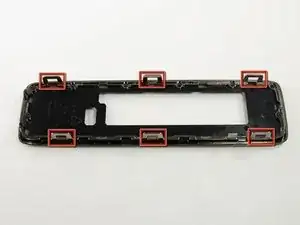
In the following steps, you will remove the top vent, secured to the top panel by the thirteen clips shown.
-
-
-
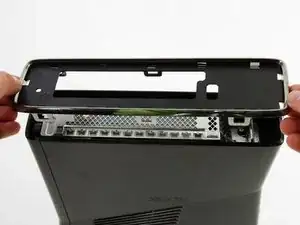
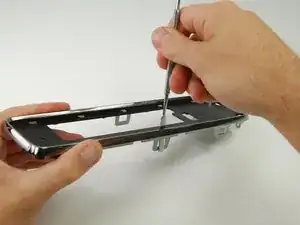
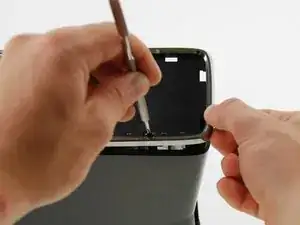
Orient the console so that the words "XBOX 360" on the sides are right-side up, and the faceplate is facing to the left.
-
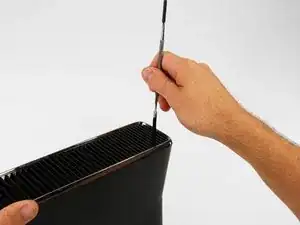
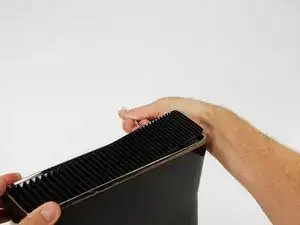
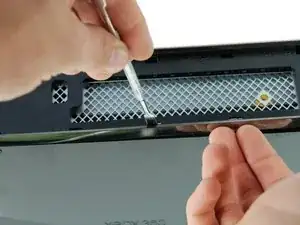
Insert a metal spudger between the top vent and the top bezel near the rear of the Xbox.
-
Rotate the spudger away from the console, prying the edge of the fan vent up until the two plastic clips come free.
-
-
-
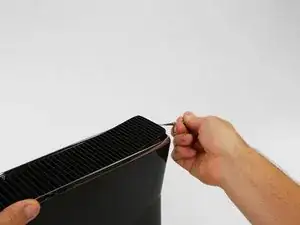
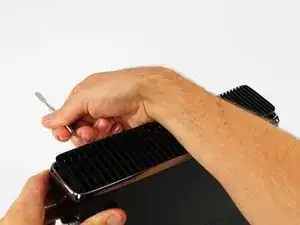
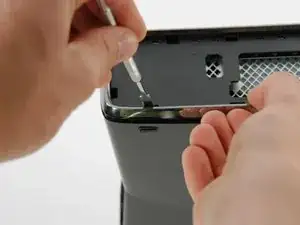
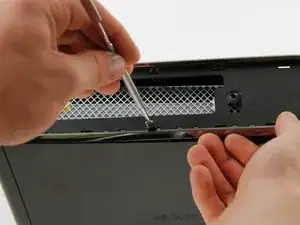
Insert a metal spudger between the fan vent and top bezel along the left side of the console.
-
In the same manner described above, begin prying the left side of the top vent away from the top bezel.
-
Continue prying along the left side of the device, freeing all the clips on that side.
-
-
-
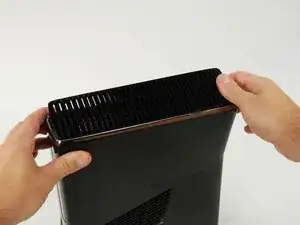
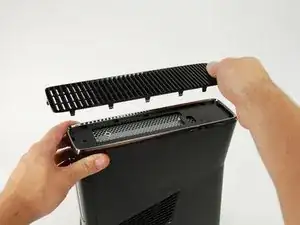
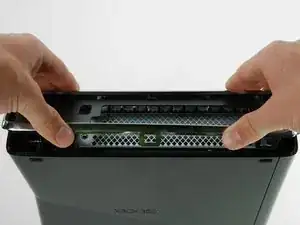
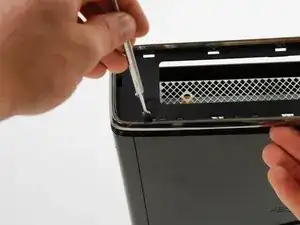
Lift the fan vent up from the freed left side to disengage the clips along the right side.
-
Remove the entire fan vent.
-
-
-
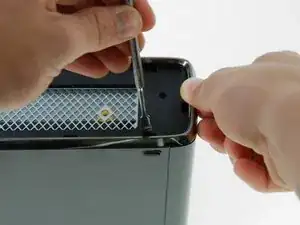
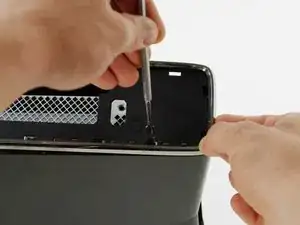
Insert a metal spudger through the front-most slit on the left edge of the top bezel and between the bottom edge of the clip and the left case, as described above.
-
Simultaneously rotate the spudger away from the console and pull up on the top bezel to free the clip.
-
-
-
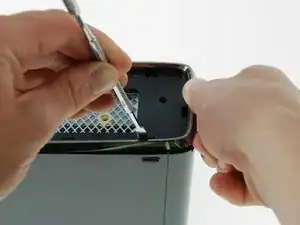
Using the same method described above, free the two remaining clips along the left edge of the top bezel.
-
-
-
Grab the entire top panel with your hands, lift up the entire left edge high enough to rest the separated clips on top of the left case.
-
-
-
Rotate the console so that the rear of the Xbox 360 S is facing to the right, and the right case is facing you.
-
Insert a metal spudger through the rear-most slit on the right edge of the top bezel and between the bottom edge of the clip and the right case.
-
While lifting up on the top bezel with your fingers, rotate the spudger away from the console to free the clip.
-
-
-
In the same manner as described in the previous steps, release the middle and front clips along the right edge of the top panel.
-


To reassemble your device, follow these instructions in reverse order.

Whoever gave that tool the name “spudger” needs to be shot in the face.
Richard -