Introduction
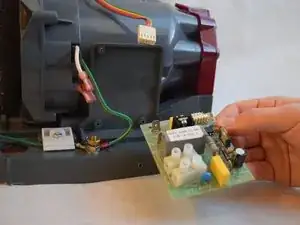
If the device does not start and the Sensor Lens is in good condition, then the Circuit Board may be faulty and need replacement.
Tools
-
-
Begin by removing both screws and the brushed metal casing. Simply lift up at the indicated area with your hand.
-
-
-
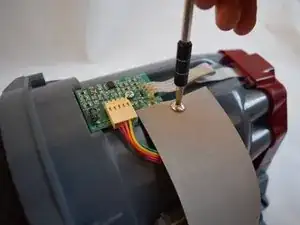
Remove both 3/8" Ph2 screws attached to the grey belt at the top and bottom.
-
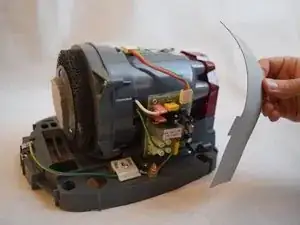
Lift the grey belt away. This gives access to the server board.
-
-
-
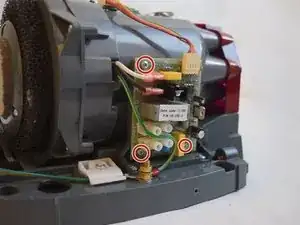
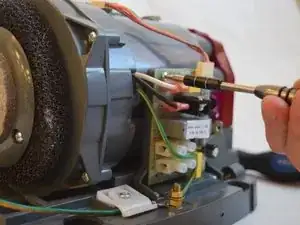
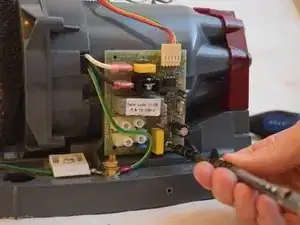
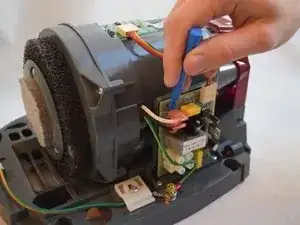
Use a plastic opening tool to remove the two pink capped wires in the upper left corner of the server board.
-
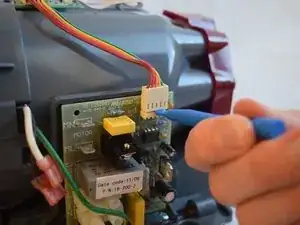
Use the same tool to dislodge the white capped ribbon bus with the multi-colored wires.
-
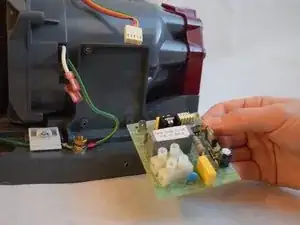
After these steps, the server board should easily come off the side of the device.
-
Conclusion
To reassemble your device, follow these instructions in reverse order.
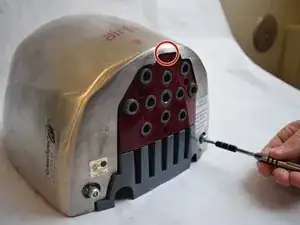
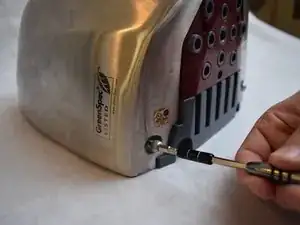
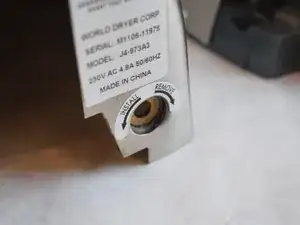

Just a comment to explain how to remove the outer case. It is held in place by two screws on the underside as indicated. But they work in a counter-intuitive way. You need a special security bit which is a hex (Allen key) with a central hole. To release the cover, screw the screws IN (clockwise) so the heads disaappear inside. This releases the the bottom edge of the cover so you can hinge it upwards and unhook it at the top.
To refit the cover, do the reverse. Screw the screws OUT (anticlockwise) so the heads lock the cover in place. Don't over-tighten.
Bob B -