Introduction

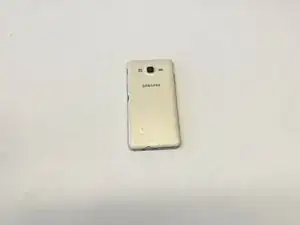
Welcome to our comprehensive guide on rescuing your Samsung Galaxy Grand Prime from water damage! If your Galaxy Grand Prime has taken an unexpected dive and is now experiencing the effects of water exposure, fear not.

This step-by-step guide is primarily designed to help you navigate through the process of reviving your Samsung Galaxy Grand Prime and preventing long-term damage by providing an effective solution for addressing water damage on your device.

Important Tips and Warnings:

Before diving into the restoration process, take note of the following crucial tips and warnings to ensure a safe and successful recovery:

  1. Turn off your device: Ensure that your device is shut down to avoid electrical mishaps.
  2. Remove moisture: Clearing any moisture from the outside is crucial to prevent damage and increase the chances of a successful recovery.

External Resources: For additional insights and reference materials, check out the following external resources:

Let's get started on fixing your wet Samsung Galaxy Grand Prime. Follow each step closely for the best chance of bringing it back to life. Good luck!

  1. WlDkWCBGUkGMs4y3
    WlDkWCBGUkGMs4y3
    SyJM5DSQRqTumQrt
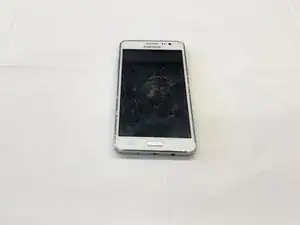
    • Power off your waterlogged Samsung Galaxy Grand Prime to prevent potential damage to the running circuitry

    • Place the phone with its screen facing the work surface

  2. JfOFPoF6GEkjvGHR
    JfOFPoF6GEkjvGHR
    jtStZTLgLJaCdByI
    mwUhroy6cbHtSQ3g
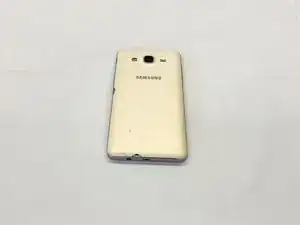
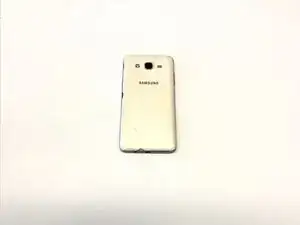
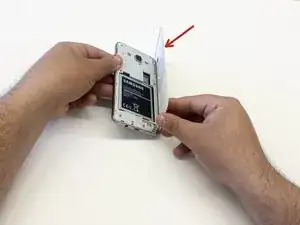
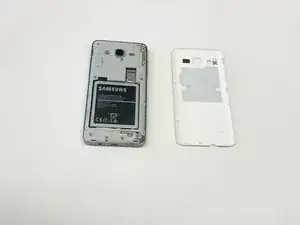
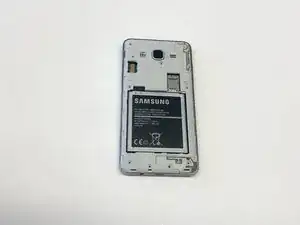
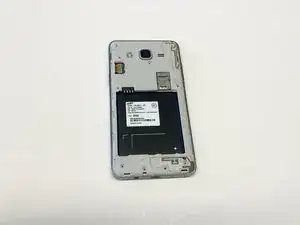
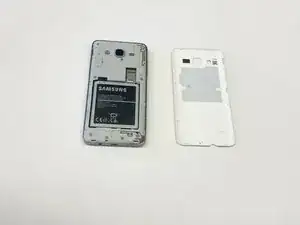
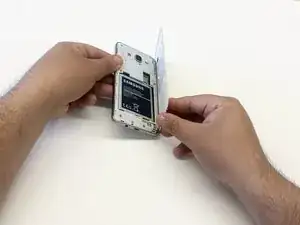
    • Position the primary back panel towards you

    • Detach the primary back panel to expose the battery in the secondary back panel

  3. glY2WuBpCejibfKm
    glY2WuBpCejibfKm
    ijCINJgvRKIy1A3l
    wRjiClYtQGrLUJYA
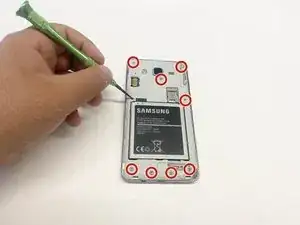
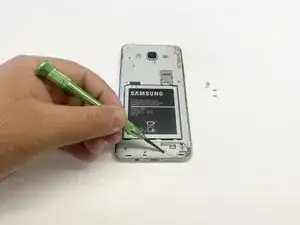
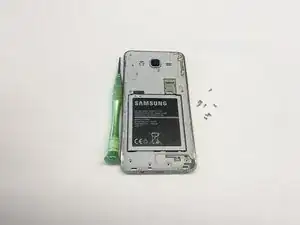
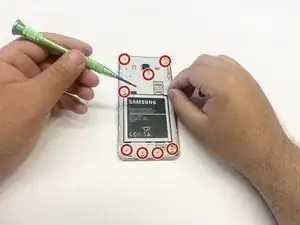
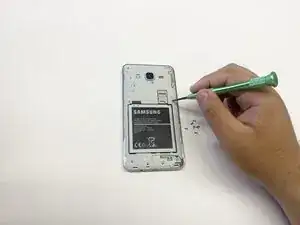
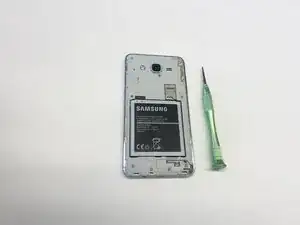
    • Using a 1.5x25 millimeter Phillips head screwdriver, remove the nine 4mm screws to gain access to the inner circuitry.

    • Put the screws to the side in order to avoid misplacement

  4. BODwYxlcQIwcGRmy
    BODwYxlcQIwcGRmy
    k6WsKOrrOLH5WYrm
    NElGwlZRW42GoA4i
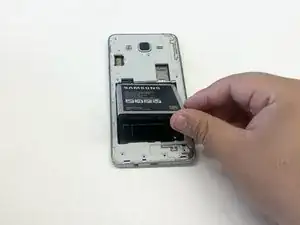
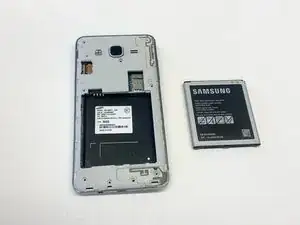
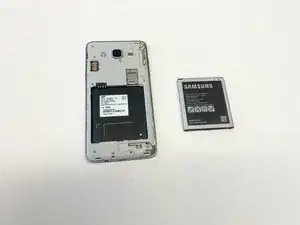
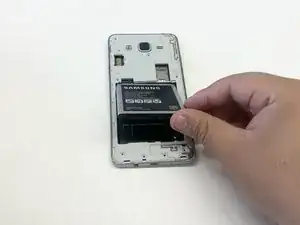
    • Remove the battery to prevent damage during the process

    • Gently peel up the battery and set it aside

  5. mWcVUYmXQUvXTiZU
    mWcVUYmXQUvXTiZU
    ITbJOLoLWHYeNrnH
    2diVWicutBnFQVdS
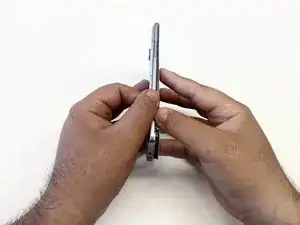
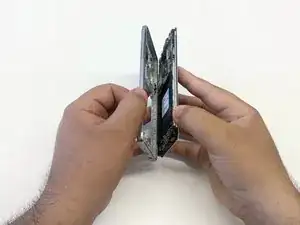
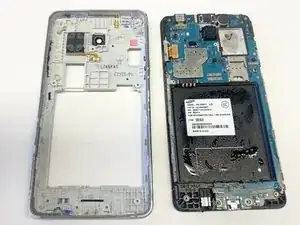
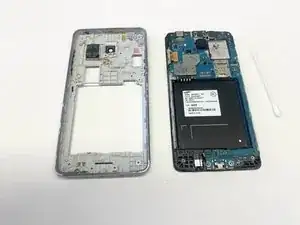
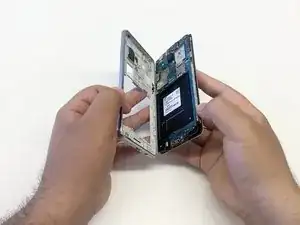
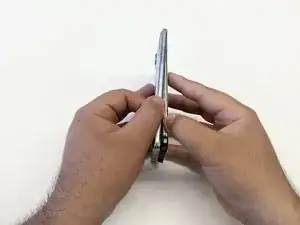
    • Carefully peel away the screen display from the secondary back panel

    • Use a hair dryer if needed to soften adhesive

  6. MkfpEUJK6eWlC6a1
    MkfpEUJK6eWlC6a1
    5EBrIXSuwlI5lXli
    wDCynHdsEfXb1g4V
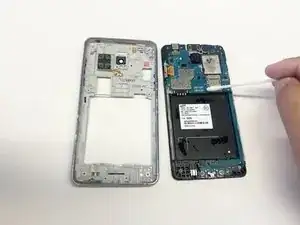
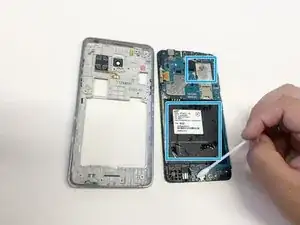
    • Address areas of concern in the main frame with a small towel or cotton swab

    • Submerging both parts in a container of desiccants like silica gel for a period of time can also be another option

  7. dFDcKXQSa6DMgLg5
    dFDcKXQSa6DMgLg5
    Et2ZRC21SCsXERjh
    dZt2xJFb4fM5GjbP
    • Make sure that there is no remaining liquid

    • Reassemble the phone, starting with the screen and secondary back panel

    • Press in on every side until the frame clicks into place

  8. lwyv2r2E51mXE5gI
    lwyv2r2E51mXE5gI
    YqMhXFdTHbJf6L1H
    yhfruZHCVZUCnVey
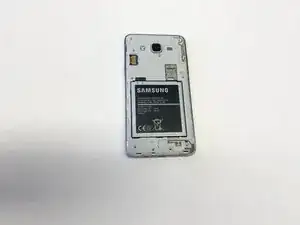
    • Retrieve the battery set aside in step 4

    • Orient it correctly so the phone can properly boot up later

    • Carefully place the battery back into its slot

  9. VJARdDaJAUJPZDXL
    VJARdDaJAUJPZDXL
    2qrKJiOZDuF1mUa3
    tUoiDOCoQGQgqSIW
    • Retrieve all of the 4mm screws you put aside in Step 3

    • Using the 1.5x25 millimeter Phillips head screwdriver, tighten all 9 of the 4mm screws

    • Confirm that each screw is sufficiently tightened to ensure stability and proper function

  10. WcQhHKuIGIVjlm6g
    WcQhHKuIGIVjlm6g
    Ik6rlsYCUidBaYvT
    WtSEmKIwJGV6fMtP
    • Bring back the primary back panel from step 2

    • Align the primary back panel with the secondary back panel, ensuring the Samsung logo is facing outward

    • Click the panels together and work your way around until all sides are securely attached

  11. X4BBhZmLSPQOMrHX
    X4BBhZmLSPQOMrHX
    iOwPANNiycNf2KXA
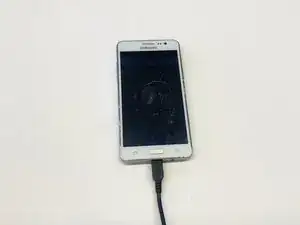
    • Charge the phone with a USB Micro-B cable so it has an initial charge when opening it back up

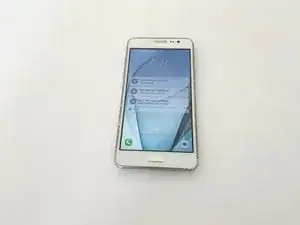
    • When all steps are performed correctly, the phone should power up and work as intended

Johny Vu

Member since: 24/10/23

241 Reputation

0 comments