Introduction

The on/off toggle switch is what turns the blender on and off. Sometimes this switch can malfunction and not work properly. Most of the components for this switch are located on the inside of the blender, so that makes it more difficult to replace. Follow this guide to get detailed steps for replacing this switch.

  1. XNRBNWlChTbivaib
    XNRBNWlChTbivaib
    chBZugjr1kAMNSlP
    • Turn the blender on its side so the bottom panel is facing you.

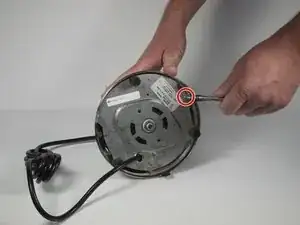
    • Unscrew the 22mm Phillips #1 screw on the indent of the panel.

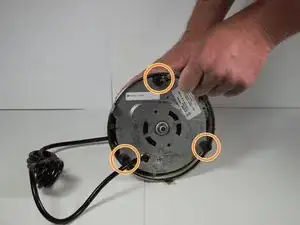
    • Unscrew the 3 screws in the rubber holes.

  2. nO5DTYS6m5EkvEwH
    • Remove the bottom panel.

  3. NIuDCX6LpfSynRUX
    • Place the screwdriver in the head of the middle flat-head screw.

  4. GYdbtJZ1yCVh3fe5
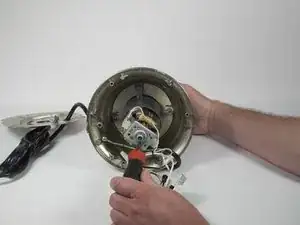
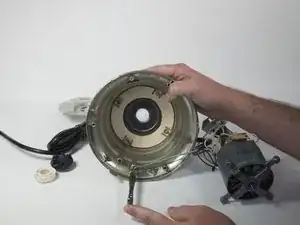
    • Unscrew this screw while holding the coupling with your other hand and not allowing it to rotate.

    • This screw may be reverse-threaded.

  5. HG5v1ybPCjUlVID5
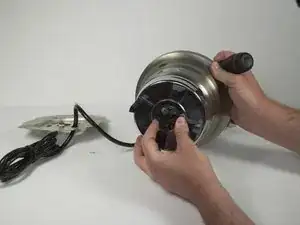
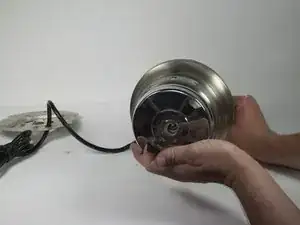
    • Once the coupling mechanism has been loosened all the way, gently pull it off the top of the blender.

    THANK YOU!

    THANK YOU!

    THANK YOU!

    I have a Model SDM50. A lot of online instructions address that screw/bolt but mine, like yours, and unlike the models for many of the instructions, cannot be accessed without removing the plate. The part came with absolutely no hint on how to install it. Waring should pay you and utilize your instructions at its website.

    Robert Burns -

  6. TlGTFRpyqcjAtCjH
    TlGTFRpyqcjAtCjH
    lAj3VOmxLiqEZ2Ws
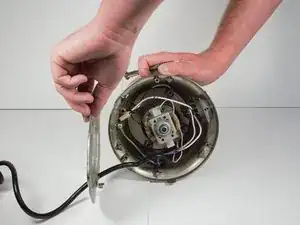
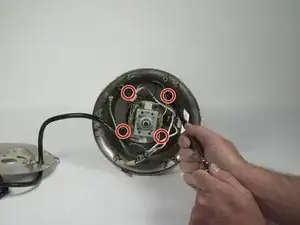
    • Unscrew the four nuts in the bottom of the motor cavity.

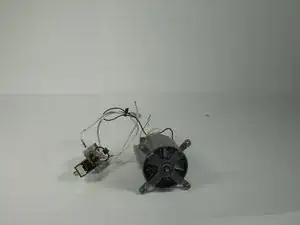
    • Wiggle the motor until it is free and you can remove it.

  7. EwUAJE1ZGVWFjQj4
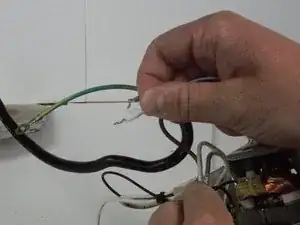
    • Once motor is pulled out, unscrew the 8 mm screw for the green wire from the base of the blender.

  8. YbeeHB3t3dhACcLe
    YbeeHB3t3dhACcLe
    6HsFVFdHuooDbXR5
    l16HlAFS5QqLfupq
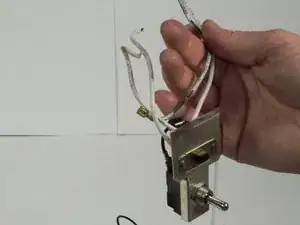
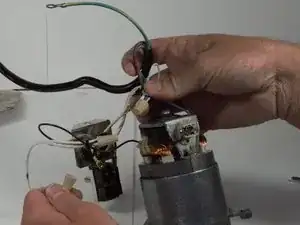
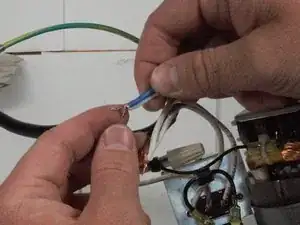
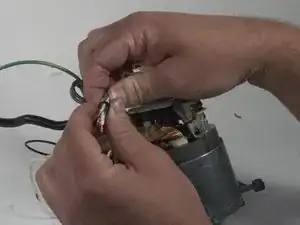
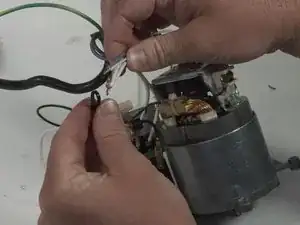
    • Unscrew each white wire cap in order to free the motor from the power cord.

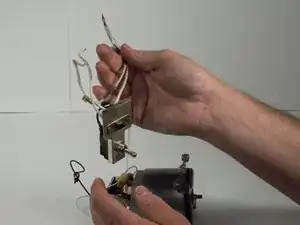
    • Once wire caps are removed, separate wires carefully.

  9. Mah1JAaqdUt6Z6Tp
    • Once you have the motor and switch by themselves it should look like this.

  10. YRHbmtJPB3fTOuCt
    YRHbmtJPB3fTOuCt
    L1eUCidNQYBPEBq1
    • Separate the zip-tie holding the wires to the motor.

  11. YPHmuJv2qhqZLh1g
    • Now the switch is separated from the motor and blender frame.

Conclusion

To reassemble your device, follow these instructions in reverse order.

Dean Becker

Member since: 18/04/17

470 Reputation

0 comments