Introduction

This guide shows how to remove and replace the mechanical seal for the Wacker Pump PT3A 2012.

Note: There are several versions of this device, and each uses a different mechanical seal design that’s incompatible with the others. Contact Wacker Neuson with the device serial number, and they will confirm which mechanical seal you need for the device.

  1. ioWeYCppLNNiKIMV
    ioWeYCppLNNiKIMV
    mnuENuLrJguFRrlY
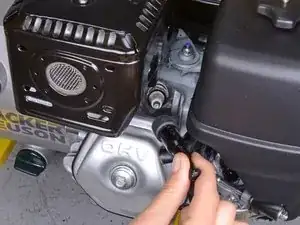
    • Before you begin, make sure the device is switched off and the engine is cool to the touch.

    • Grab the plastic housing at the end of the spark plug wire.

    • Pull firmly to disconnect the wire from the spark plug.

  2. rSqSNJyiEQJAO2Sx
    rSqSNJyiEQJAO2Sx
    BansbkvTcxiOUWKL
    mPWtOxfg1uGKFwR4
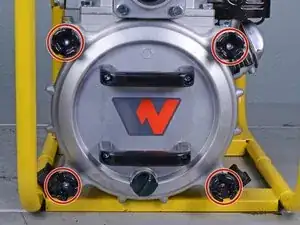
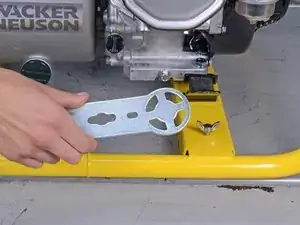
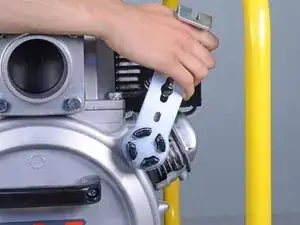
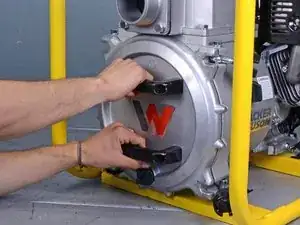
    • Use the included wrench to loosen the four black knobs securing the pump housing cover.

    • If the wrench is missing, slide a screwdriver shank through the knob and twist to loosen the knobs.

  3. rDEpJ3LSqBTsPMBE
    rDEpJ3LSqBTsPMBE
    TNnEkZFe1DgrJB1B
    Prh1Jbwqx6WxXvHV
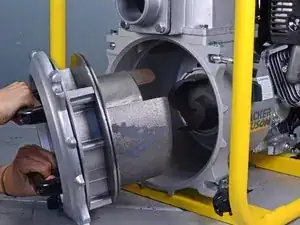
    • Slide the pump housing cover out of the pump and remove it.

  4. RESVYyU6UYedvtci
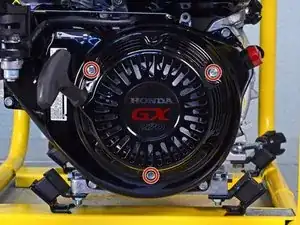
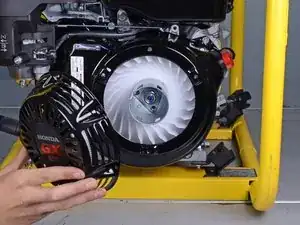
    • Use a 10 mm socket and wrench to remove the three bolts securing the recoil starter.

  5. yAYRuqiEiZhuCMWZ
    yAYRuqiEiZhuCMWZ
    a2XbRKjDWDmO3qjy
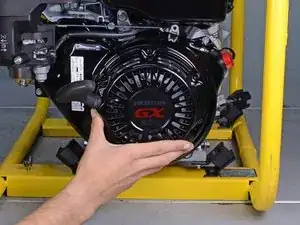
    • Remove the recoil starter from the engine.

  6. HUKM3LsQF5JWC2Br
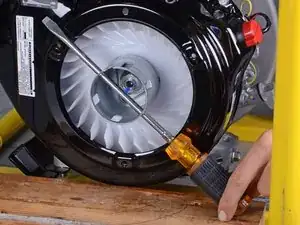
    • Slide a large screwdriver through the slots in the starter cap and brace the screwdriver with a wooden block to prevent the driveline from turning clockwise.

  7. lKNjeCYJkfMMYfCT
    lKNjeCYJkfMMYfCT
    qZUe4mFX1oyKq4Vt
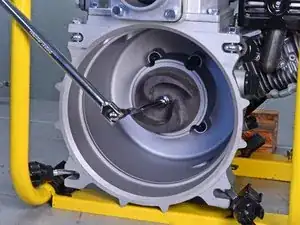
    • Use a 19 mm socket, extension, and wrench to loosen the impeller from the driveline.

  8. D44n3U2CQwovOREX
    D44n3U2CQwovOREX
    hLpNhIUCmfN2VeFw
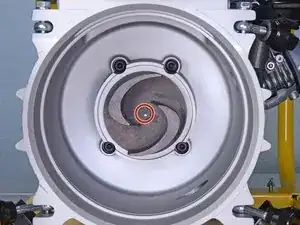
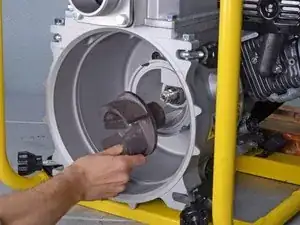
    • Remove the impeller from the driveline.

  9. ECfGK4pfIuHvThT5
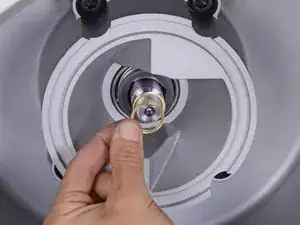
    • Remove the two washers from the driveline.

    • Replace these washers if they look worn.

  10. JQ2YKiMf1YTrhZkF
    JQ2YKiMf1YTrhZkF
    IrhPhIqddRN1bpoH
    3NaXWDInhKruORyJ
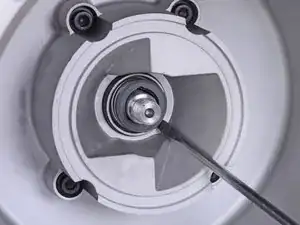
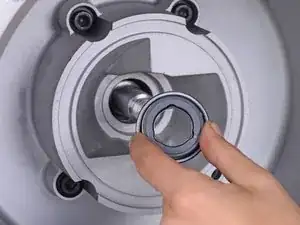
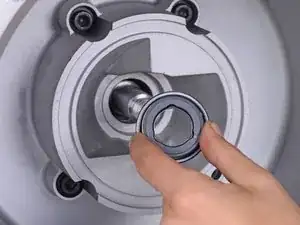
    • Use a flathead screwdriver to pry and loosen the mechanical seal from its recess.

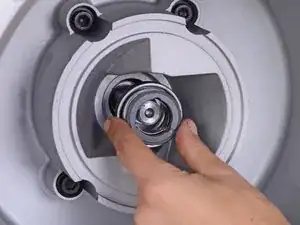
    • Remove the mechanical seal.

Conclusion

To reassemble your device, follow these instructions in reverse order.
Arthur Shi

Member since: 03/01/18

248651 Reputation

0 comments