Introduction

Use this guide to remove or replace the power cable on a Wacker PST2 400 (2008) Submersible Pump.

  1. SCYs3NZTGSLNQnqb
    SCYs3NZTGSLNQnqb
    CbuRB6TKVu1bBPdH
    EwIx3XwBT1gIKdxG
    • Before starting, ensure the device is unplugged from power.

    • Pull to remove the two cotter pins securing the hose's locking arms, one on either side.

  2. WNtKhuOhbdwjJfn6
    WNtKhuOhbdwjJfn6
    sv4Q1YiPDUHQYAVp
    hdYMCsE3jGqscZVY
    • Flip the two locking arms down to unlock the hose collar.

  3. tSQVfqrFLjBXrXfM
    tSQVfqrFLjBXrXfM
    fVSN5afYTxWLty1W
    • Lift the hose away from the collar on the pump body to remove it.

  4. t1VhbtwSU5WMknP5
    • Use a 10 mm socket to remove the two bolts securing the handle to the housing cover.

  5. wPGIT1hRVweOhWMP
    wPGIT1hRVweOhWMP
    PX6ri5RPWWqiEUCT
    • Remove the handle.

  6. FMOGXUyXOQlvEB1A
    FMOGXUyXOQlvEB1A
    laLXtZSMo6DDSQGS
    • Remove the plastic cable guide from the power cord.

    • During reassembly, ensure that the cable has enough slack and is not kinked at its flex joint before securing the cable guide with the handle bolt.

  7. 5tfiJtqNDbGniNNH
    5tfiJtqNDbGniNNH
    3x5AX5idT6tYGvK2
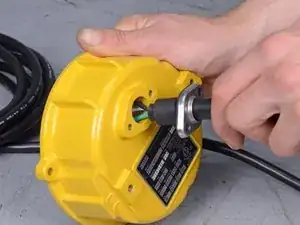
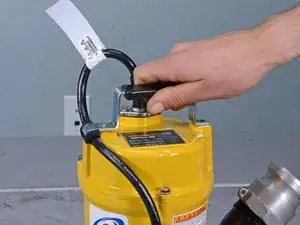
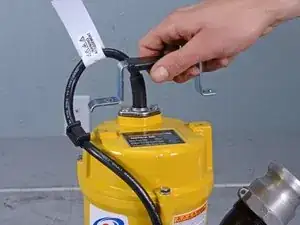
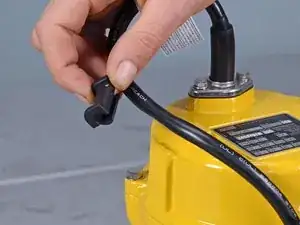
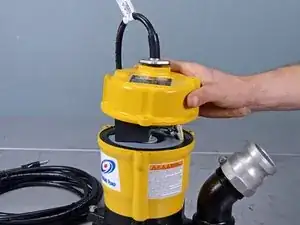
    • Use an 8 mm socket to remove the two bolts securing the power cable to the housing cover.

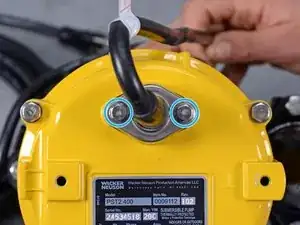
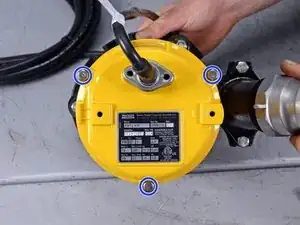
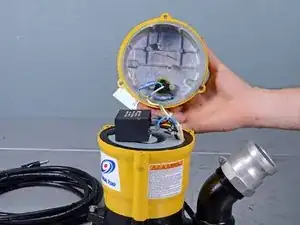
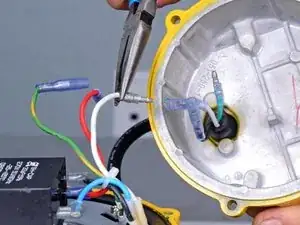
    • Use a 10 mm socket to remove the three bolts securing the housing cover to the main body.

  8. FWfiCi1mDUjOLget
    FWfiCi1mDUjOLget
    By5wBekThJJGOeSa
    eyBoksMjKS1qCAqs
    • Lift the housing cover up and off of the main body.

    • The housing cover is still attached at the power cord, so don't attempt to completely remove it just yet.

  9. YgIvHZsFcEfZaIIH
    YgIvHZsFcEfZaIIH
    hL3nJIvqGkCKuZeS
    • Use a pair of needle nose pliers to disconnect the ground wire's bullet connector.

  10. Oa4UAJhrmsofhcIq
    Oa4UAJhrmsofhcIq
    JIkf4FEAnBRHLYsm
    4KRxrS5nhCFSyAWN
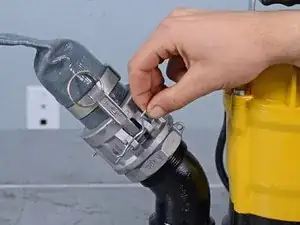
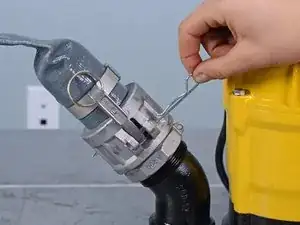
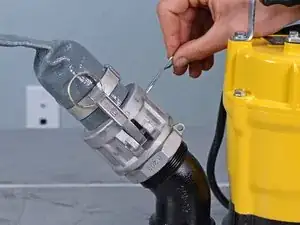
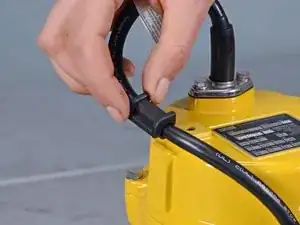
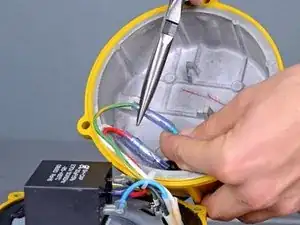
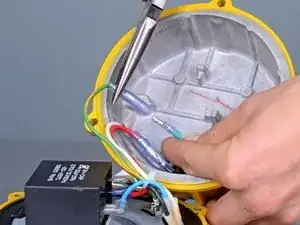
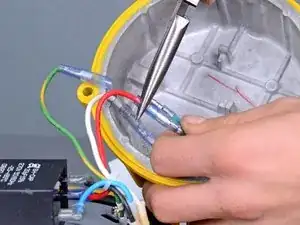
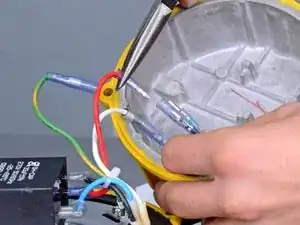
    • Use a pair of needle nose pliers to disconnect the red and white power wires' bullet connectors.

    • During reassembly:

    • Connect the power cord's black wire to the device's red wire

    • Connect the green ground wires together

    • Connect the white wires together

  11. 1JJQRAHB1Xqdt5AR
    1JJQRAHB1Xqdt5AR
    AnUWKMfn6g1l6NAj
    • Pull the loose power cable out through its hole on the housing cover to remove it.

Conclusion

To reassemble your device, follow these instructions in reverse order.

Carsten Frauenheim

Member since: 10/03/20

110978 Reputation

One comment

Make it easier to order parts.

ALLAN -